Niveo Professional NNAS-R4 Quick Installation Guide User Manual
Page 3
- 3 -
n. Press
to modify Gateway. It will show “Set Gateway_0” and the first
number is highlighted.
o. To change the number, press
or
. When done, press
to move
to the next number. If the number will not be changed, just press
to
move to the next number.
p. Repeat Step O to change the other numbers in the Gateway until the last one.
q. The LCD will display “Submit Network Setting (Yes/No)”. Press
to save
the setting. It will go back to Gateway_0.
r. The eth0 network configuration is set. Press EXIT twice to go back to main
menu.
Part 2: Connecting to NAS Management GUI and Using Quick Setup
NOTE: The NAS Management GUI requires Adobe Flash Player to be installed in
the client computer that will be used to manage the NAS.
NOTE: Quick Setup will use all available disk drives as RAID members. If you
want to configure a hot spare in Quick Setup, remove the disk drive
that will be designated as hot spare. When Quick Setup process is
completed, reinsert the unused disk drive. It is automatically assigned
as hot spare disk.
1. Open web browser in a client computer.
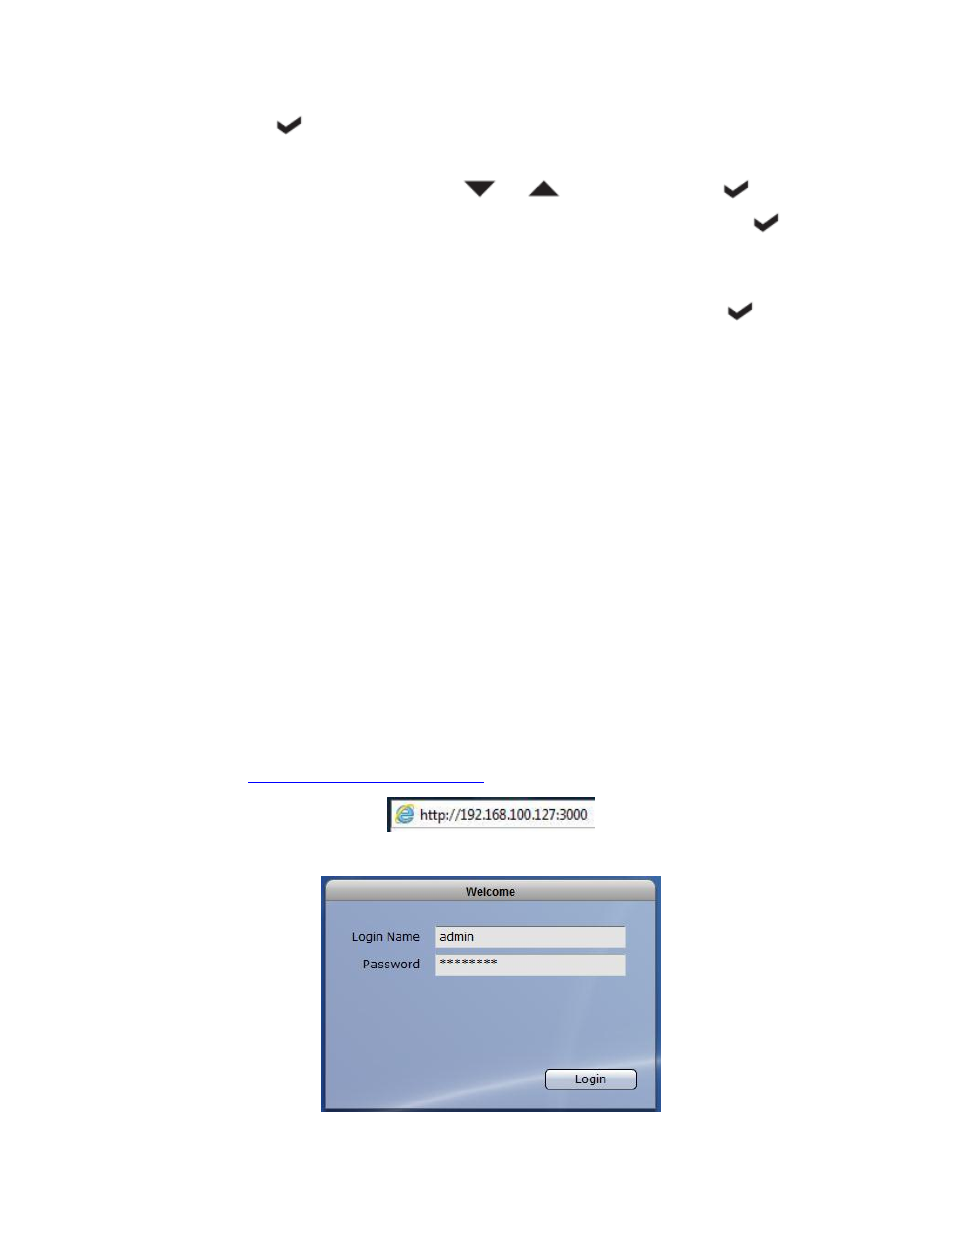
2. Type in the address bar the IP address of eth0 (check LCD display for the current IP
address) followed by port 3000.
Example:
3. The NAS Login page will be displayed.