Introduction to the apollo 600, Getting started – Seaward Apollo 600 User Manual
Page 7
Advertising
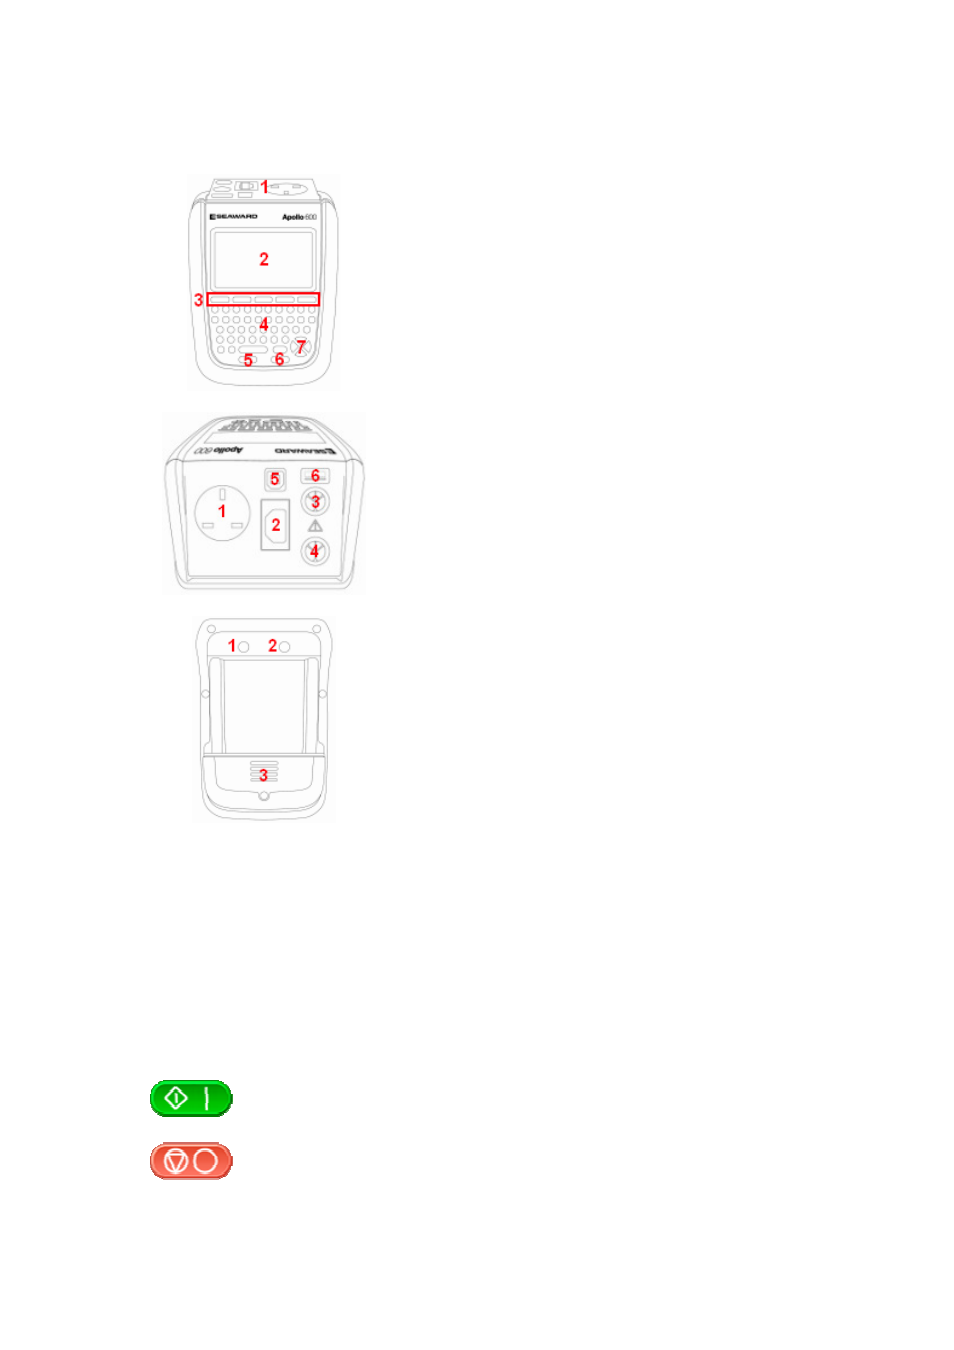
7. Introduction to the Apollo 600
Front
1. Test terminal end plate
2. LCD
3. Function keys
4. QWERTY keyboard
5. Test function STOP key
6. Test function START key
7. Arrow keys
Top
1. EUT test socket
2. IEC test socket
3. Red test terminal
4. Black test terminal
5. USB type B
6. USB type A
Back
1. Camera Lens
2. Flash source
3. Battery compartment
8. Getting Started
8.1 Charging New Batteries
Before using Apollo 600 for the first time please ensure that you fully charge the unit using the
Seaward black power lead plugged into the mains inlet socket on the top of the tester.
8.2 Power On
This is the Power On button.
This is the Power Off button
Advertising