5 decimation, 7 image correction – Sumix SMX-15M5x User Manual
Page 33
31
Last updated:
June 11, 2015
Sumix Video Camera: User Guide
Tu ni ng Gu ide lin es
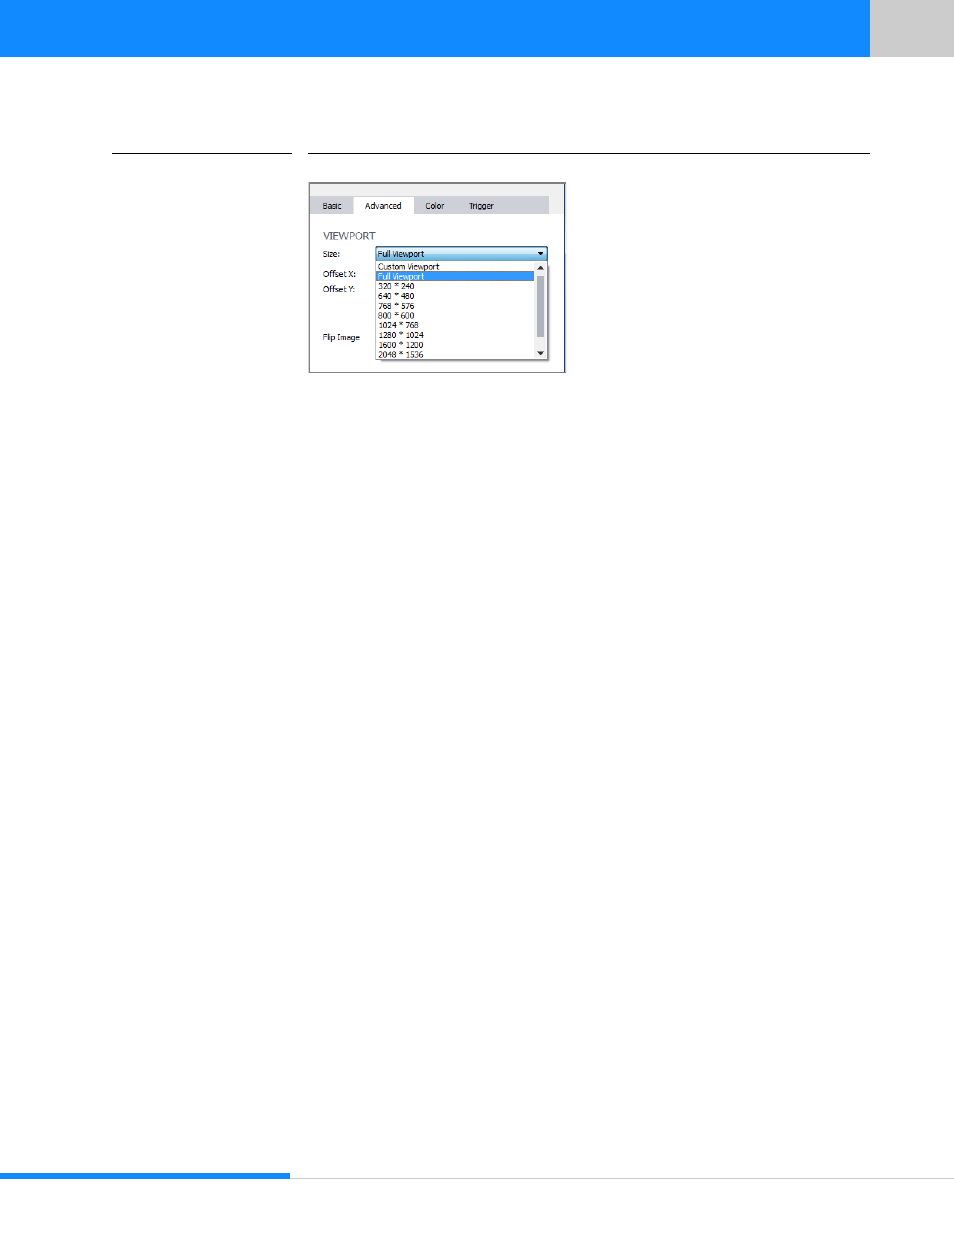
FIGURE 5.6
VIEWPORT Size drop-down box
2
You can have full viewport as well by clicking Full Viewport tab below the VIEWPORT
Size drop-down box
3
Alternatively you can change values in the following fields:
•
Offset X, Offset Y fields with coordinates of the top left corner of the rectangle
•
Width, Height fields with the values of the viewport’s rectangle width and height
Click Apply button to apply changed values
4
You may change viewport manually as well by dragging sides and/or edges of the pic-
ture in Navigator that is at the bottom of Basic screen.
5.6.5 Decimation
Use the Decimation drop-down box at the Advanced screen to decimate (subsample)
the picture by 2, 3, 4, 6 (according to Skipping method), or 2 binn, 4 binn (according to
Binning method). The decimation means excluding pixels and rows from the scan pro-
cess (for example, every second pixel and second row for the 1:2 decimation). This
mode thus allows viewing the picture at the higher frame rate and preserving desired
field of view. The higher decimation can be used for preview, when 1600 x 1200 image
can be displayed as 800 x 600 with the frame rate two times higher.
5.7 Image Correction
At the Basic screen you can see the IMAGE CORRECTION check box. Image correction
controls (the Brightness, Contrast, and Gamma sliders) are available when this check
box is checked. These controls are designed for setting up the camera brightness, con-
trast, and gamma. These corrections are programmable with the conversion (lookup)
table of the values. They do not affect any electrical settings of the camera. The visual
image of this table of values according to selected values of image correction controls
is shown to the right of the Brightness, Contrast, and Gamma sliders.