Synchronous recording – Teac CD-RW890 User Manual
Page 20
20
Synchronous Recording
The convenient synchronous recording function automatically starts
recording when receiving analog or digital signals from an externally
connected device such as a CD player and MD deck, and stops
recording when signal reception is complete.
For CD, MD, or DAT, synchronous recording starts when a digital
signal is detected, which is the beginning of a track. Synchronous
recording stops if there is a period where the sound is quieter than
the specified increment level lasting five seconds.
For digital sources other than the above or analog sources,
synchronous recording starts when a sound louder than the
specified increment level is detected. Synchronous recording stops
if there is a period where the sound is quieter than the specified
increment level lasting 8 seconds.
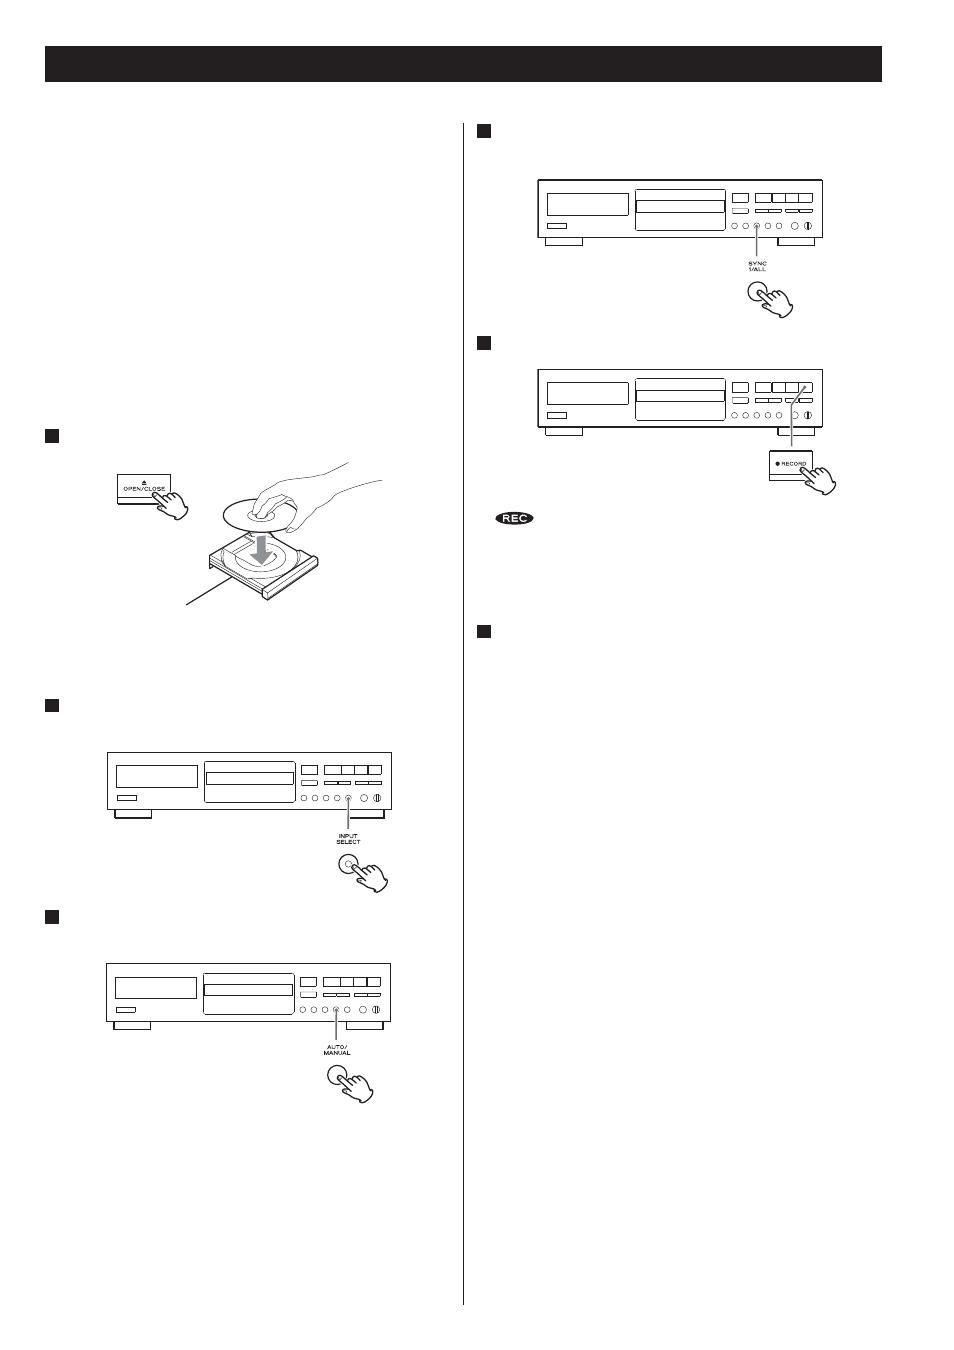
1
Load a recordable CD-R or CD-RW disc into the unit.
Press the OPEN/CLOSE (
L) button, place a disc on the disc tray
with the disc label side up, and then press the OPEN/CLOSE (
L)
button to close the disc tray.
2
Select the source to be recorded using the INPUT SELECT
button.
3
Select the mode of track number assignment using the
AUTO/MANUAL button.
4
Press the SYNC 1/ALL button and select “SYNC 1” or “SYNC
ALL”.
5
Press the RECORD button.
and
J indicators on the display will light, and the unit
enters the record pause mode.
The Play (
<
y) button and Pause (J) button cannot be used during
synchronous recording.
6
Start playing the source.
If no sound is heard for 5 seconds or longer during synchronous
<
recording, recording stops. To record the music with such periods
of silence, turn off synchronous recording. After turning off
synchronous recording, start recording manually, then play the
source to be recorded.
Press the Stop (
<
H) button to stop the recording manually.
If you press the Stop (
<
H) button or the Pause (J) button during
recording, the synchronous recording function will be cancelled.
The synchronous recording function automatically turns off after
<
recording.
The SYNC 1/ALL button cannot be used during recording or in the
<
record pause mode.
When “SYNC ALL” is selected, the auto track function is always on.
<
Select –60, 50, 40 or 30 dB using the AUTO/MANUAL button.
Even if the AUTO/MANUAL button is set to MANUAL, the auto track
<
function will be on during synchronous recording. The increment
level is set to –60 dB (–50 dB when recording via ANALOG). The
setting automatically returns to MANUAL after the recording.
CD-RW890_E_vA_unlocked.pdf 20
10/09/08 17:17