Yaskawa UUX000442 User Manual
Yaskawa Equipment
Yaskawa Electric America, Inc – www.drives.com
IG.V7.51, Page 1 of 4
Date: 3/01/06, Rev: 06-03
Remote Operator (NEMA 1) Option Kit
UUX000443
Part Number: UUX000443 (formerly DS084 and DS086)
Applicability: V7, V7N
Introduction: This remote digital operator kit allows a NEMA 1 digital operator to be mounted up to 3 meters from the V7
drive. The operator can either be surface or flush mounted to the mounting panel. The kit includes:
a. 1 remote operator carrier (72606-EZZ08386A)
b. 2
gaskets
c.
1 remote operator membrane (not used)
d. 4 screws & nuts
e. 8 rubber washers
f.
1 blank cover (72606-CVST31060)
g. 2 cables: 1 meter (UWR0051) and 3 meter (UWR0052). Both are standard CAT-5 Ethernet cables.
Receiving: All equipment is tested against defect at the factory. Report any damages or shortages evident when the
equipment is received to the commercial carrier who transported the equipment.
Warning: Hazardous voltage can cause severe injury or death. Lock all power sources feeding the drive in the “OFF” position.
Installation:
1. Disconnect all electrical power to the drive.
2. Use a voltmeter to verify that power has been disconnected at the incoming power terminals.
3. Wait for the DC bus to completely discharge.
4. Remove contents from package. Verify that the above-mentioned parts are present.
5. Loosen the screw on the front cover of the drive and remove the associated cover plate. Next, remove the digital
operator (it will be used in step 7). Install the blank cover in place of the operator.
6. Re-attach the front cover plate and tighten the screw down.
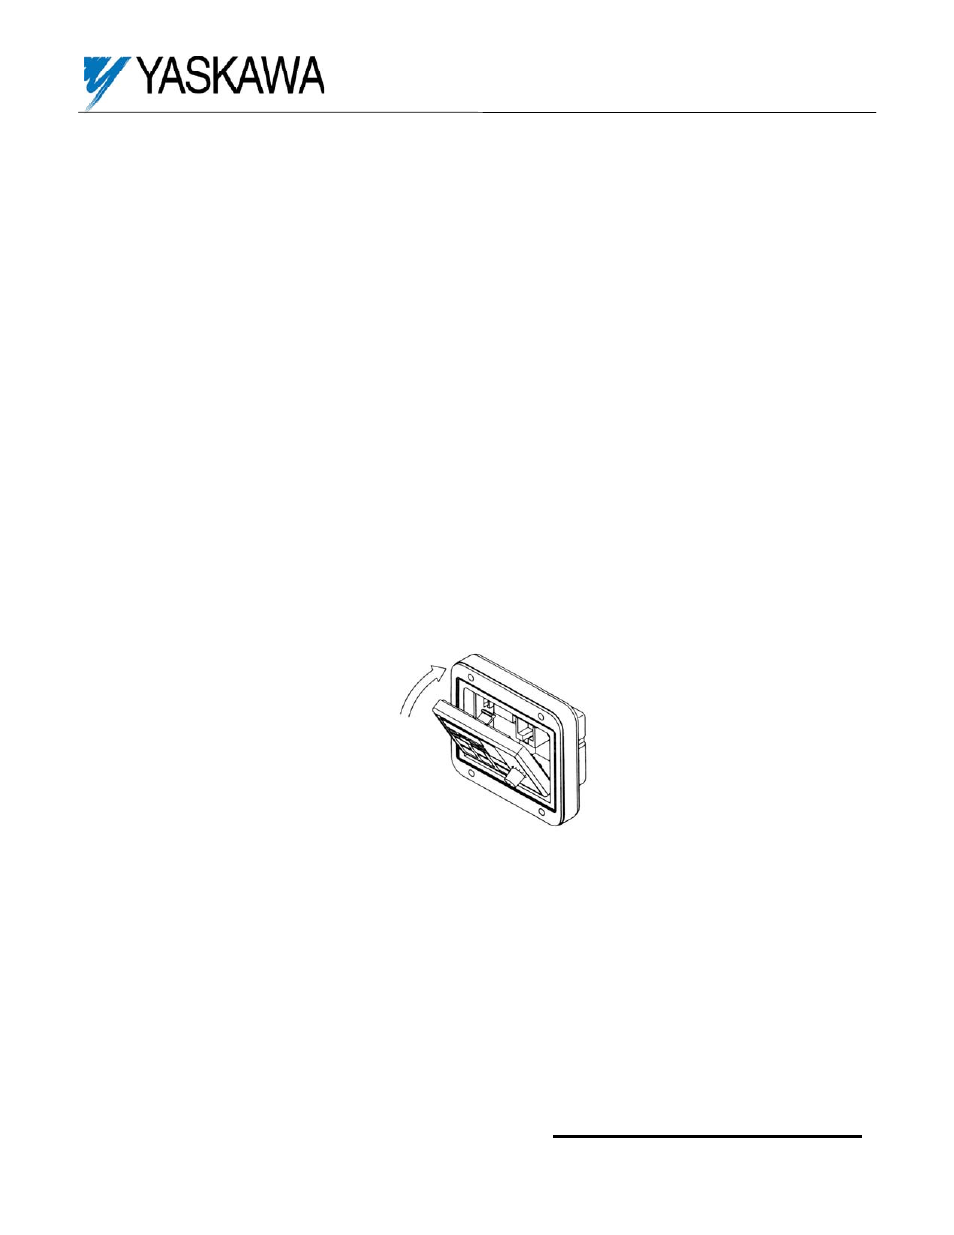
7. Insert the digital operator removed in step 5 into the operator carrier at a slant. Insert the bottom first and then seat
the top into the receptacle. See Figure 1. The remote operator membrane will not be used.
Figure 1: Mounting the digital operator into the carrier.
8. Attach the remote operator assembly to the mounting panel using either a surface mount or flush mount
configuration.
9. For a surface mount, follow steps 10-11.