Parkside PWS 125 A1 User Manual
Page 13
10
PWS 125 A1
GB
RISK OF INJURY!
►
Always use the angle grinder with the blade
guard . The blade guard should be installed
securely. Set it so that the highest possible
degree of safety is achieved, i.e. the smallest
possible part of the grinding disc is exposed
to the operator (see Figs. C, D). The blade
guard is designed to protect the operator
from fragments and accidental contact with
the grinding tool. The blade guard has 5 stop
positions.
►
Turn the blade guard to the required position
(working position).
The closed side of the blade guard must
always be toward the operator.
Using the additional handle
CAUTION!
►
For safety reasons this appliance may only
be used with the additional handle .
The additional handle can be screwed on
the left or the right depending on the work
method.
Switching on and off
Check the accessory tool before use. It must be
properly installed, may not be damaged or damp,
should have no cracks and turn freely. Carry out
a 60 second test run. Do not use non-circular or
vibrating tools. Be aware of unusual noises and
sparks. Check whether all the fastening elements
are correctly installed.
Switching on:
♦
Press the safety lock-out .
♦
Press the ON/OFF switch .
Switching off :
♦
Let go of the ON/OFF switch .
Setting the rotational speed
♦
Select the desired speed as needed. Turn the
rotational speed preselector adjusting wheel
to the required setting. The required rotational
speed depends on the material being processed
and can be determined through practical tests.
The following table lists suggested settings for
the most common applications. Not all of the
accessories described are included in the
delivery.
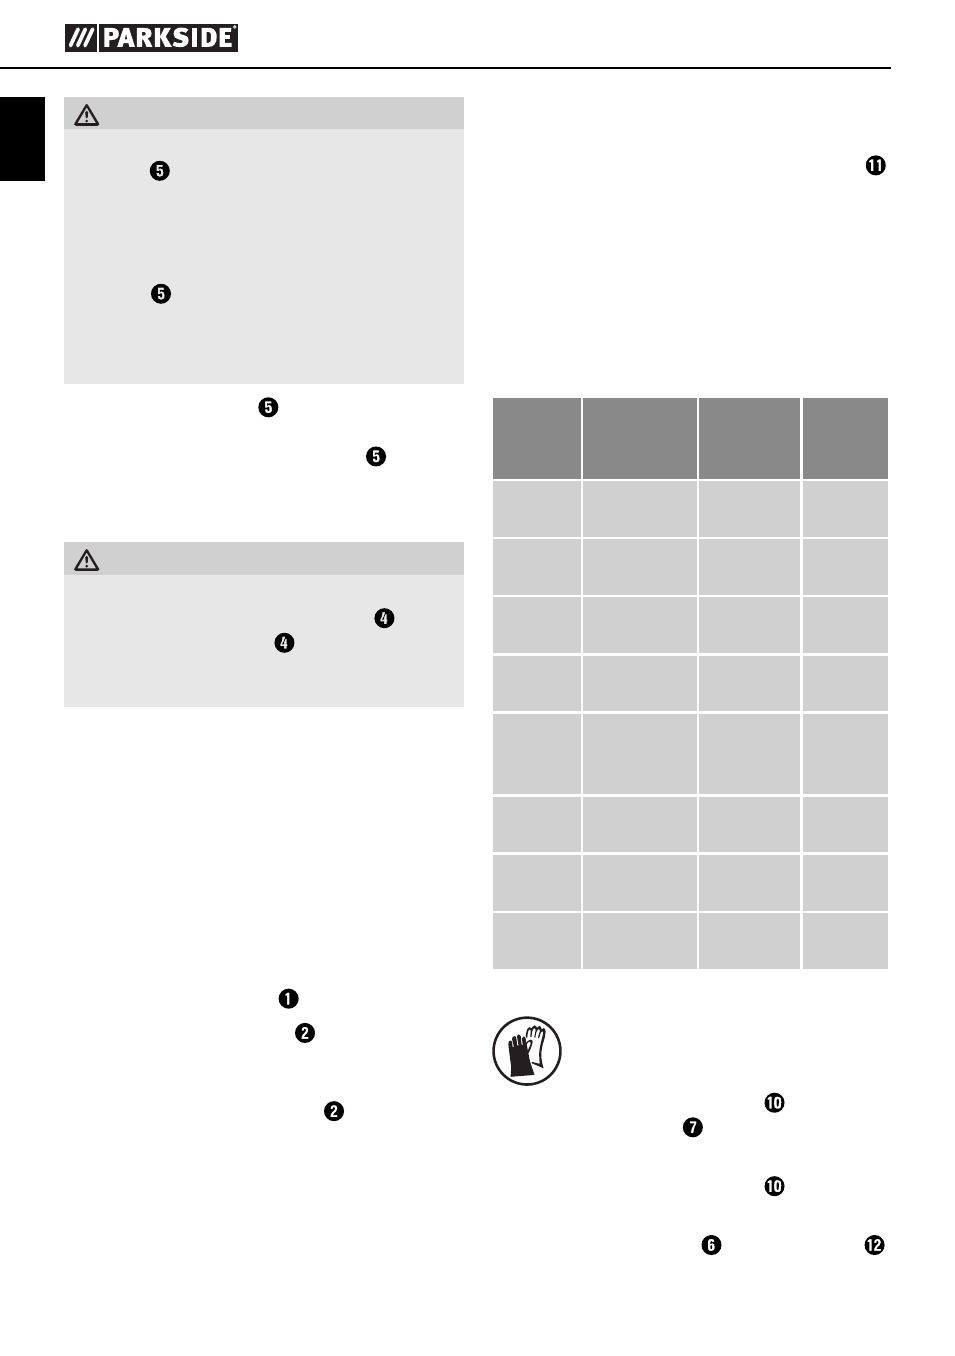
Rotation speed preselection:
Material Use
Tool
Ad-
justing
wheel
Plastic,
lacquer
Polishing
Lamb's
wool hood
1
Finishing
Felt polish-
ing disc
1
Metal
Finishing
Buffi ng
wheel
1
Paint
removal
Sanding
disc
2–3
Wood,
Metal
Brushes,
Rust removal
Cup brush,
Sanding
disc
3
Metal
Grinding
Grinding
disc
4–6
Metal
Roughing
Roughing
disc
6
Metal
Cutting
Cutting
disc
6
Changing grinding tools
Always wear protective gloves when
changing cutting/rough grinding discs.
♦
Press the spindle locking button only when
the mounting spindle is at a complete stand-
still (see Fig. A).
♦
Press the spindle locking button to lock the
mechanism.
♦
Undo the tensioning nut using the spanner
(see Fig B).
IB_102828_PWS125A1_LB4.indb 10
22.08.14 12:03