Sending and receiving mail – Casio BE-300 User Manual
Page 72
72
2. In the Account name box, input the name you want to give to the new account.
3. Tap the
L button next to the Use connection setting box, and then select a connection setup
from the list of providers that appears.
4. Tap OK.
• This creates the new account and returns to the account/folder list screen.
NOTE
If you do not want to select an existing setup in step 3 of the above procedure, tap New
connection setup and then create a new setup. See “3-2 Connections” on page 54 for details on
creating a new connection setup.
Sending and Receiving Mail
There are three different ways you can send and pick up mail.
• Send and pick up mail at the same time
This operation is performed from the account/folder list screen, and it sends all mail currently in
the Queue folder and picks up all mail waiting on the server.
• Pick up mail
This operation is performed from the account/folder list screen, and it picks up all mail waiting on
the server, without sending any mail.
• Send mail
This operation sends all mail currently in the Queue folder only, without picking up any mail. You
can also send one particular mail message alone.
• The procedure below can be used to send and receive mail at the same time or to pick up mail.
• Use the procedure under “Creating an Outgoing Mail Message” on page 74 to send mail only.
To send and pick up mail
1. Start up Mail and display the account/folder list.
2. Select the account you want by tapping it.
3. Tap Send & Receive.
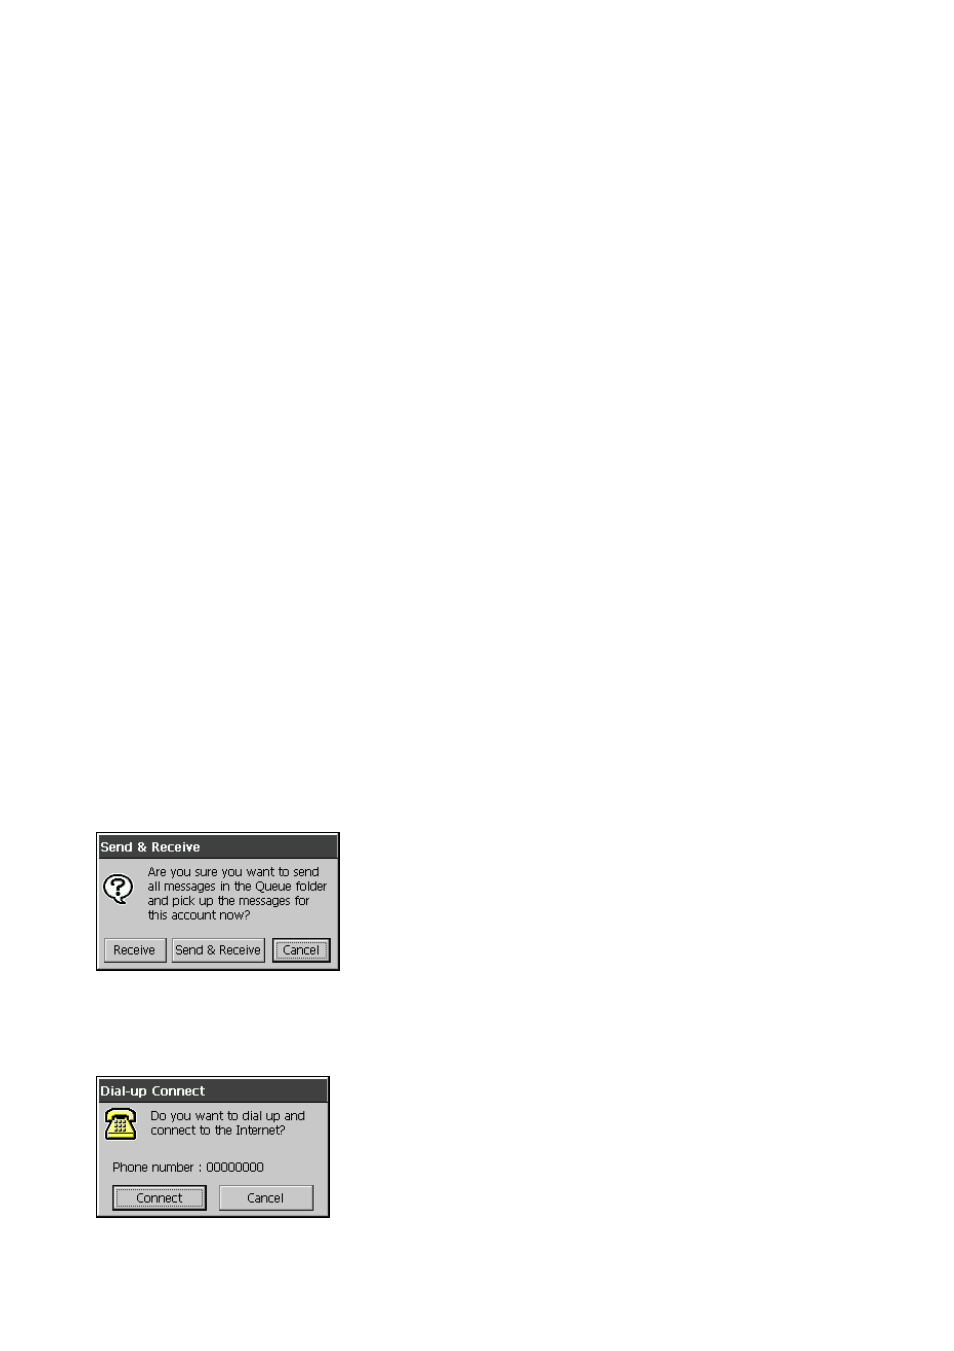
• This displays a dialog box like the one shown below.
4. Tap either Receive or Send & Receive, depending on the type of operation you want to
perform.
• If you are using a dial-up connection, the dialog box shown below appears. Tap Connect.