Casio Logo Transfer User Manual
Page 5
5
9.
On the “Open File” dialog box that appears, select the applicable logo header
data (.cph) and then click [Open].
z This will return to the CASIO Projector LOGO Loader window. At this time, check to make sure
that “Format: OK” is displayed to the right of “LOGO Header File”.
If it isn’t it could mean that the logo header data you are using is intended for a different
projector model or that there is a problem with the logo header data. If this happens, go to the
CASIO website and download the correct logo header data for your projector and then
perform this procedure from step 8 again.
10.
Click the [Choose] button next to “Image File”.
11.
On the “Open File” dialog box that appears, select the image file you want to use
as the user logo, and then click [Open].
z This will return to the CASIO Projector LOGO Loader window. At this time, check to make sure
that “Format: OK” is displayed to the right of “Image File”.
If it isn’t, it could mean that there is some problem with the image file you selected as a user
logo file. If this happens, repeat this procedure from step 10 above, making sure that the logo
file you select matches the required specifications under “User Logo Image Files” (page 3).
12.
Click the [Upload] button.
z This will start transfer of the logo header data and the image file to the projector. The
projector’s POWER indicator will go out to indicate that data transfer is in progress. The
CASIO Projector LOGO Loader window on the computer screen will show a progress bar that
indicates the progress of the transfer.
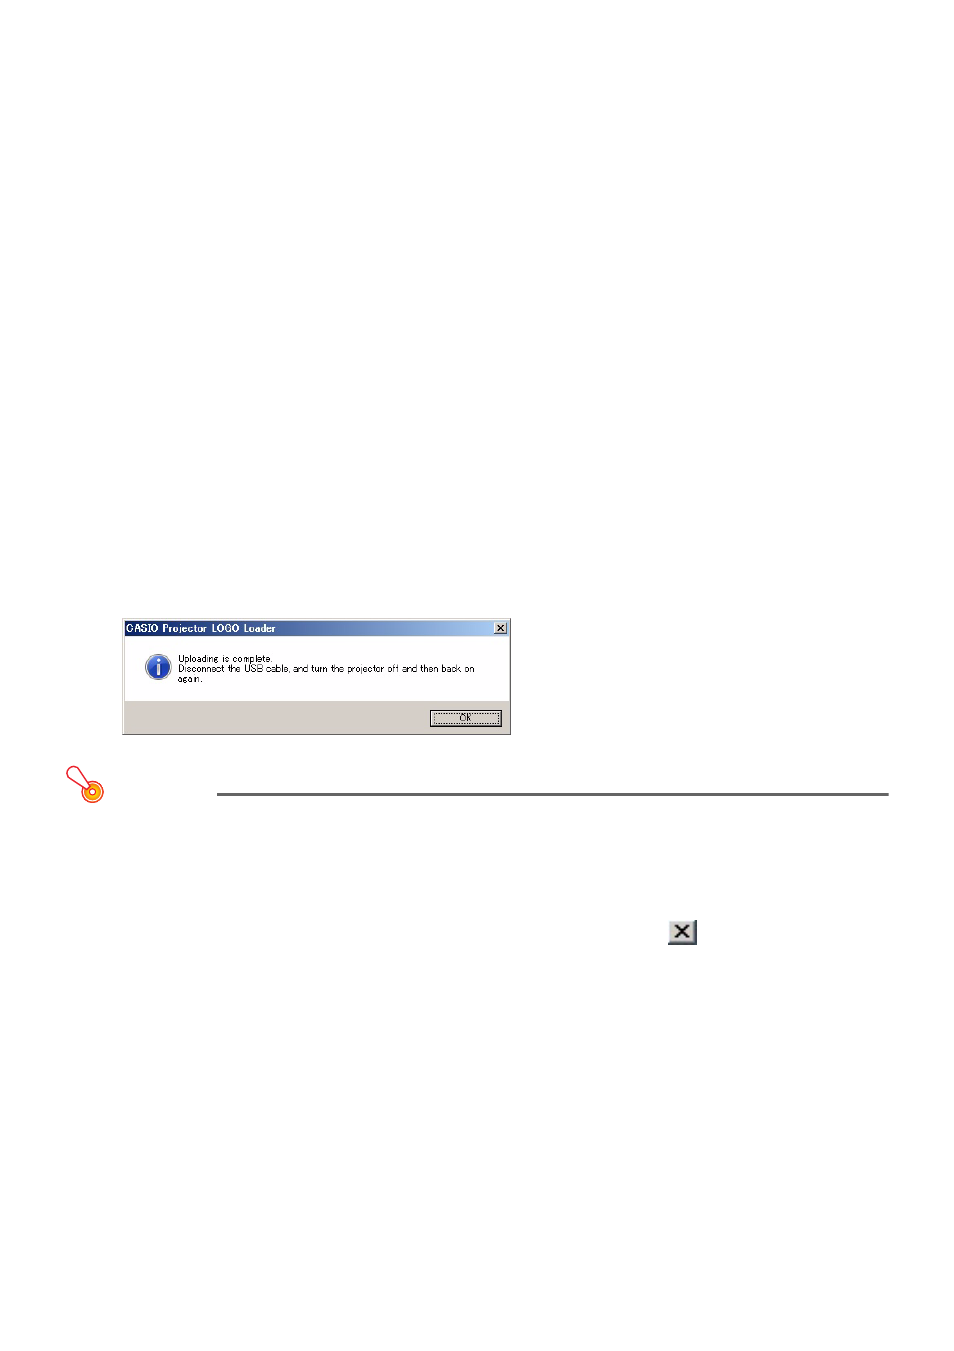
z The dialog box shown below will appear and the projector’s POWER indicator will flash amber
when transfer is complete.
Important!
Do not turn off the projector or computer, and do not disconnect the USB cable connecting the
projector and computer while data transfer is in progress.
13.
Click the [OK] button to close the dialog box.
14.
Exit CASIO Projector LOGO Loader by clicking the close (
) button in the
upper right corner of its window.
15.
Disconnect the USB cable connecting the projector to the computer, and then
unplug the projector power cord from the power outlet.