Basic yp-100 operations – Casio YP-100 Getting Started User Manual
Page 17
E-17
Basic YP-100 Operations
E
nglis
h
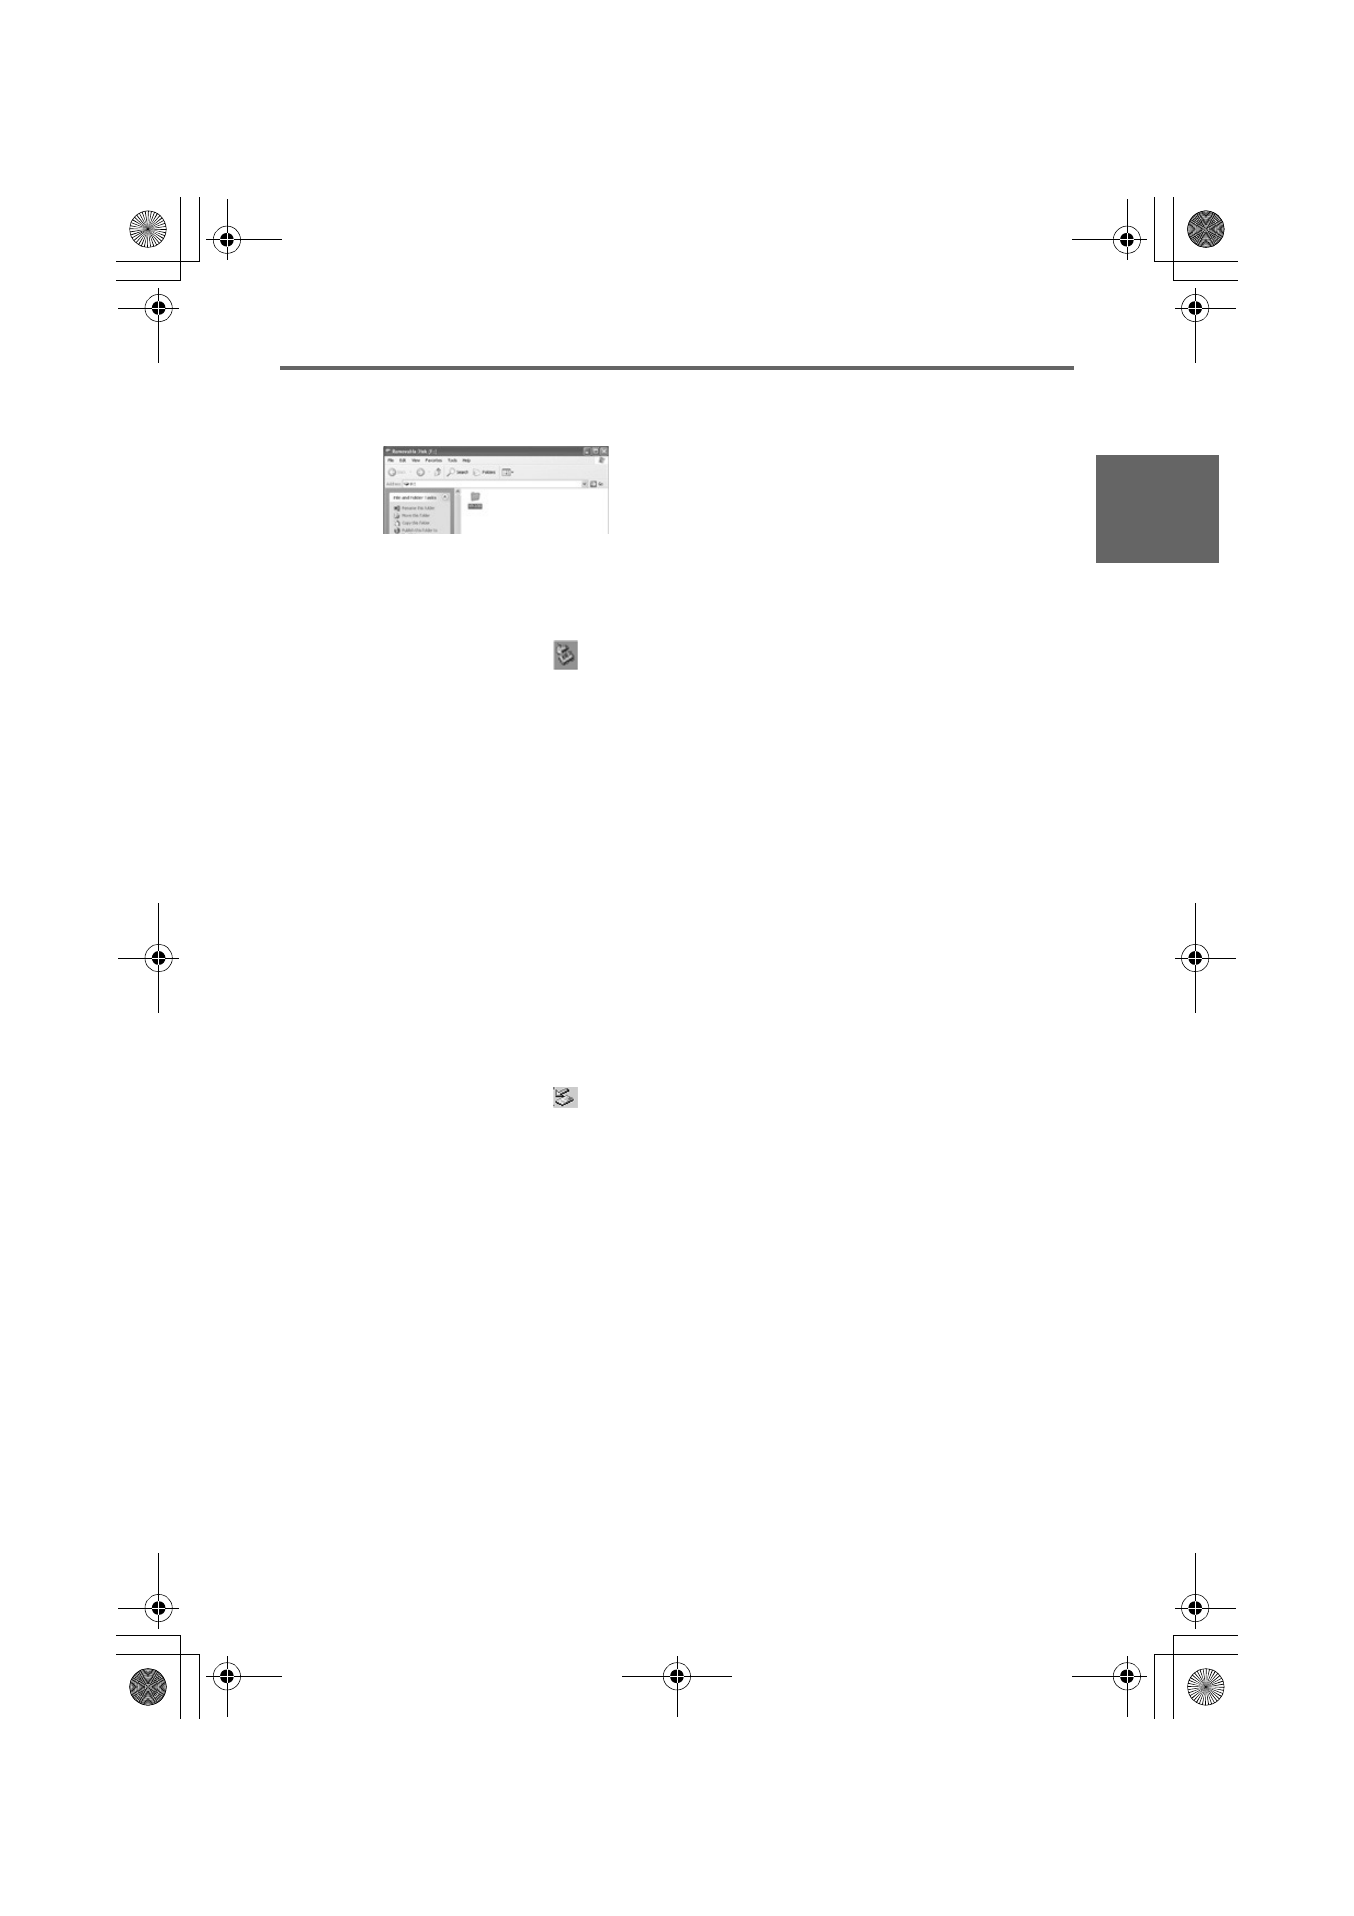
4. Enter “YP-100” and then press the [Enter] key.
z This will create a folder named “YP-100”.
5. Drag the image files to the “YP-100” folder.
z This will copy the image files into the folder.
z Be sure to copy only JPEG (jpg, jpeg or jpe) or BMP (bmp) format image files into
the folder. Other formats are not recognized by the YP-100.
6. On the taskbar, click the
(Safely Remove Hardware) icon. On the menu that
appears, click “Safely remove USB mass storage device - Drive(X)”.
z This will display the “Safe To Remove Hardware” message.
7. Remove the USB memory device from the computer’s USB port.
■ If your computer is running Windows 2000
1. Insert the USB memory device into your computer’s USB port.
2. Double-click the “My Computer” icon and then double-click “Removable Disk (X:)”.
z This will display the USB memory device contents in Windows Explorer.
3. On the [File] menu, click [New] and then [Folder].
4. Enter “YP-100” and then press the [Enter] key.
z This will create a folder named “YP-100”.
5. Drag the image files to the “YP-100” folder.
z This will copy the image files into the folder.
z Be sure to copy only JPEG (jpg, jpeg or jpe) or BMP (bmp) format image files into
the folder. Other formats are not recognized by the YP-100.
6. On the taskbar, click the
(Hardware Unplug/Eject) icon. On the menu that
appears, click “Stop USB mass storage device - Drive(X)”.
z This will display a “Safe To Remove Hardware” dialog box.
7. Click the [OK] button and then remove the USB device from the USB port of the
computer.
YP100_Guide_E.book 17 ページ 2006年8月8日 火曜日 午後3時16分