Casio YP-100 Getting Started User Manual
Page 18
Basic YP-100 Operations
E-18
2.
Connect the projector to the YP-100, referring to “Connecting a Projector” (page E-13).
3.
Use the procedure under “Turning On Power” on page E-14 to turn on the YP-100.
z This will cause the YP-100’s [POWER] indicator to light green. The YP-100 logo screen
also will be projected by the connected projector.
4.
Plug the USB memory device you prepared in step 1 into the YP-100’s USB port.
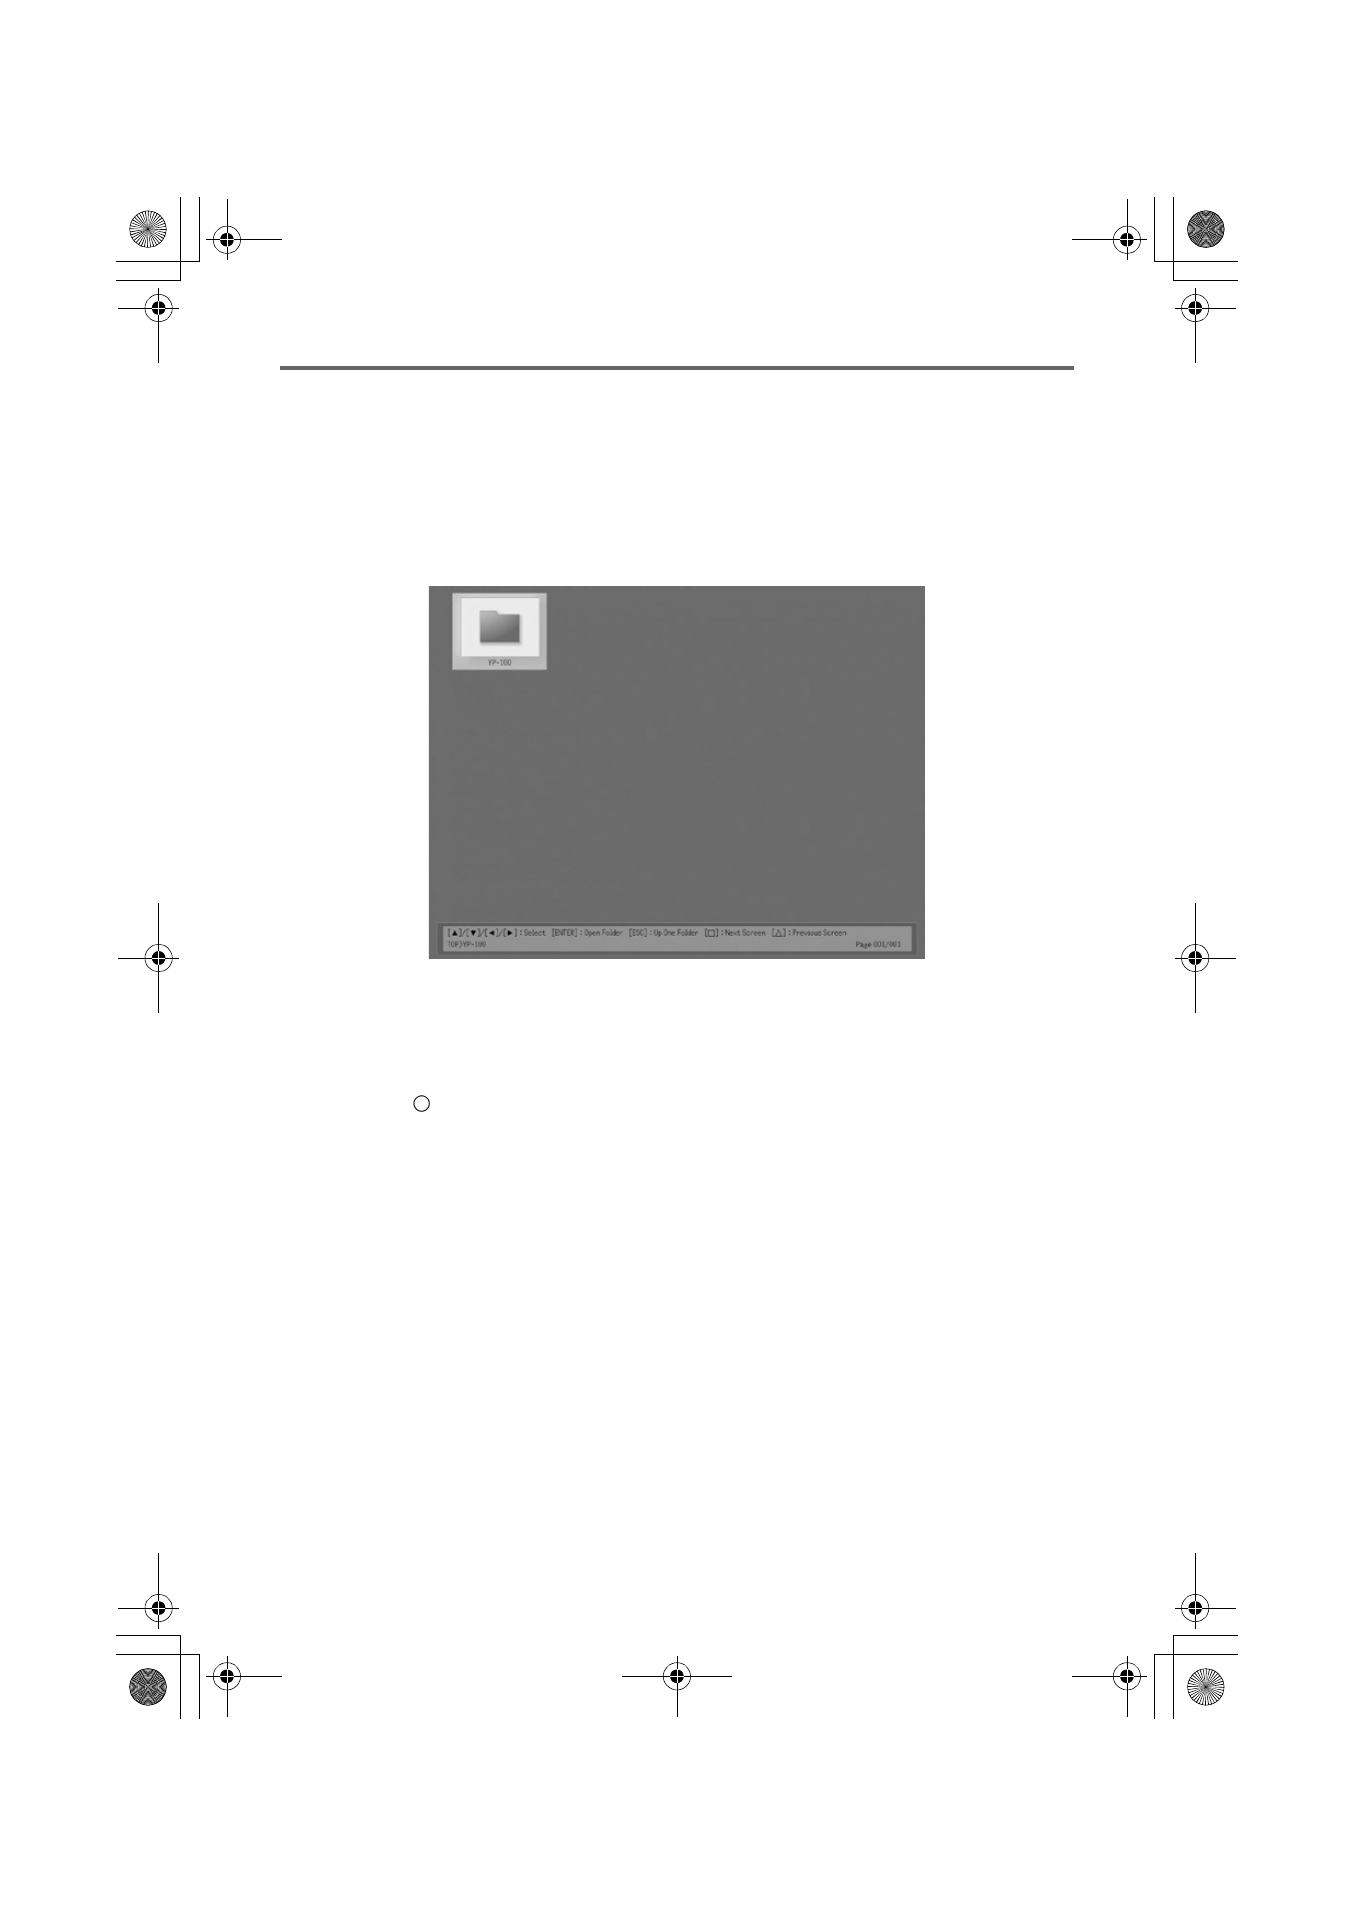
z Once the YP-100 recognizes the USB memory device, Viewer will start up automatically
and a menu of the files contained on the USB Memory Device will appear in the
projection area.
5.
Use the remote controller’s cursor keys to move the highlighting to the “YP-100” folder
and then press the [ENTER] key.
z This will display a list of image files contained in the folder, arranged in alphabetical
sequence on the file names.
6.
To start a slideshow of the image files in the “YP-100” folder, press the remote
controller’s [
] key.
z This will project the first image file of the folder so it fills the entire projection area.
z To scroll to the content of the next image file, press the [X] key. To scroll to the content
of the previous image file, press the [
W] key.
7.
To end the slideshow, press the remote controller’s [ESC] key.
YP100_Guide_E.book 18 ページ 2006年8月8日 火曜日 午後3時16分