Casio BE-300 Viewing Photographs on CASSIOPEIA User Manual
Page 8
Advertising
[ Viewing photographs on CASSIOPEIA ]
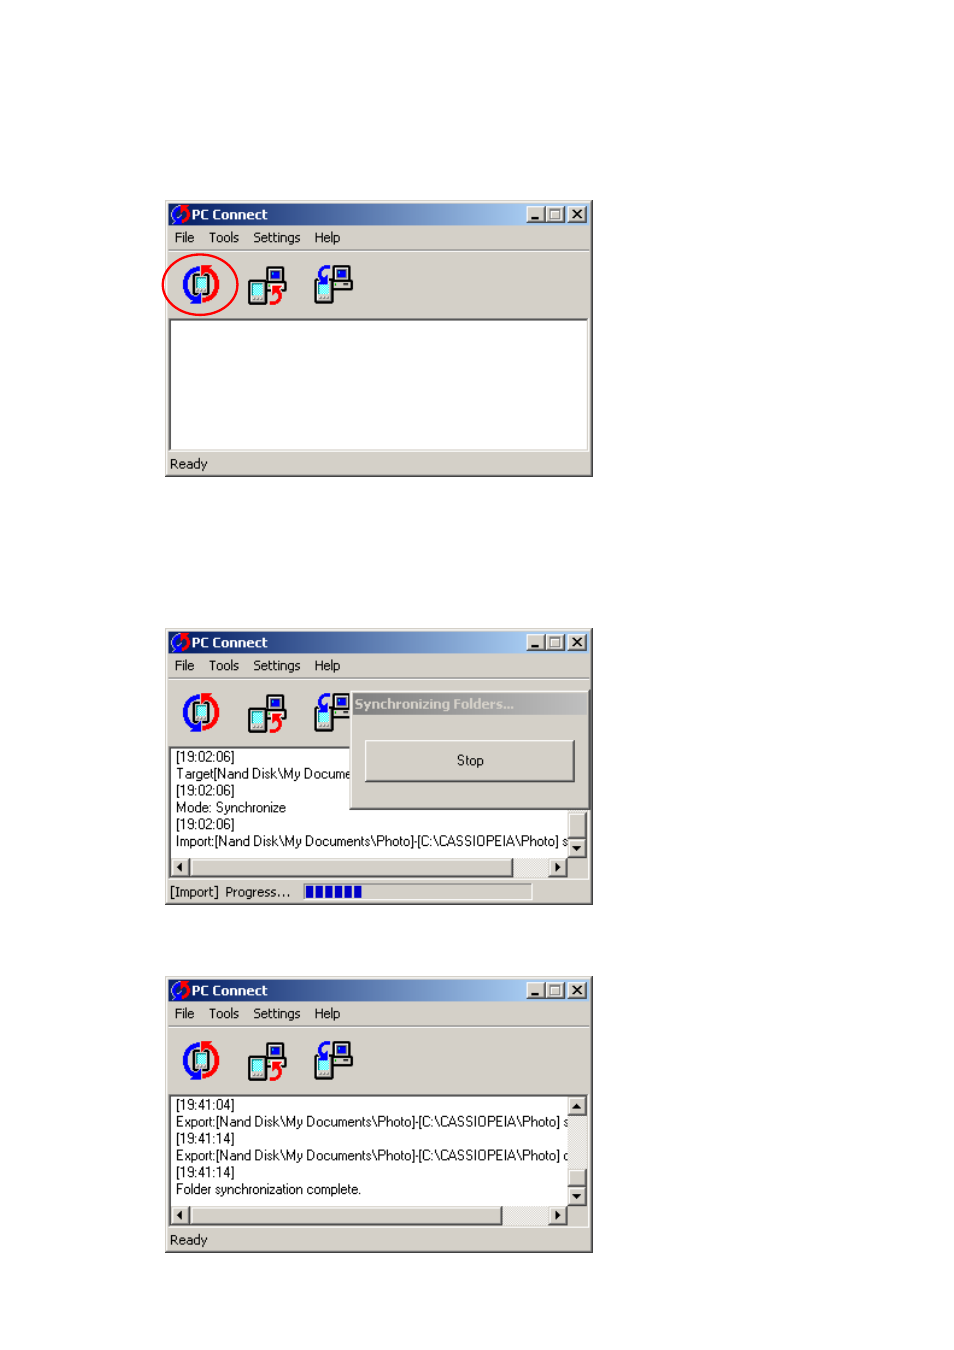
(5) Click the [Synchronize] button (shown in the red circle below), and any folders that
did not already exist when they were set in Step 3 will be automatically created.
(Initial setting --> C:¥CASSIOPEIA¥Photo)
(6) Use an application like File Explorer to put photograph data files into the PC folder
that was created by Step 5. (Initial setting --> C:¥CASSIOPEIA¥Photo) Then click
the [Synchronize] button again.
(7) Synchronization will start, and the window shown below will appear.
(8) When synchronization is complete, the PC Connect window will appear as shown
below, and the photo files will have been transferred.
Advertising