Start-up / troubleshooting / maintenance/ cleaning, Functionality / start-up, Troubleshooting – Livarno 54318 User Manual
Page 9: Maintenance/ cleaning
9
GB
Start-up / Troubleshooting / Maintenance/ Cleaning
Unscrew the two screws
a
on the underside
counter-clockwise using a suitable cross-tip and
remove the
b
housing from the remainder of
the module (see Fig. B1).
Then also unscrew the three screws
c
on the
underside of the cover counter-clockwise using
a suitable cross-tip screwdriver and remove the
cover
d
from the remainder of the module
(see Fig. B2).
Remove the battery
f
and replace with a
new, charged rechargeable battery of the
same type (see „Technical Data“). Please note
the polarity (+/-) when inserting the rechargea-
ble battery (see Fig. B3).
Now reattach the cover
d
to the solar cell
e
and secure clockwise using the three screws
c
.
Then reattach the housing
b
and secure
clockwise using the two screws
a
.
Reattach the solar module
5
to the spacer
tube
2
or
3
.
Set the switch
g
back to ON.
Screw the sphere
4
all the way onto the solar
module
5
turning clockwise.
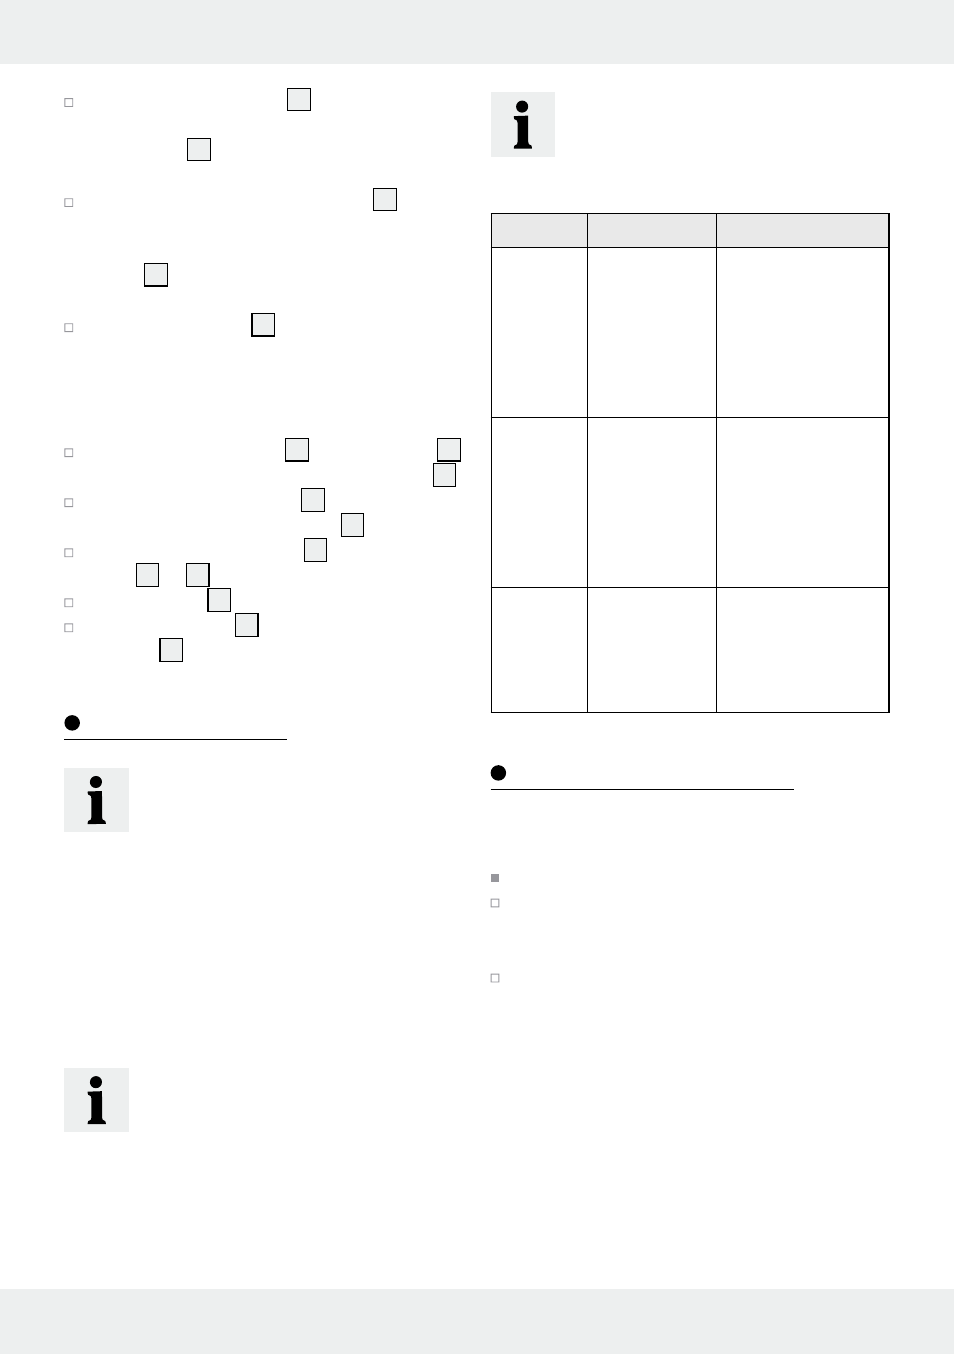
Troubleshooting
NOTE
The device contains delicate electronic
components. For this reason it is possible
that it can be disrupted by radio trans-
mitting equipment in the immediate
vicinity. These could be e.g. mobiles,
two-way radios, CB radios, wireless re-
mote controls/other remote controls and
microwaves. If you notice that the device
is malfunctioning, remove any sources of
interference from the area of the device.
NOTE
Electrostatic discharges can lead to
malfunctions. In the event of such mal-
functions briefly remove and reinsert the
rechargeable batteries.
NOTE
The power of the rechargeable battery
varies according to the weather and will
be higher in summer than in winter.
Fault
Cause
Solution
LEDs
won't light
up
Surroundings
are too bright
or light from
other light
sources is hit-
ting the solar
light
Change the loca-
tion (away from
e.g. yard or street
lighting)
Weak
LED light
Battery not
fully charged
or defective
Charge the re-
chargeable battery
with a charger or
replace with a new
rechargeable bat-
tery (see "Replac-
ing the battery")
LEDs
defective
The LEDs cannot be
replaced. Dispose
of the product
properly (see
"Disposal")
Maintenance/ Cleaning
The LEDs cannot be replaced. The solar light is
maintenance-free.
Never use caustic cleaners.
Regularly clean the solar light with a dry, lint-
free cloth. Use a slightly moist cloth to remove
any stubborn dirt.
Replace the rechargeable batteries if the light
on time decreases noticeably after some time
despite good sun exposure (see chapter „Re-
placing the battery“). Only use rechargeable
batteries of the right size and of the recom-
mended type (see section „Technical data“).
Functionality / Start-up