RISCO Group WL RWS401 User Manual
Page 4
Wireless Sounder Instructions
4
Mounting the Sounder
To mount the sounder follow this procedure:
1. Open the front cover by removing the case locking screw located at the bottom of
the unit.
2. Hold the mounting pattern template (supplied) against the wall and mark the
locations for the mounting holes (4 mounting holes are available).
Drill the desired
mounting holes and place the screw anchors.
3. Mount the back unit to the wall using the supplied screws, 3.9mm, 32mm length
screws (DIN 7981 3.9X32 ZP).
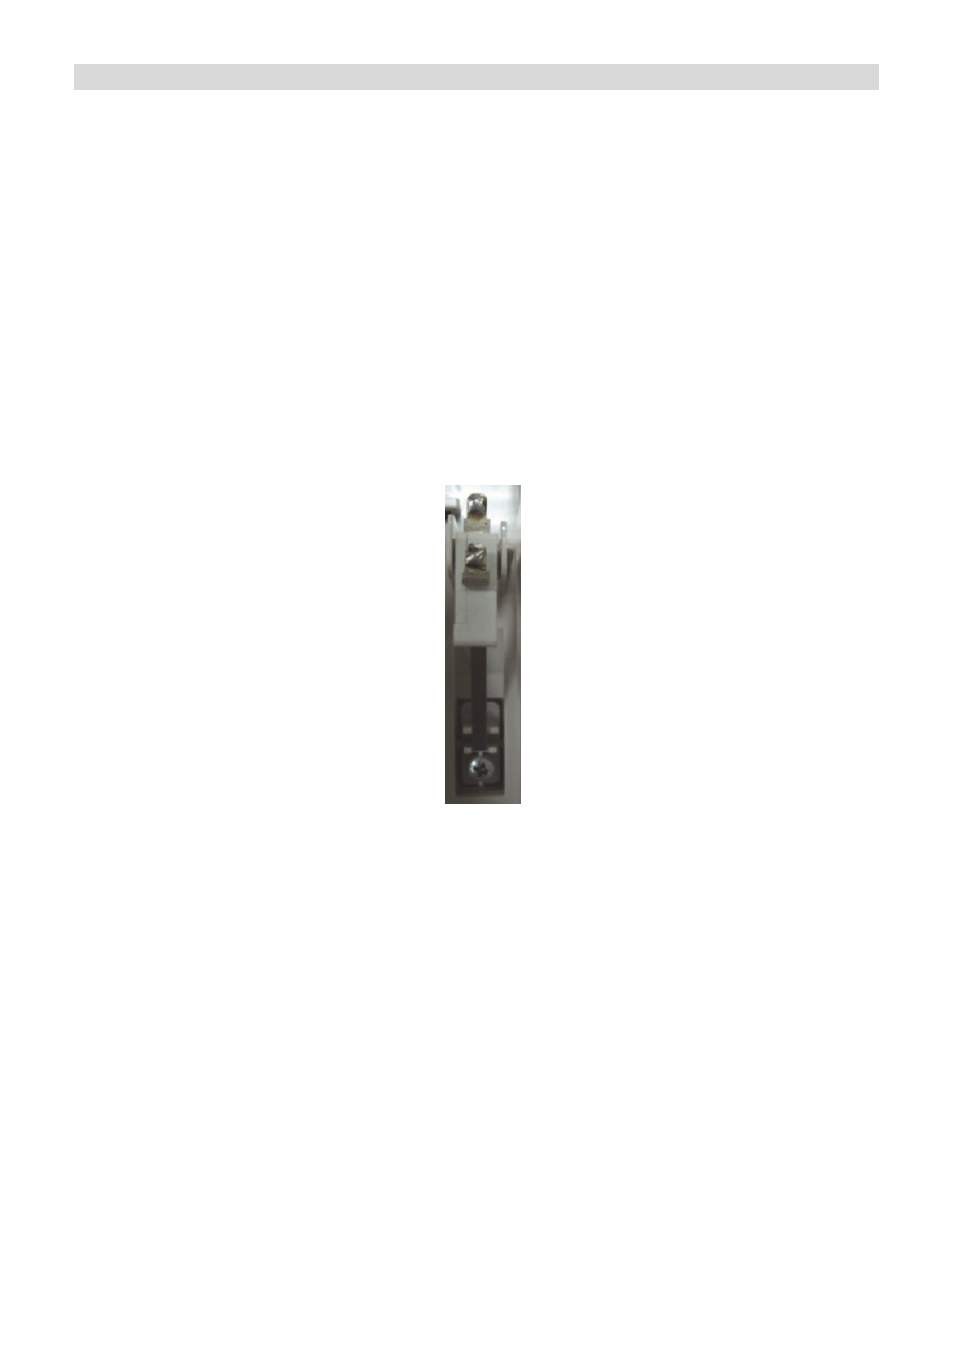
4. Insert a tamper screw into a tamper hole -- see the figure below.
5. Access to the PCB is gained by releasing the inner cover retaining the clip and
lifting the cover upward (rotating it on its axis).
6. Insert the supplied batteries in the metal clips according to the polarity. The
sounder is ready for communication set up with the system.
Tamper Screw
7. After the sounder is trained, Close the inner cover, re-attach the front cover and
lock the Cover Screw Assembly.