Setup from the camera menus, Press k when the dialog at right is displayed, Turn the camera on ( a6) – Nikon Coolpix A300 User Manual
Page 18
8
Getting Started
5
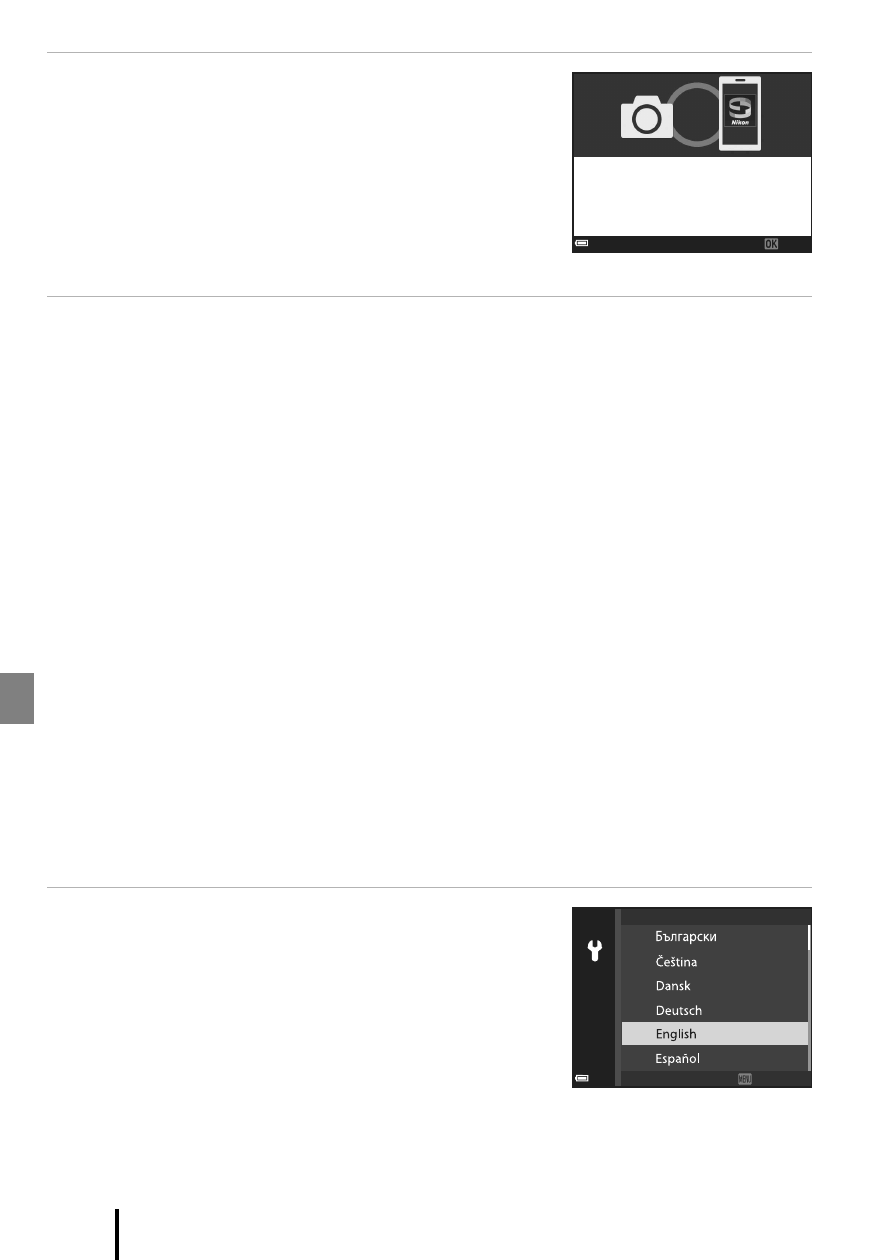
Press
k when the dialog at right is
displayed.
• When a constant connection between the camera
and smart device is established, the dialog at right
is displayed.
• If the camera displays Could not connect., press
k to return to Step 3. To cancel pairing settings,
press
d.
6
Follow the on-screen instructions to complete the setup
process.
• To record location data with photographs, select Yes when prompted and enable
the location data features both in the SnapBridge app and on the smart device itself
(for more information, see the documentation provided with the smart device).
• You can also synchronize the camera clock to the time reported by the smart device
by selecting Yes when prompted and enabling synchronization in the SnapBridge
app. If you select No, set the camera clock from the menus as described in Step 2 on
page 9.
• Setup is complete when the camera returns to the shooting display.
• See page 10 for more information on using SnapBridge.
B
Where the Use of Wireless Devices Is Prohibited
Where the use of wireless devices is prohibited, disable wireless features in the camera
network menu by selecting On for Airplane mode. This will temporarily interrupt the
constant connection with the smart device, but the connection is automatically re-
established when airplane mode is turned off.
Setup from the Camera Menus
The camera clock can be set manually.
1
Turn the camera on (
• A language selection dialog will be displayed. Press
H or I on the multi selector to highlight a
language and press
k to select.
• The language can be changed at any time using
the Language option in the setup menu (
A19).
Next
Your camera and smart device are
connected!
SnapBridge will send your photos to
your smart device as they are taken.
Language
Cancel
Cancel