Chapter 3: installation, 1 mounting, 1 rack mounting – Agema AG7448 User Manual
Page 11
8
• Installation
Chapter 3
Chapter 3: Installation
3.1 Mounting
This switch can be mounted in a standard 19-inch equipment rack or on a horizontal surface.
Mounting instructions for each type of site follow.
3.1.1 Rack Mounting
Prior rack mounting the switch, pay particular attention to the following factors:
•
Mechanical Loading: Do not place any equipment on top of a rack-mounted unit.
•
Circuit Overloading: Be sure that the supply circuit to the rack assembly is not overloaded.
•
Grounding: Rack-mounted equipment should be properly grounded. Particular attention
should be given to supply connections other than direct connections to the mains.
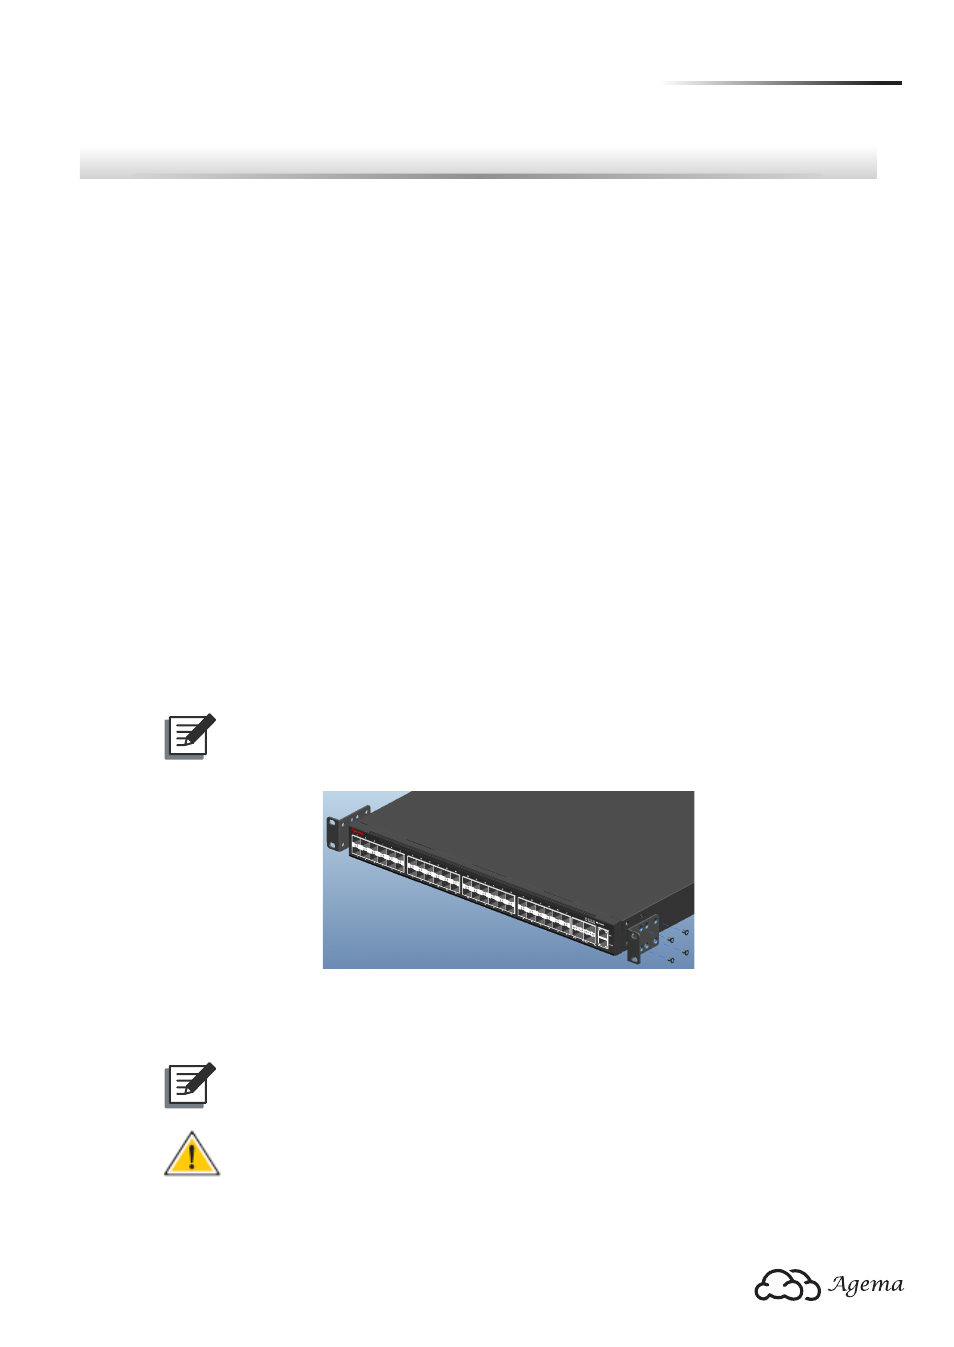
To rack-mount devices:
1. Attach the two brackets to the device using the eight M4 screws provided in the rack
mounting kit.
NOTE:
The switch can also be mounted in a rack using a rack shelf or rack “L” brackets.
(Figure 3-1: Attaching the Brackets)
2. Mount the device in the rack, using four 12-24 rack-mounting screws.
NOTE:
Rack screws and clip nuts are not supplied in the rack-mounting kit.
CAUTION:
Due to the switch’s weight, it should be installed by at least two people.