Locking the edid settings, Using the front panel – Zektor Palladia™ 8X8 User Manual
Page 19
HDA800(V2) User Guide, Version 1.3, 9/12/13
19
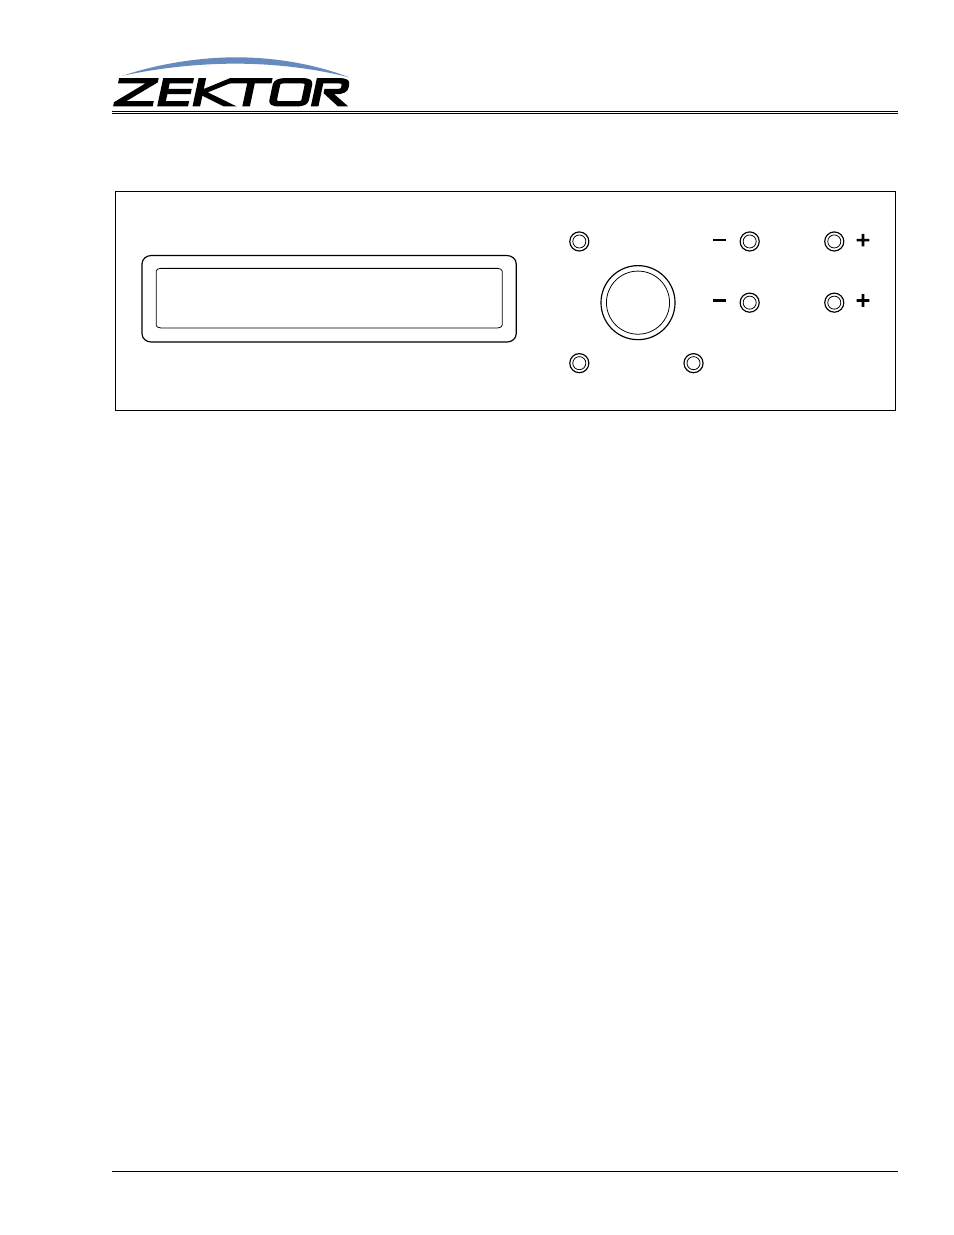
Using the Front Panel
Locking the EDID settings
Locking the EDID will prevent EDID changes from registering with the switch. When the EDID is
locked, all changes to the sources and zones will be ignored.
Audio Video Receivers can sometimes change their EDID settings when power is cycled.
When an A/V receiver is on, it will supply its own EDID indicating what type of audio it can play and
what kind of video it can display, or pass through to a monitor. When the receiver’s power is turned
off, some receivers can act like they’ve been unplugged (removing the EDID completely), others will
pass the EDID of the monitor attached to its output. To the switch, either of these occurrences is indis-
tinguishable from a zone that’s either had the receiver unplugged, or replaced by a monitor.
Anytime a zone’s EDID changes, the zone must be authenticated with the attached sources. The
authentication process will cause the zones to blank as the EDID keys are read, and the HDCP keys are
negotiated.
To prevent display blanking each time a receiver is turn on or off, the EDID settings should be locked.
Once locked, all EDID settings will be ignored, and displays will not flicker when an A/V receiver is
powered cycled.
Note: When the EDID settings are locked, any EDID changes will be ignored, this includes the addi-
tion of any new equipment. If any equipment is to be added or removed from the current setup, you
must first unlock the EDID settings, or the changes will not be registered.
The A/V receivers should be in their powered on state when the EDID is locked. Before locking, you
should verify the installation (See: “Validating the installation of the HDA800(V2)” on page 26), this
will cause all EDIDs and HDCP keys to be cached. Once this is done you can lock the EDID settings.
To lock/unlock the EDID settings:
If the LCD display is not at showing the main menu press the MENU button.
Use the SELECT knob to select the “EDID Lock” option: Setup > ELock
Use the EDID Lock menu to either verify the current settings, or to lock or unlock the EDID set-
tings.
Note: After locking the EDID settings you should save all EDID/HDCP settings so that they will be
retained after a power cycle (See: “Saving the EDID/HDCP settings” on page 20). If the settings are
not saved they will be lost the next time the switch is powered off.
EDID: Unlocked
{Unlock} Lock Cancel
SELECT
MENU
ZONE
SETTING
NEXT
BACK