Getting started tutorials, Create pdf – Adobe Acrobat 9 PRO Extended User Manual
Page 13
7
USING ACROBAT 9 PRO EXTENDED
Getting started
Last updated 9/30/2011
Getting started tutorials
The step-by-step tutorials in this section help you get started with Acrobat 9. You’ll learn how to create PDFs using
PDFMaker; share documents with colleagues for review and discussion; create interactive, electronic forms; assemble
documents of various formats into a single PDF Portfolio; and securely sign documents digitally.
For more tutorials and videos about all that you can do with Acrobat, see the following online resources:
•
•
•
•
•
Create PDF
Creating PDFs using Acrobat PDFMaker (Windows)
Convert your business documents to Adobe PDF with a single click. Acrobat PDFMaker simplifies the process of
converting documents to PDF in several business applications, including Microsoft Office applications and Lotus
Notes. When you install Acrobat, it adds PDFMaker controls to compatible applications automatically.
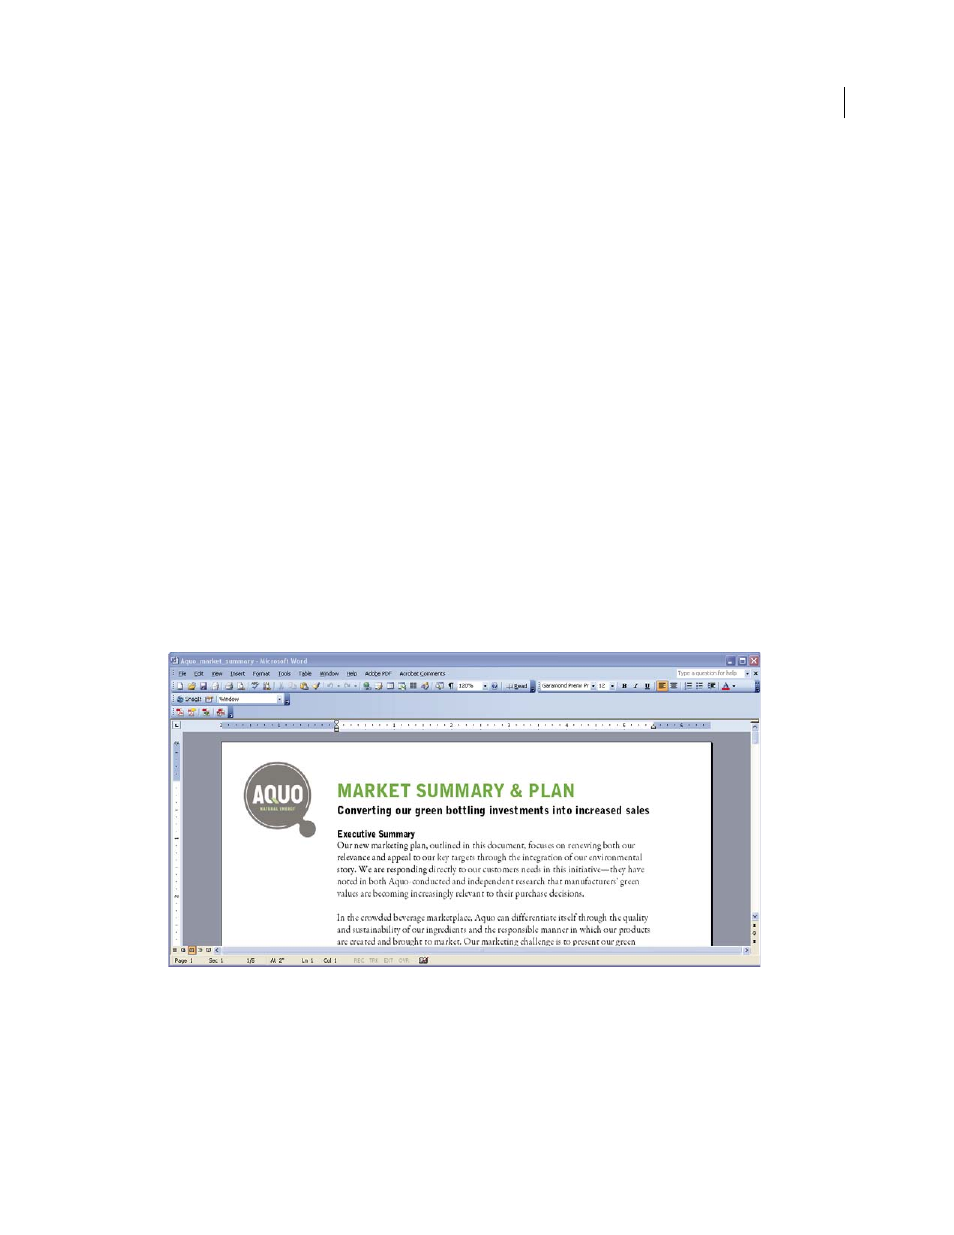
1 Create your document.
Create and finalize the document in the authoring application that supports PDFMaker. Save the document.
Document in an application that converts to Adobe PDF
2 Select PDF conversion settings.
In the authoring application, choose Adobe PDF > Change Conversion Settings. If you’re using Lotus Notes, choose
Actions > Change Adobe PDF Conversion Settings. If you’re using a Microsoft Office 2007 application, click
Preferences in the Acrobat ribbon.