Change position keyframes in a motion path, Move a clip along a curve – Adobe Premiere Pro CS4 User Manual
Page 290

284
USING ADOBE PREMIERE PRO CS4
Effects and transitions
Last updated 11/6/2011
6
Move the current-time indicator in either the Timeline or the Effect Controls panel to the time at which you want
to define a new value for the property (and thereby a new keyframe).
7
Manipulate the clip in the Program Monitor to set a new value for each property for which you set keyframes in
step 3. A new Keyframe icon appears in the Effect Controls panel at the current-time indicator.
8
Repeat steps 5 and 6 as needed.
When you animate a clip, it can be useful to reduce the Program Monitor’s magnification level. This way, you can see
more of the pasteboard area outside the visible area of the screen and can use it to position the clip off screen.
9
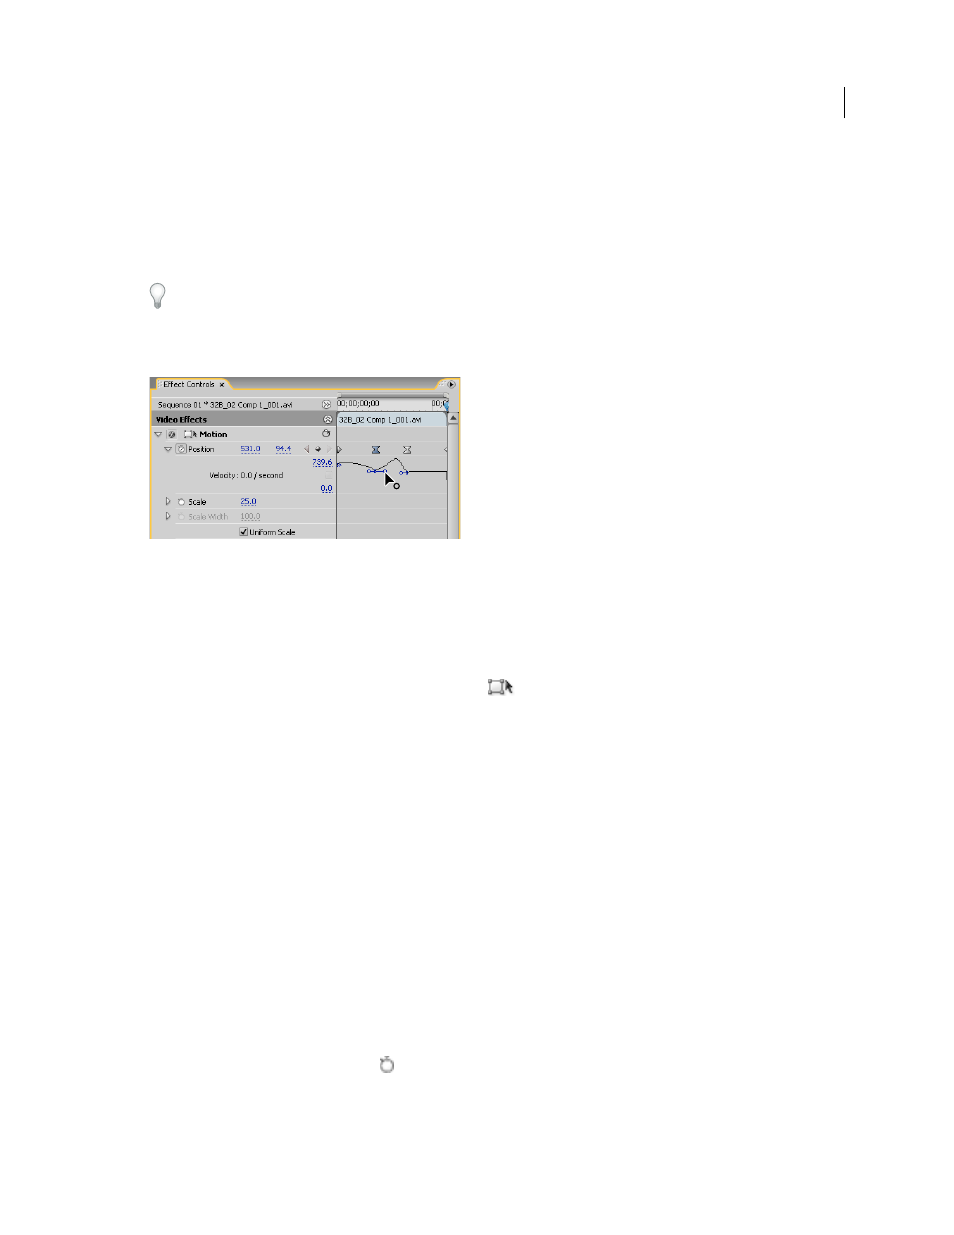
In the Effect Controls panel, drag the Bezier handle for a Position, Scale, Rotation, or Anti-flicker Filter property
keyframe to control the acceleration of change for that property.
Dragging a Position Bezier handle in Effect Controls to create a curved motion path
Change Position keyframes in a motion path
You can change the value of a Position keyframe, and thereby adjust your motion path, simply by dragging the Position
keyframe (indicated by a white X) in the Program Monitor.
1
Select a clip that has Motion effect keyframes.
2
In the Effect Controls panel, click the Transform icon
next to Motion. The clip’s motion path appears in the
Program Monitor.
3
Do any of the following:
•
To move an existing keyframe, drag the keyframe handle in the Program Monitor.
•
To create a new position keyframe, set the current-time indicator between existing keyframes and drag the clip in
the Program Monitor to the desired location. A new keyframe appears in the Effect Controls panel, the Program
Monitor, and in the clip in the Timeline panel.
Note: This procedure changes the position value at a keyframe. To change the timing of keyframes, move Keyframe icons
in the Effect Controls panel.
Move a clip along a curve
You can move a clip along a curve using Bezier handles in the Program Monitor.
1
Select a clip in a Timeline panel.
2
Move the current-time indicator in either a Timeline panel or the Effect Controls panel to the time where you want
to start the animation—any frame between the clip’s current In point and its Out point.
3
Click the triangle next to the Motion control in the Effects Controls panel.
4
Click the Toggle Animation button
next to the Position control to set the first keyframe.
5
Drag the current-time indicator in either a Timeline panel or the Effect Controls panel to the frame where you want
to end the animation.