Lcd contrast set, Manual time set, 12/24 hour time display – La Crosse Technology C86234 User Manual
Page 11: Date set
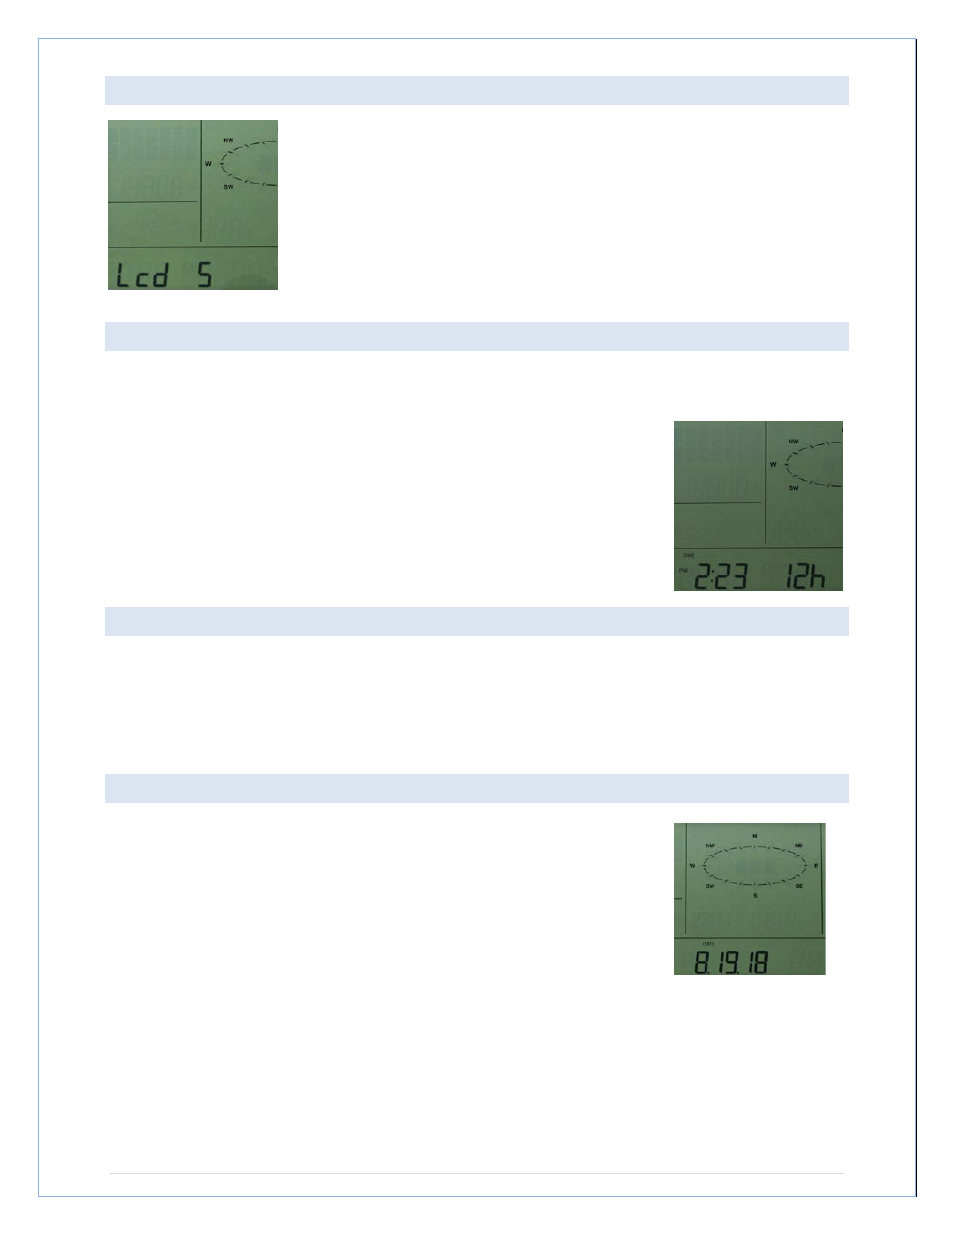
LCD CONTRAST SET
The LCD contrast can be set within 8 levels; from "Lcd 1" to "Lcd 8"
(default setting is "Lcd 5"):
1. Press and hold the SET button for 3 seconds; the contrast level
digit will start flashing.
2. Press the
▲/DATE button or ▼/RAIN button to adjust the level of
contrast.
3. Press the SET button to confirm and to enter the MANUAL TIME
SET.
MANUAL TIME SET:
The time will be updated automatically with the time from the computer when the display is
synchronized with the USB transceiver and connected to the Heavy Weather Pro software. The
time can be set manually by following the steps below.
1. The hour digit will flash.
2. Press the
▲/DATE button or ▼/RAIN button to set the hour.
3. Press the SET button to switch to the minutes. The minute digit
will flash.
4. Press the
▲/DATE button or ▼/RAIN button to set the minute.
5. Press the SET button to confirm and to enter the 12/24-HOUR
TIME DISPLAY.
12/24 HOUR TIME DISPLAY:
The time can be set as 12-hour or 24-hour format. To change the time display:
1. The "12h" or "24h" digits will flash.
2. Press the
▲/DATE button or ▼/RAIN button to toggle the value.
3. Press the SET button to confirm and to enter the DATE SET.
DATE SET:
The default date is 1. 1. of the year 2009. The date will be updated
automatically with the date from the computer when the display is
synchronized with the USB transceiver and connected to the Heavy
Weather Pro software. The date can also be set manually by following
the steps below.
1. The year digit will flash. Press the
▲/DATE button or ▼/RAIN
button to set the year. The range runs from "00" (2000) to "99"
(2099).
2. Press the SET button to confirm the year and enter the month setting. The month digit
will flash.
3. Press the
▲/DATE button or ▼/RAIN button to set the month.
4. Press the SET button to confirm the month and enter the date setting mode. The date
digit will flash.
5. Press the
▲/DATE button or ▼/RAIN button to set the date.
6. Press the SET button to confirm and to enter the °F/°C TEMPERATURE UNIT.
P a g e
| 11