Storm alarm on/ off set, Wind direction display type, Factory reset procedure – La Crosse Technology C86234 User Manual
Page 14
STORM ALARM ON/ OFF SET:
The storm warning display (flashing downward weather tendency arrow) can be accompanied
by a ring of the alarm. Switch the acoustic storm warning alarm On (AON) or Off (AOFF)
(Default OFF).
1. The digit "AOFF" will flash.
2. Press the
▲/DATE button or ▼/RAIN button to switch the alarm On or
Off. ("AOFF" = Off; "AON" = On)
3. Press the SET button to confirm and to enter the WIND DIRECTION
DISPLAY TYPE.
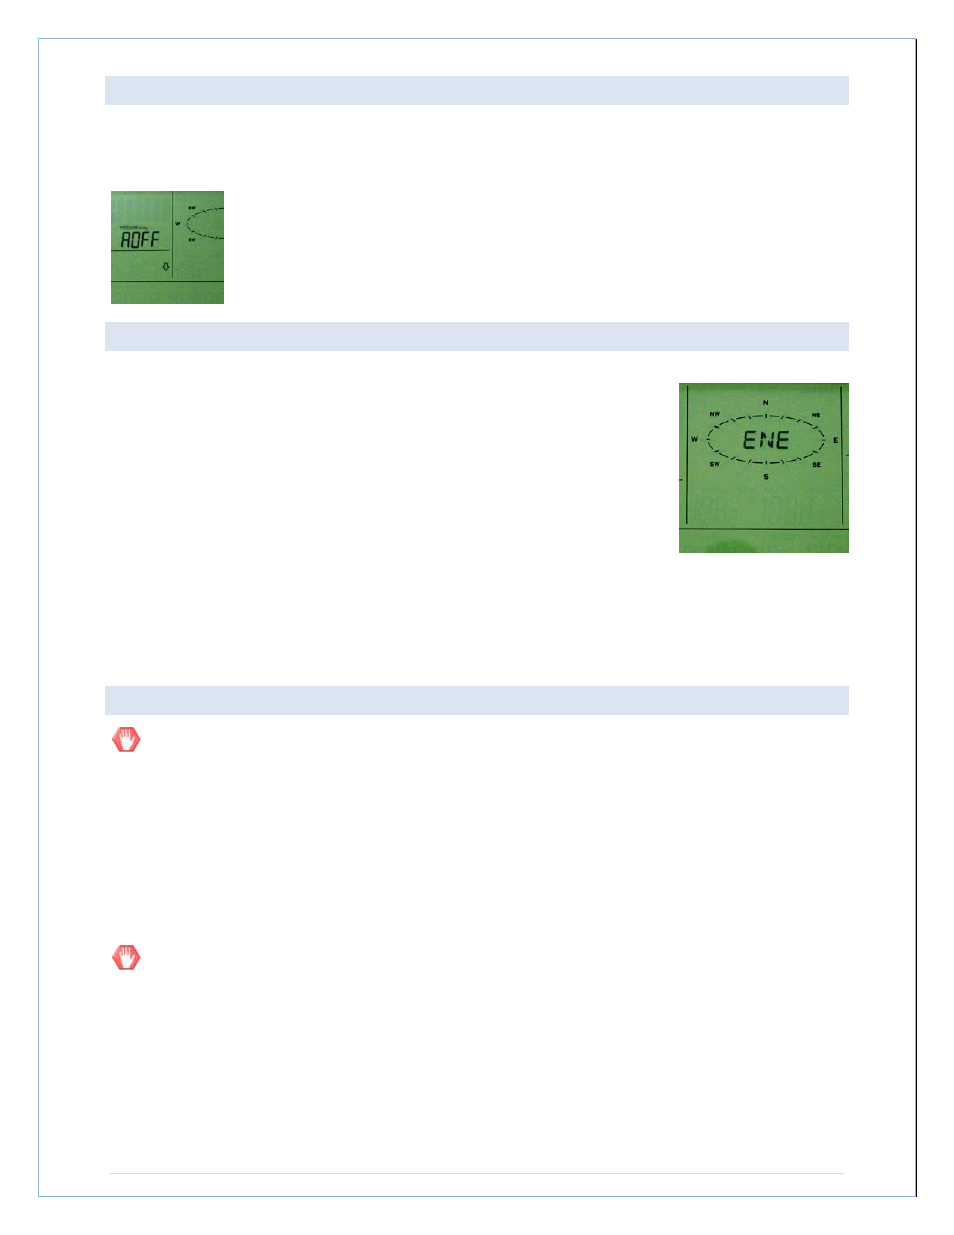
WIND DIRECTION DISPLAY TYPE:
The wind direction can be displayed using either compass directions or
degree measurements. N is equivalent to 0° on the compass. The
default setting is compass directions.
1. The wind direction will flash.
2. Press the
▲/DATE button or ▼/RAIN button to toggle from
compass directions to degree measurements.
3. The next steps in SET mode is the factory reset, so unless you
wish to reset the display to factory defaults, simply wait until the
SET mode times out and returns to the Mode 1 display.
4. If you wish to perform a FACTORY RESET, press the SET button to confirm and to
enter the FACTORY RESET PROCEDURE.
SEE WARNINGS
in the FACTORY RESET
section.
FACTORY RESET PROCEDURE:
WARNING:
Performing a factory reset will erase all MIN/MAX values and weather data stored in the
display's internal memory and return the weather unit’s settings back to the factory defaults. If
you have not yet uploaded the data to the Heavy Weather Pro software, the data will be lost.
If you do not wish to reset the display to factory defaults, either:
• Press the MIN/MAX button or the ALARM button to exit SET mode, or
• Simply wait 30 seconds until the SET mode times out and returns to the Mode 1 display.
To reset the display to the factory defaults, follow the procedure below.
WARNING:
A factory reset will erase the connection between the display and the thermo-hygro sensor and
require the all sensor connections to be re-established.
1. "rES oFF" will flash.
2. Use the
▲/DATE button or ▼/RAIN button to select "rES on".
3. Press the SET button to confirm and a countdown timer will begin counting down from
"127" When the timer displays "dOnE", you must remove the batteries from the display
for 10 minutes. While the batteries are out of the display, also remove the batteries from
the thermo-hygro sensor and rain sensor.
P a g e
| 14