Marking scenes – MacroSystem Smart Edit 8 Manual extension User Manual
Page 6
6
Marking scenes
Until now, the scene bin was made more convenient with the
aid of scene groups, or by hiding already added scenes . Now,
you can further improve and optimize the edit bin with two new
functions found at the bottom left of the screen . The buttons
`Mark´ and `Action´ belong together and allow you to comfort-
ably sort the scenes in your edit bin . To do this, you can mark
certain scenes in your edit bin and copy or move them to an-
other place . This makes it possible to put scenes that belong
together next to each other .
The button `Mark´ obviously marks the selected scene in the
edit bin . When marked, a scene displays a filled square symbol
above the scene icon . if you want to mark another scene, se-
lect the scene and press the `Mark´ button . You can speed up
the process by pressing the left trackball button . In this case,
you do not have to specifically select the scene first . Place the
pointer over the desired scene and press the left small track-
ball button . That‘s all! This marks the scene . You can also use
the Power Key (optional product) to mark the scenes faster .
The `Action´ button reveals a menu for creating an action for
the selected scene . Alternatively, you can open this menu us-
ing the right small trackball button . Depending on the number
of marked scenes, there are various actions that can be put
into effect:
`Swap scenes´: This function swaps two scenes around and is
available when you activate exactly two scenes .
`Move here´: All marked scenes are positioned behind the cur-
rently selected scene . The previous positions of these scenes
are removed .
`Copy here´: All marked scenes are copied to a position after
the currently selected scene . A duplicate is created and copied
to the new position . The original scenes remains at its position .
`Mark Storyboard´: With this function, you can mark a scene in
the Storyboard/Timeline .
`Mark scene bin´: This marks all scenes in the scene bin . This is
useful for selecting a large number of scenes . Simply activate
all scenes first, then deactivate single scenes .
`Remove all marks´: This removes all marked scenes without
processing an action .
`Cancel´: This cancels and closes the menu without processing
any action . The marked scenes remain marked .
If you mark multiple scenes in the scene bin and wish to add
them to the Storyboard, select the scene in the Storyboard
after which the scenes are to be positioned . Now click on
the “add” button and choose `all marked´ . The scenes will be
copied to the Storyboard in the exact same order and placed
behind the active Storyboard scene . You can also delete the
In the audio mix menu, the Timeline works very much the
same . In addition, the audio tracks are shown .
The top audio track is the original sound belonging to the
scene seen above it . If there is a transition between two
scenes, the fade between the two scenes‘ original sound is
shown by a diagonally divided area . Generally, positioning
and arranging audio in the Timeline works pretty much just
like using the Storyboard mode . Across the entire area, the
audio tracks show status bars, giving you information (via its
color) about the audio below . If the audio is rendered, and the
volume levels are adjusted correctly, it will be shown in blue . If
the audio is overmodulated, it is red . Finally, unrendered audio
is shown in yellow .
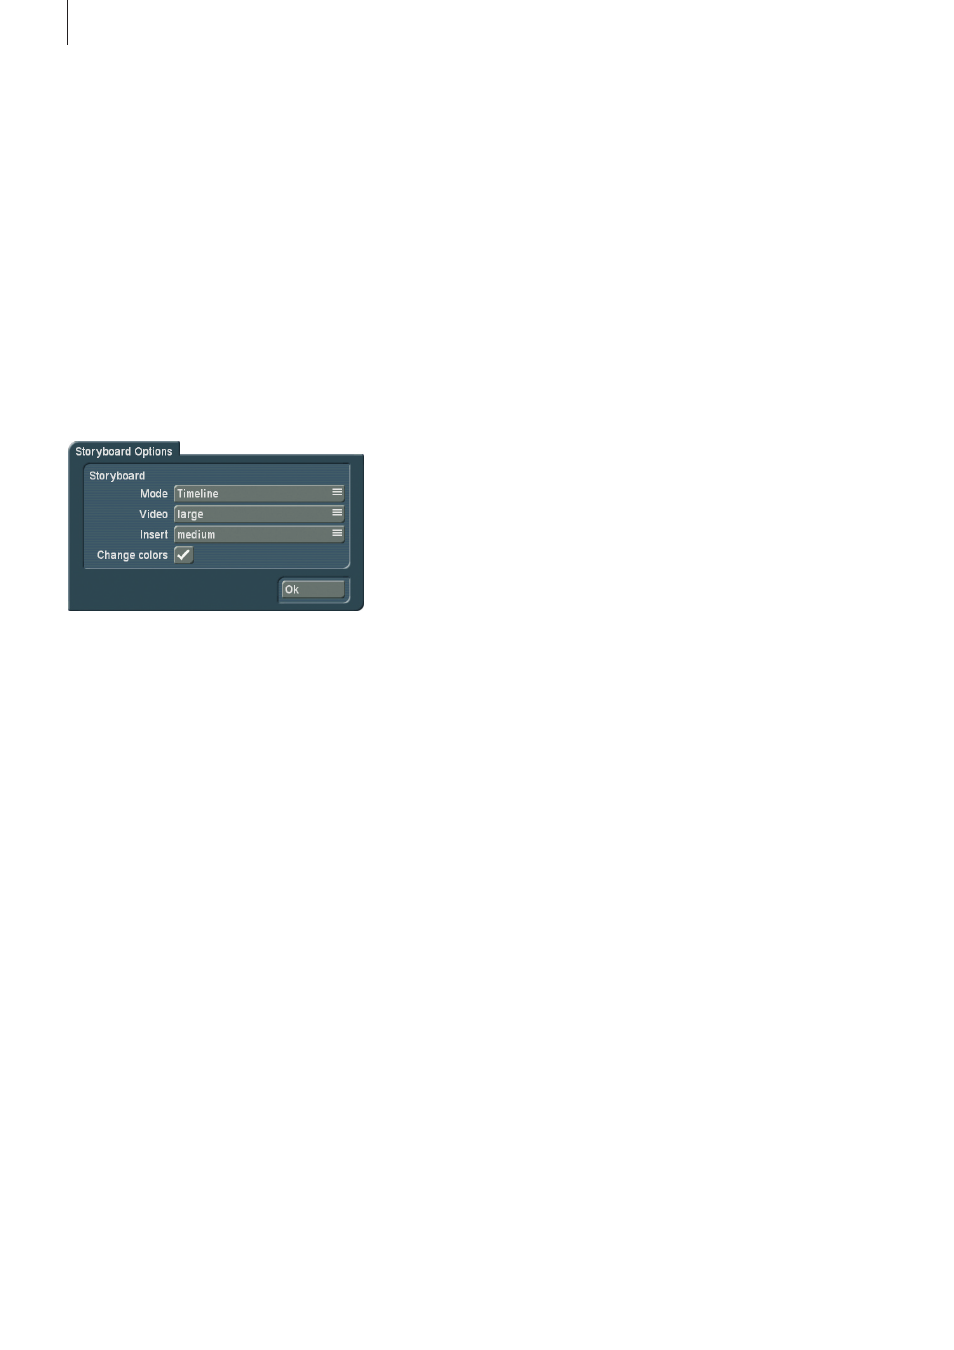
Setting up the Timeline
In order to display the Storyboard as a Timeline, the system
requires a VGA or DVI resolution of at least 1024x768 . A video
monitor can not display the Timeline . Before activating the
Timeline display, it is important that you first select a suitable
screen resolution . Go to the System Settings > Storyboard
options > to find the following options:
Storyboard – mode: This is used to switch the display between
the Storyboard and Timeline mode . The Timeline gives you two
further options: Either `Timeline´ for displaying the Timeline in
all menus or `Timeline (Mix only)´ for displaying the Timeline
only in the audio mixing screen .
Storyboard – video: You can apply a text onto the video track
which will be the name of the scene . Alternatively, you can
apply an image at the start and end of the scene . In this case,
you can change the size of the image from small, medium and
large . The images have an advantage over the text: Very short
scenes may not show the full text .
Storyboard – insert: You can apply the same settings to the
insert track as the video track . In addition, you can completely
deactivate the insert track if you do not require it .
Storyboard – Change colors: This button activates an alter-
native scene dispaly for the scenes in the video track . If you
activate this, scenes will be shown in altering blue colors, in
addition to the yellow separators .