Recording, English, Er y y – Marantz DR6000N User Manual
Page 12: Cd-sync, Important
9
ENGLISH
RECORDING
MENU/
STORE
CANCEL/
DELETE
0
9
8
7
6
5
4
3
2
1
CD
CDR
ABC
DEF
GHI
JKL
MN
OPQ
RST
UVW
XYZ
DISPLAY
SPACE
SCROLL
FUNCTION
ENTER
Recordable
ReWritable
POWER
CD RECORDER DR6000
PLAY/PAUSE
STOP
REC
-
+
PUSH ENTER
EASY JOG
LEVEL
PHONES
REC TYPE
REW
FF
FINALIZE
DELETE
CANCEL
MENU
STORE
SOURCE
ERASE
OPEN/CLOSE
DISPLAY
SCROLL
ON/OFF
e
r
y
y
5
55
5
5
To start recording, press
PLAY on the selected source.
➔
The CD-Recorder automatically starts to record. The re-
cording time left appears on the display.
•
If, however, you start the source during a track, CD-
SYNC recording starts at the beginning of the next track
or after 2.7 seconds of silence in analog recordings.
•
To check the elapsed recording time, press
DISPLAY
(4, 58). (This can also be done during recording)
•
The recorder stops automatically.
6
66
6
6
To stop recording manually, press
9
9
9
9
9
STOP (17, 68).
•
If
9
STOP (17, 68) was pressed within 3 seconds after
pressing
PLAY on the selected source, no recording will
take place.
•
To interrupt recording, press
2
/
;
PLAY/PAUSE (16) or
;
PAUSE (63).
To resume, press
0
REC (13) on the CD-Recorder.
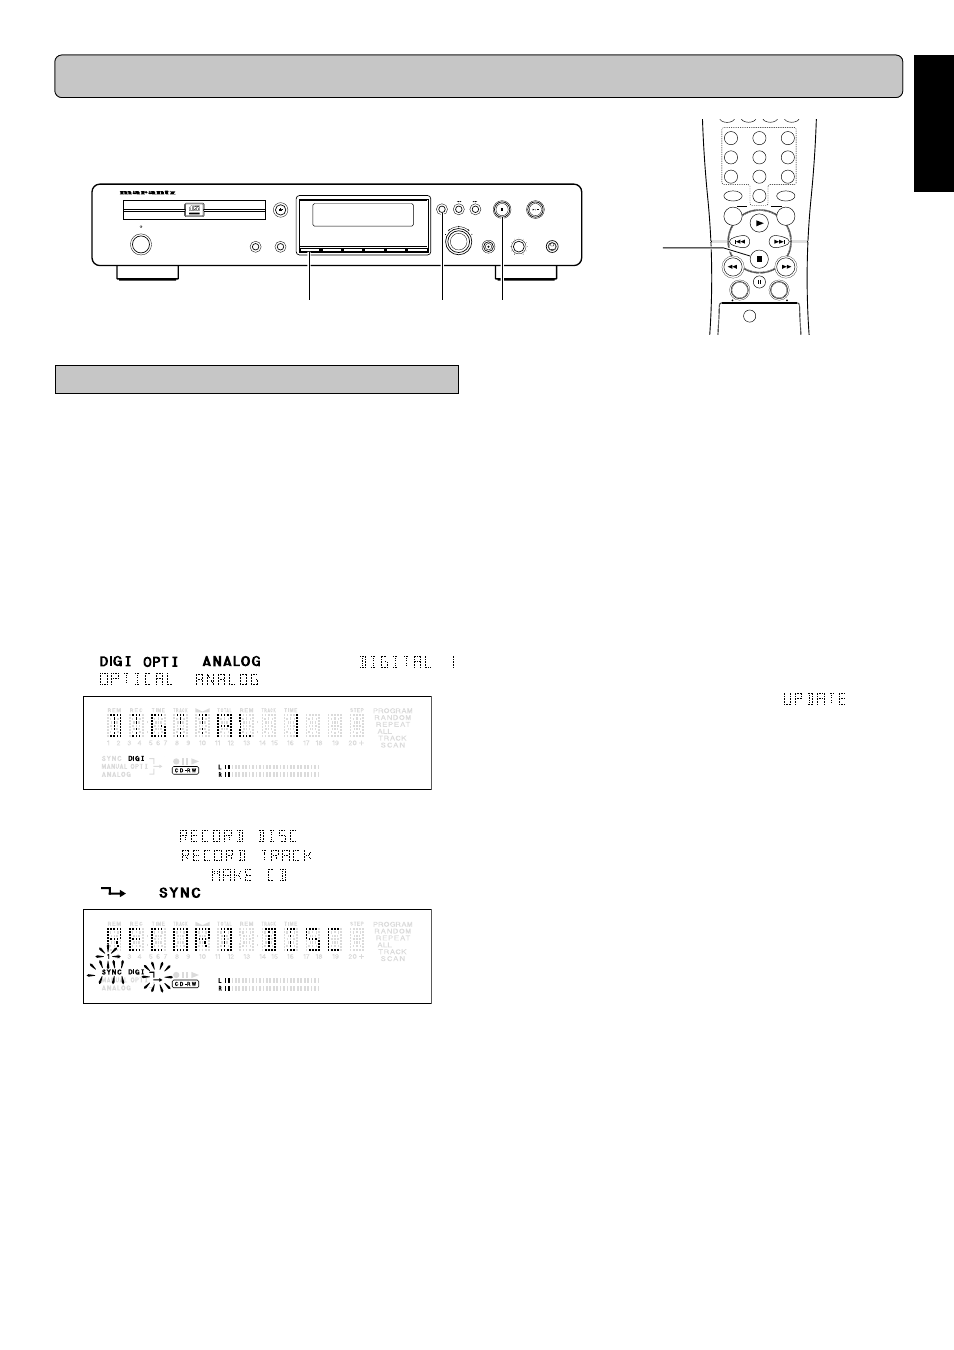
After recording the display will show
for sev-
eral seconds.
Note:
- Recordings from DAT, DCC or analog sources will only stop
after 20 seconds silence.
- MAKE CD is a recording mode for auto finalized after syn-
chronized recording. It takes about 1 minute to start auto fi-
nalizing after finish recording the last track. (WAIT appears
on the display.) If you press
9
STOP (17, 68) during WAIT on
the display, auto finalizing will be canceled.
Important:
If you want to play the recorded CD-R disc on any regular
CD player, it must first be finalized. See finalizing discs.
Finalized CD-RW discs play only on CD-RW compatible CD
players.
CD-SYNC
The CD-SYNC feature enables you to make fast and easy re-
cordings of a CD. Track increments are automatically detected
from the source material. Track increments cannot be added
manually. In analog source material a silence of 2.7 seconds or
more is automatically detected as a track increment.
1
11
1
1
Make sure the disc is absolutely free of scratches and
dust particles.
2
22
2
2
Connect the cable from an external CD player to the CD-
Recorder. (see INSTALLATION page 5 and 6.)
3
33
3
3
Press
SOURCE (7) repeatedly until the selected source,
appears on the display (depending on the digital connec-
tion used):
➔
,
or
lights up and
,
or
appears on the display.
4
44
4
4
With the CD-Recorder stopped, press
REC TYPE (20).
once: to select ‘
’;
twice: to select ‘
’;
four times: to select ‘
’;
➔
and
start to flash.
The numbers between parentheses refer to the fold-out.