ONICON D-100 N2 User Manual
Page 10
11451 Belcher Road South, Largo, FL 33773 • USA • Tel +1 (727) 447-6140 • Fax (727) 442-5699 • [email protected]
D-100-N2 Network Interface Installation Guide 05/14 - 0659-4 / 18344
Page 10
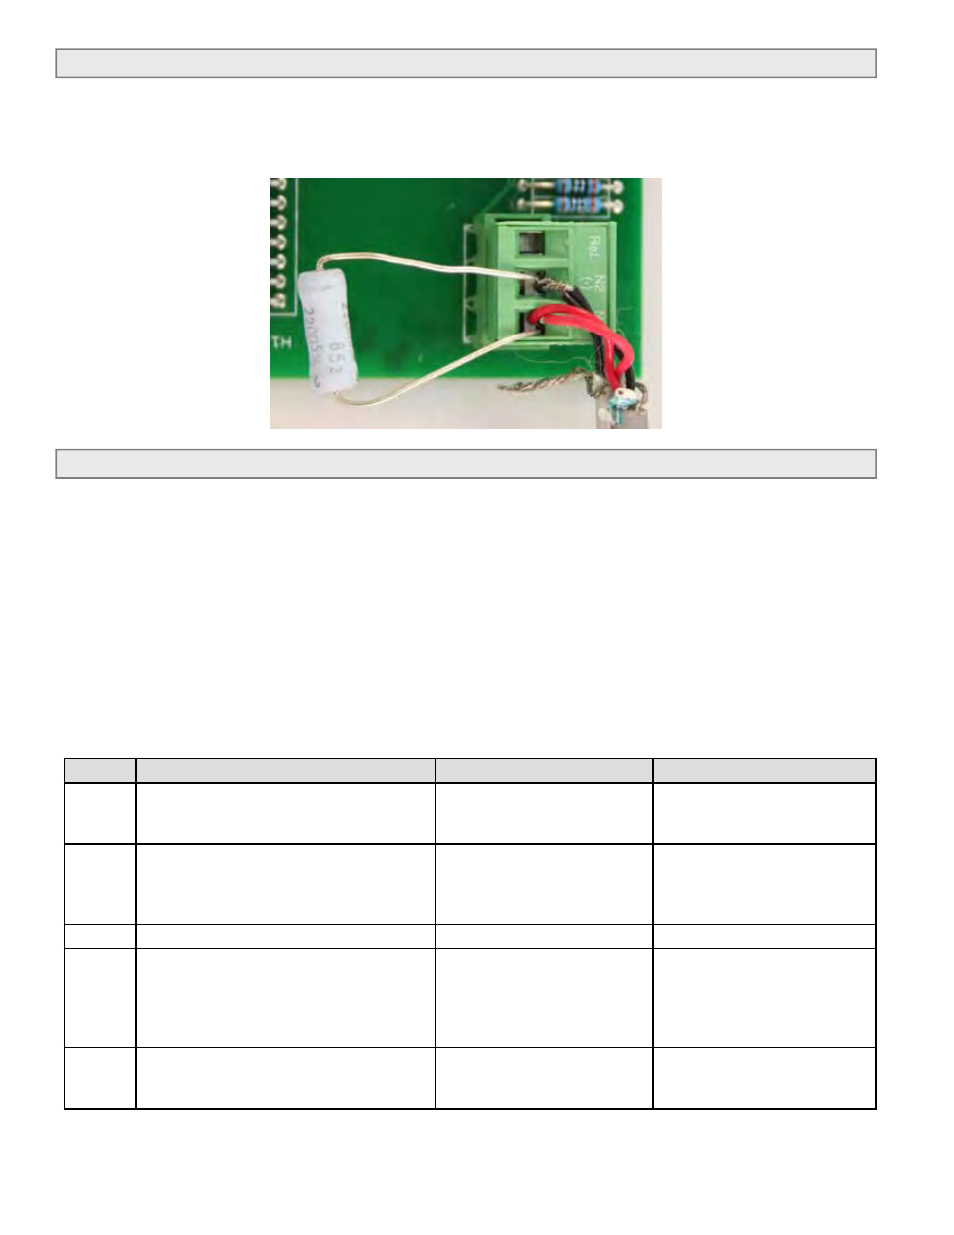
1.5 RS485 BIASING AND TERMINATION
1.5.1 Biasing and Termination
The ONICON D-100-N2 does not provide biasing voltage or termination to the RS485
network. A 120W termination resistor should be used when the meter is installed at the
end of the line.
1.6 NETWORK ADDRESSING
Before the D-100 can communicate on the N2 network, the appropriate device address must
be programmed into the display. The N2 network address for ONICON D-100 displays may be
set to any address from 001 to 255. This address is set at the display. Section 1.6.1 details the
procedure for changing this address.
1.6.1 Changing the Device Address
Every ONICON D-100 is individually programmed at the factory with application specific
data provided by the customer during the ordering process, and this may include
network addressing information. If the device address information was provided, the
display will be programmed with that number. If no address is provided, ONICON
displays are programmed with a default address of 017. The address may be changed at
the D-100 using the procedure outlined in the table below.
STEP
ACTION
REACTION
COMMENT
0
Obtain a device address from the
network administrator.
The device address is a
three digit number between
001 - 255, excluding zero.
1
With the display running, open the
front panel and locate switch DEV
ADD/PROG ENAB. Press DEV ADD/
PROG ENAB and then release it.
None
The DEV ADD/PROG ENAB
is located in the lower left
corner of the processor
board. (See appendix page.)
2
Close the front panel.
3
Press the PROGRAM button. (If you do
not press the PROGRAM button, the
display will revert to the RUN mode
after 5 minutes.)
The D-100 changes to
PROGRAM mode and the
DEVICE ID page will appear
with the first digit of the
address flashing.
The PROGRAM button is on
the front panel.
4
Successively press the SCROLL
button to increment the number to
the desired value from 0-9.
The number increments by
one each time you press the
button.
The SCROLL button is the
left most button on the front
panel.