SVSi N6123 User Manual
Page 2
Installation Instructions
The NVR requires only five connections to install.
Attach the NVR to the network by connecting the Ethernet cable to the RJ-45 port on the back of the
NVR.
Connect the power cable to the NVR and turn on the master power switch above. The unit will then power
on automatically.
Mounting Instructions
For rack mounting the NVR, follow the steps below:
1. Rack ears come pre-mounted on the NVR, which is a 2RU device.
2. Insert the NVR into the rack and align the mounting holes of the rack ears with
the holes in the rack.
3. Connect the appropriate cables as described above in Installation Instructions.
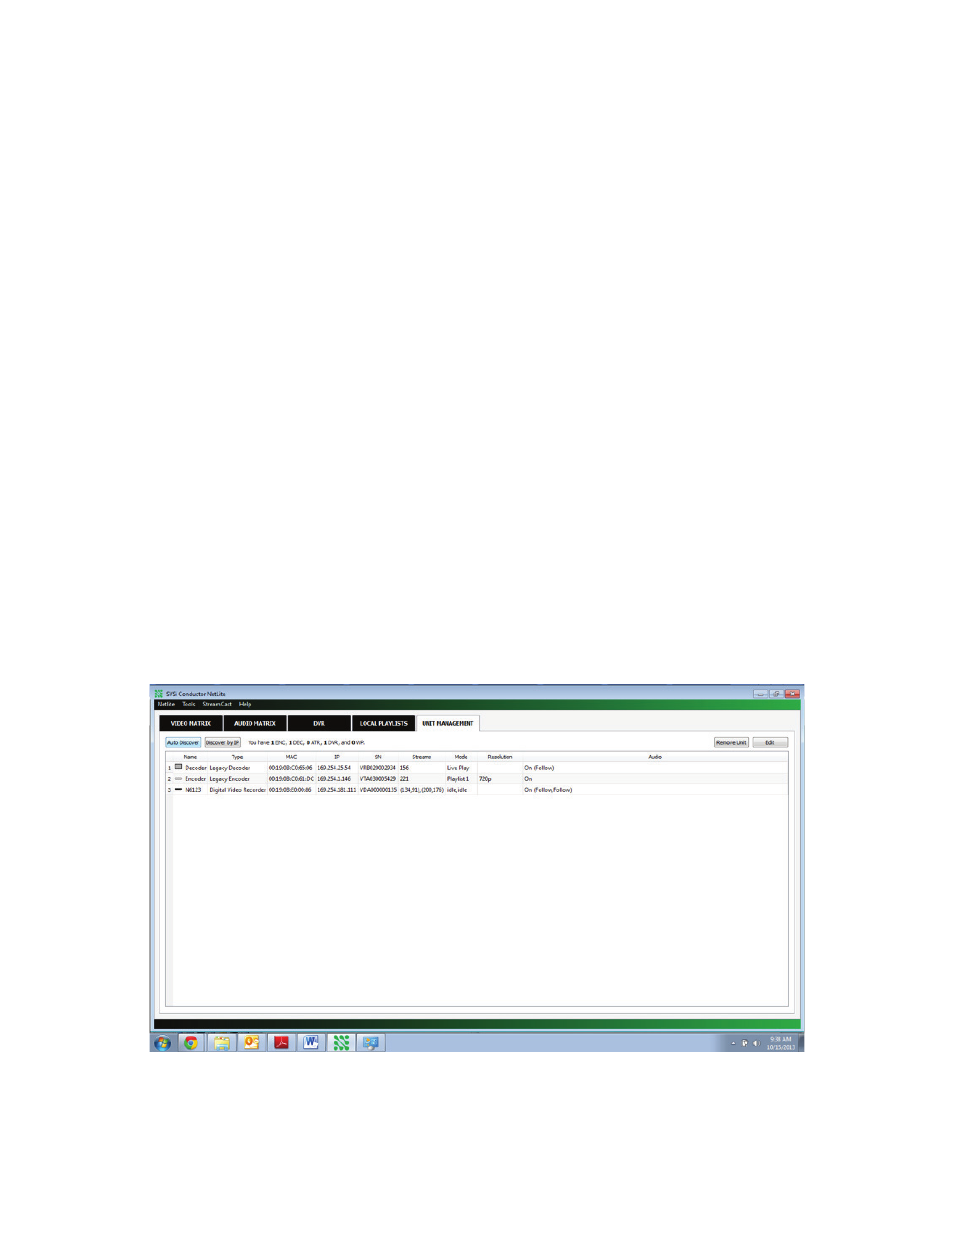
Accessing the NVR
The NVR is discoverable using our Conductor Netlite Software (found here:
http://svsiav.com/support/resources/software/
), just as any other SVSi device is.
The NVR ships with Auto IP as the default IP mode for the network card. This means that it will
automatically configure an IP address in the range of 169.254.X.X with a netmask of 255.255.0.0. Once
you find the NVR using the Auto-Discovery tool in Conductor Netlite (or a N-8000 series controller), you
can determine its IP address.
You can enter the NVR’s IP address into a web browser (or click the button with its IP address on the
settings page pictured below) to access recordings and other features covered later in this manual.