Installing cage nuts – H3C Technologies H3C S10500 Series Switches User Manual
Page 9
6
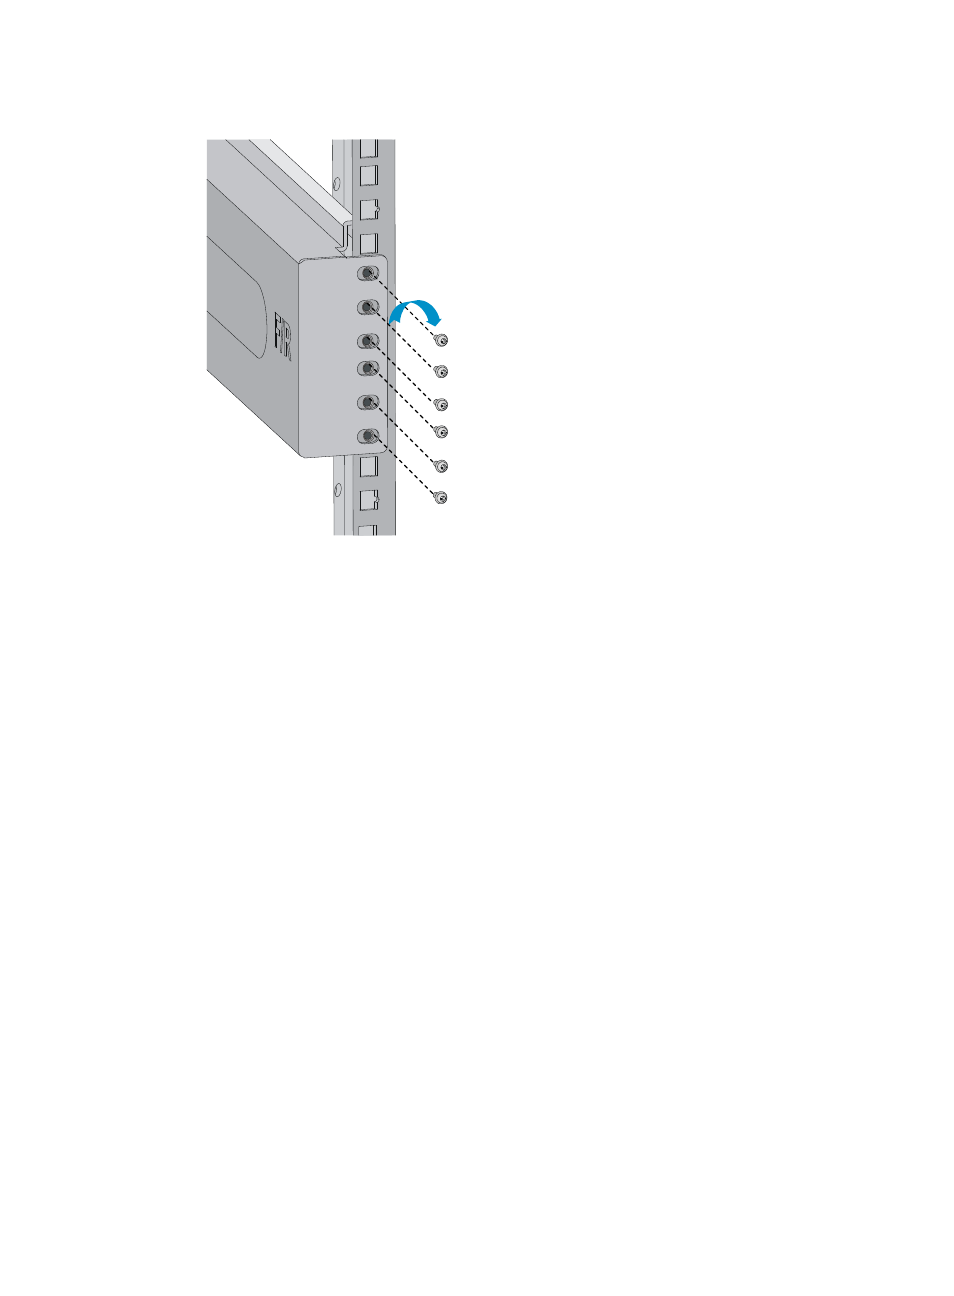
Figure 6 Attaching the right slide rail to the front right rack post
5.
Keep the slide rail horizontal and adjust its length until the installation holes on the rear end of the
slide rail touch the cage nuts on the rear rack post. Then use screws to attach the slide rail to the
rear rack post.
6.
Repeat steps 4 and 5 to install the other slide rail. Make sure the two slide rails are at the same
height so that the switch can be placed on them horizontally.
Installing cage nuts
1.
Determine and mark the cage nut installation holes in either of the following methods:
{
Mark the cage nut installation holes as shown in
{
Use other tools such as a tape. Align the tape with a mounting bracket. Mark the tape
according to the cage nut installation holes on the mounting bracket. Align the tape with the
rack posts and mark the installation holes on the rack posts.
For the S10506 and S10510 switches, you can use the cage nut installation template to determine
the cage nut installation holes on the rack posts. For more information about the cage nut
installation template, see H3C S10506&S10510 Switches Installation Quick Start.