Changing virtual panel ip address or panel id, Viewing and updating panel settings – Grass Valley NV9601 v.2.0 User Manual
Page 31
NV9601 Control Panel • User’s Guide
21
3. Viewing and Updating Panel Settings
Changing Virtual Panel IP Address or Panel ID
Changing Virtual Panel IP Address or Panel ID
Virtual control panels require the entry of the primary system controller’s IP address. This enables
the control panel and controller to “see” each other. In addition, the ID of the panel configuration
needs to be inputted in order to have the configuration applied to the panel. Both pieces of informa-
tion are entered during initial setup (see
How to install and setup the virtual version of the control
on page 24). However, this information can be updated at any time, as needed.
How to changes the IP address or Panel ID for a virtual panel
1 Launch the virtual control panel (see
2 Right-click anywhere in the black background area of the virtual control panel to display a pop-
up menu.
3 Select ‘Disconnect’. This disconnects the panel from the system controller.
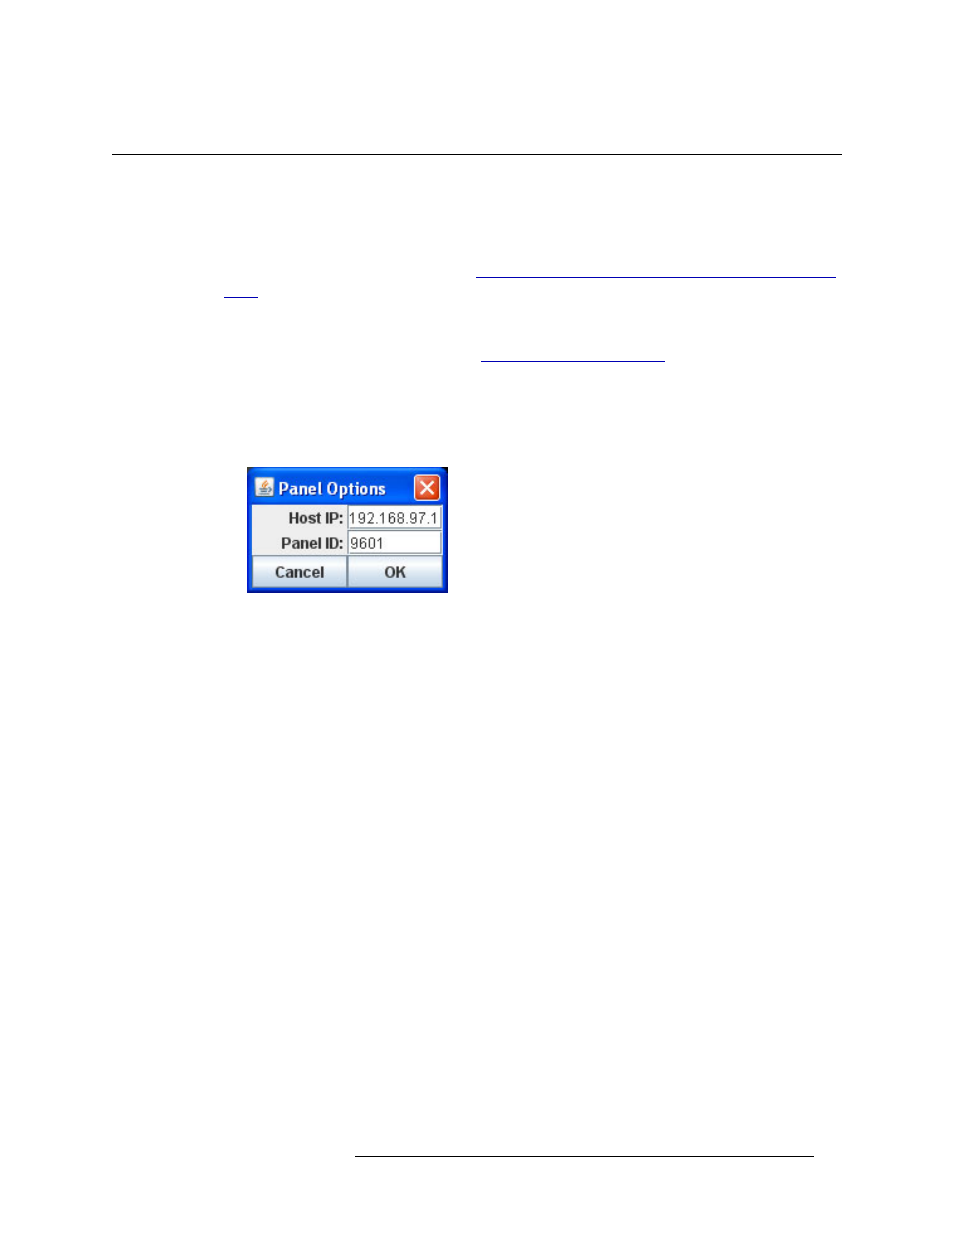
4 Select ‘Set Parameters’. The ‘Panel Options’ dialog box appears:
Figure 3-1. Panel Options Dialog Box
5 Enter the ‘Host IP’ address of the primary system controller or the virtual IP used by the redun-
dant pair of controllers (if configured).
6 Enter the ‘Panel ID’ of the panel configuration you want to use for the virtual panel (see
NV9000-SE Utilities User’s Guide or contact your system administrator).
7 Open the pop-up menu again and select ‘Connect’. If the IP address and Panel ID are valid, the
panel buttons and display area show the correct information and the control panel is connected
to the router control system. You cannot change the IP address or Panel ID once the panel is
connected. To change it, you must disconnect first.