Level mapping, Md devices on selection buttons – Grass Valley NV9654 v.1.1 User Manual
Page 65
55
NV9654
User’s Guide
Any button page may have one or more selection buttons. The number of buttons on the page
is not important unless your panel is configured so that its display and selection buttons scroll
together. In that case, the button page should have exactly 8 selection buttons. The arrange-
ment of selection buttons on the button page is entirely up to the configurer.
In X-Y mode, the selection buttons represent levels. Each button displays 3 lines of text:
The top line of text identifies the current source and should be identical to the matching entry in
the ‘Status’ column of the display. The middle line identifies the preset source and should be
identical to the matching entry in the ‘Preset’ column of the display. If there is no ‘Take’ pending,
the preset fields will be blank, both in the display and on the buttons. The bottom row of text
shows a level for the current destination and should be identical to the matching entry in the
‘Level/Dest’ column of the display.
If the current destination had a breakaway, the sources will be different across the levels. If the
destination does not include a particular level, that button will be dark, but it will show the level
name, as is the case with ‘HD’, and ‘Timecode’ here. (Audio 3 is available but not selected and is
therefore low-tally.)
Level buttons for which there is no level defined remain blank and dark. Lines in the display for
which there is no level defined also remain blank.
Level Mapping
If a level was level-mapped, the display shows an asterisk in the “I” column next to the level
name. An operator may press an ‘Information’ button to get details of the level mapping.
See
on page 63 for usage information.
MD Devices on Selection Buttons
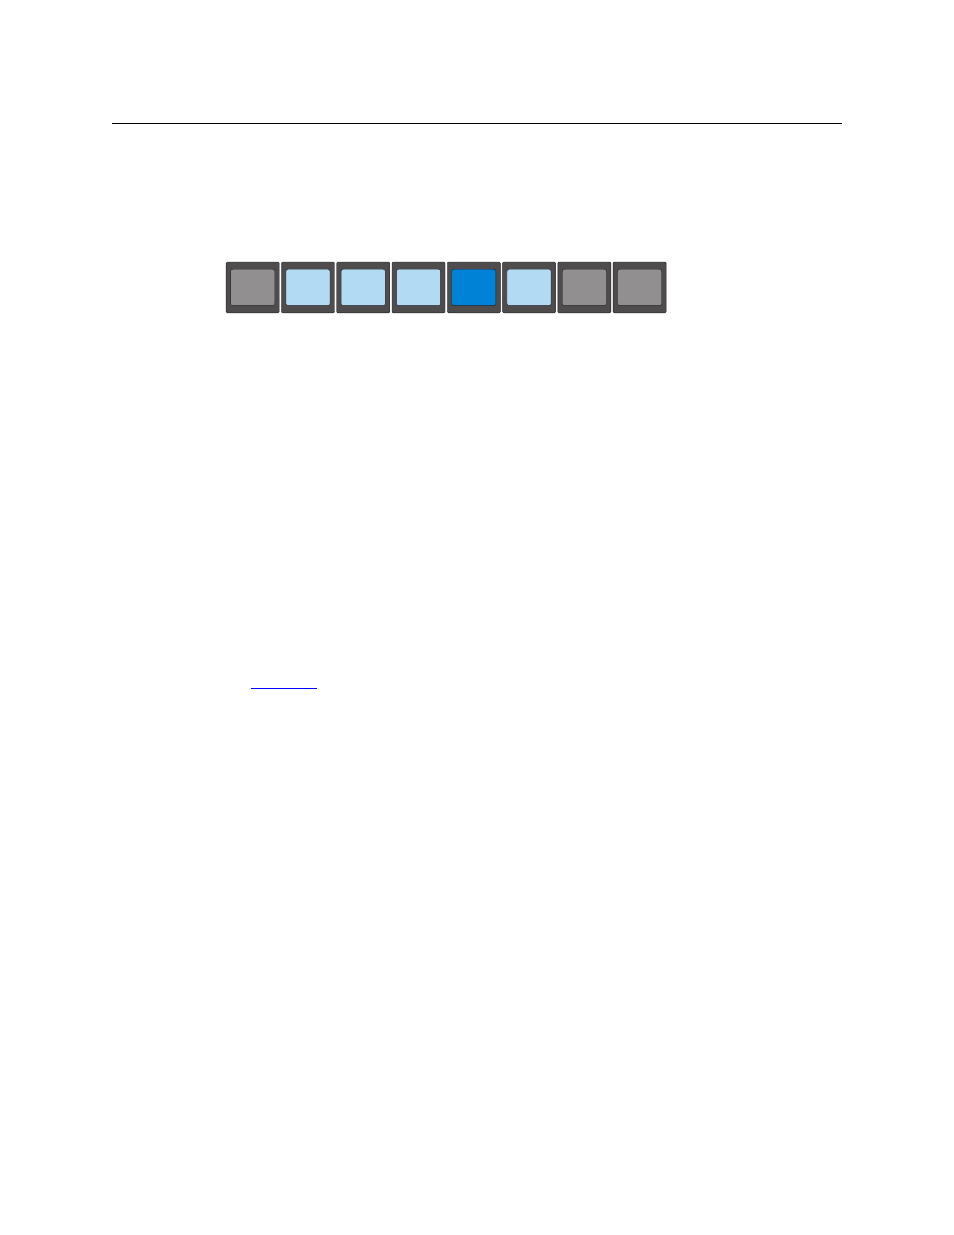
In multi-destination (MD) mode, a set of selection buttons presents a set of MD devices. To
perform an MD take, you assign sources to as many MD devices as you like and then press ‘Take’.
The multiple takes occur simultaneously. In MD mode, we can call these “dest” buttons for the
sake of simplicity.
If you have more MD devices than buttons, you can use ‘Page Up’ and ‘Page Down’ buttons to
view (scroll through) all the levels. The ‘Page Up’ and ‘Page Down’ buttons are disabled when
there is nothing to scroll. There are 3 options for scrolling:
1 Scrolling the display only. The items on the selection buttons do not scroll.
2 Scrolling the selection buttons only. The items on the display do not scroll.
3 Scrolling both the display and the selection buttons at the same time. This behavior can
occur only when the panel has no ‘VFD/SEL Toggle’ button.
In this case, the panel should have exactly 8 selection buttons visible to match the 8 lines
of the display.
If the panel has a ‘VFD/SEL Toggle’ button, you can switch between options 1 and 2. The button
will read either “Paging VFD Display” [sic] or “Paging Select Buttons.”
HD
HD
CAM--1
CAM--1
VTR--2
VTR--2
SD
SD
CAM--1
CAM--1
VTR--2
VTR--2
AUDIO 1
AUDIO 1
CAM--1
CAM--1
VTR--2
VTR--2
AUDIO 2
AUDIO 2
CAM--1
CAM--1
VTR--2
VTR--2
AUDIO 3
AUDIO 3
CAM--1
CAM--1
VTR--2
VTR--2
AUDIO 4
AUDIO 4
CAM--1
CAM--1
VTR--2
VTR--2
TIMECODE
TIMECODE