Safety chain – Hotpoint Ariston CP65SG1 /HA S User Manual
Page 22
22
GB
V
3. Loosen the burner fixing screws
and take out the oven burner after
removing the screw V.
4. Unscrew the nozzle using a special
nozzle socket spanner (see figure)
or with a 7 mm socket spanner, and
replace it with a new nozzle that is
suited to the new type of gas (see
Burner and nozzle specifications
table).
Adjusting the gas oven burner’s minimum setting:
1. Light the burner (see Start-up and Use).
2. Turn the knob to the minimum position (MIN) after it has
been in the maximum position (MAX) for approximately 10
minutes.
3. Remove the knob.
4. Tighten or loosen the adjustment screws on the outside
of the thermostat pin (see figure) until the flame is small
but steady.
! If the appliance is connected to natural gas, the adjustment
screw must be loosened in an anticlockwise direction.
5. Turn the knob from the MAX position to the MIN position
quickly or open and shut the oven door, making sure that
the burner is not extinguished.
! Be careful of the spark plug wires and the thermocouple
tubes.
! The oven burner does not require primary air adjustment.
! After adjusting the appliance so it may be used with a
different type of gas, replace the old rating label with a new
one which corresponds to the new type of gas (these labels
are available from Authorised Technical Assistance Centres).
! Should the gas pressure used be different (or vary slightly)
from the recommended pressure, a suitable pressure regulator
must be fitted to the inlet hose in accordance with current
national regulations relating to “regulators for channelled gas”.
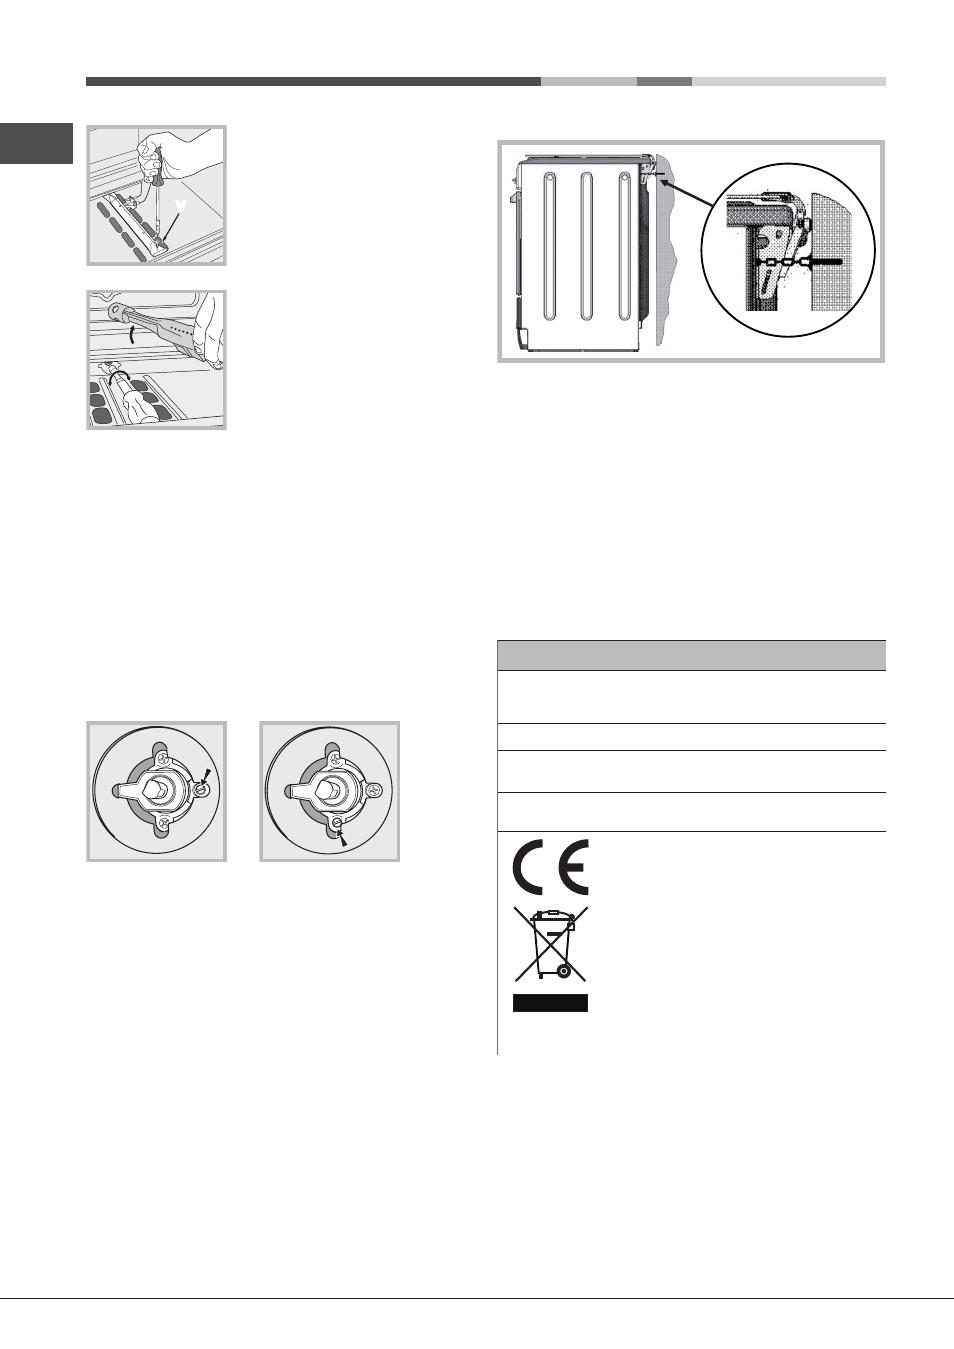
Safety Chain
! In order to prevent the appliance from overturning
accidentally, for example in case of a child climbing onto
the oven door, the safety chains MUST be installed!
The cooker is provided with safety chains that must be fixed
with a screw (not supplied as accessory) on the wall behind
the appliance, at the same height as the fixing point on the
appliance.
Make sure that the chains are fixed in the back of the
cooker, as shown in the drawing, in such way to be tight
and parallel to the floor.
! When the installation process is complete, the chains must
be kept in tension!
TABLE OF CHARACTERISTICS
Oven
dimensions
HxLxP
32,4 x 43,5 x 40,6 cm
Volume
lt. 58
Voltage and
frequency
see data plate
Burners
may be adapted for use with any type
of gas shown on the data plate.
This appliance conforms to the following
European Economic Community
directives:
- 2006/95/EEC dated 12/12/06 (Low
Voltage) and subsequent amendments
- 2004/108/EEC dated 15/12/04
(Electromagnetic Compatibility) and
subsequent amendments
- 93/68/EEC dated 22/07/93 and
subsequent amendments.
- 2009/142/EEC dated 30/11/09 (Gas)
and subsequent amendments.
- 2012/19/EEC and subsequent
amendments.