Using the oven – Hotpoint Ariston CP65SG1 /HA S User Manual
Page 24
24
GB
! For models equipped with a reducer grid, the latter must
be used only for the auxiliary burner, when pans with a
diameter of less than 12 cm are used.
For the best performance of your burners, keep the following
in mind: All types of pans can be used on the burners.
The important thing is that the bottom should be completely
even.
WARNING! The glass lid can
break in if it is heated up. Turn
off all the burners and the electric
plates before closing the lid.
Applies to the models with glass
cover only.
Using the oven
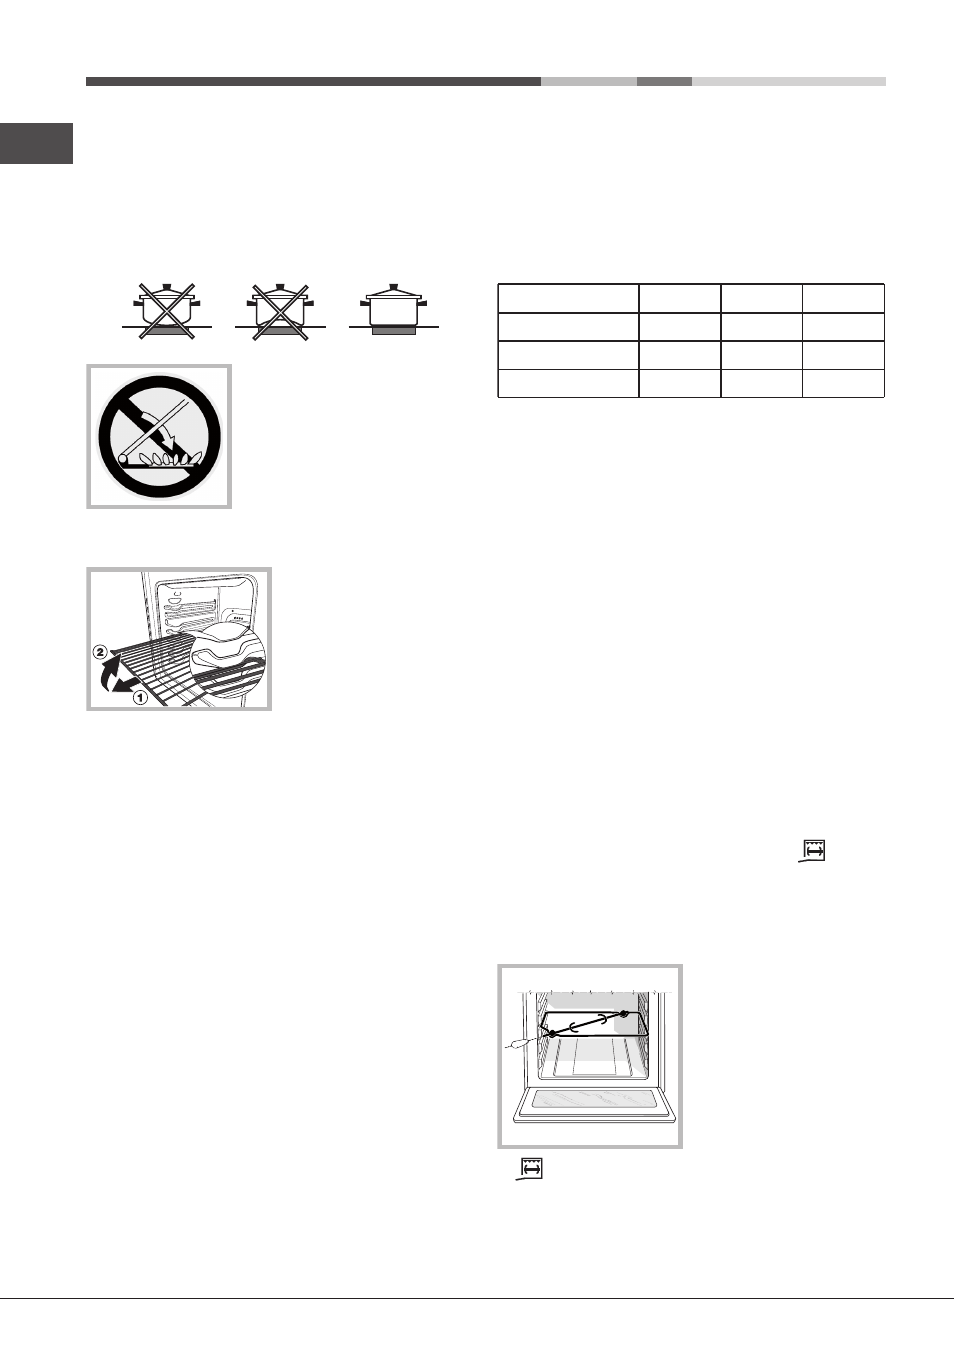
WARNING ! The oven is
provided with a stop system
to extract the racks and
prevent them from coming
out of the oven (1).
As shown in the drawing,
to extract them completely,
simply lift the racks, holding
them on the front part, and
pull (2).
! The first time you use your appliance, heat the empty
oven with its door closed at its maximum temperature for
at least half an hour. Ensure that the room is well ventilated
before switching the oven off and opening the oven door.
The appliance may emit a slightly unpleasant odour caused
by protective substances used during the manufacturing
process burning away.
! Never put objects directly on the bottom of the oven; this
will prevent the enamel coating from being damaged.
The oven knob
This is the device which is used to select the various oven
functions and the most suitable cooking temperature for the
foods (temperatures between 150°C and 275°C are also
indicated on the knob). The electronic oven ignition device
is built into the control knob. To light the burner, press the
knob in fully and turn it in an anticlockwise direction until
it reaches position 8.
Given that the oven is fitted with
a safety device, after the burner has been lit the oven
knob should be held in that position for approximately
6 seconds, in order to allow the gas to pass through
until the safety thermocouple heats up. The electronic
oven burner ignition device should not be activated for
more than 15 seconds. If after 15 seconds the burner
has not been ignited, release the oven knob, open
the oven door and wait for at least one minute before
attempting to ignite the burner again.
The cooking temperature is selected by aligning the value
indication with the reference mark on the control panel; the
complete range of temperatures which are available for
selection is displayed below. The oven will automatically
reach the set temperature, which is kept constant by the
corresponding monitoring device (the thermostat) controlled
by the knob.
Position 1 (minimum)
150° - 155°C
Position 5
215°C
Position 2
155°C
Position 6
235°C
Position 3
175°C
Position 7
260°C
Position 4
195°C
Position 8
275°C
Switching the oven on manually
In the event of a momentary lapse in the electricity supply,
the oven burner may be ignited manually:
a) Open the oven door.
b) Bring a match or lighter close to the opening, press the
oven knob and turn it in an anticlockwise direction until
it reaches position 8.
c) When the burner has been lit successfully, close the oven
door.
! If the burner flame is accidentally extinguished, shut off
the oven knob, open the oven door and wait for at least
one minute before attempting to light the burner again.
The grill knob
Your oven is fitted with an electric grill.
The extremely high
and direct temperature of the grill makes it possible to
brown the surface of meats and roasts while locking in
the juices to keep them tender. The grill is also highly
recommended for dishes that require a high surface
temperature: such as beef steaks, veal, rib steak, fillets,
hamburgers etc...
The grill is controlled by a thermostat which adjusts its
operation.
By turning the oven knob until it reaches the
position,
the rotisserie spit motor is activated as well as the infrared
grill. This motor will remain active as long as the grill is
operating.
The rotisserie spit
To activate the rotisserie spit,
proceed as follows:
a) Place the dripping pan
on the 1st rack.
b) Position the rotisserie
support on the 3rd rack and
insert the spit towards the
rear, threading it through the
hole provided.
c) Start the rotisserie by
turning the oven knob to the
position.
! The GRILL indicator light shows when the grill is operating.