Changing fax box, Deleting fax box, Changing fax box -19 deleting fax box -19 – Kyocera FAX System 12 User Manual
Page 107

5-19
Using Convenient Fax Functions > FAX Box Function
Changing FAX Box
1
Display the screen.
[FAX Box] on the Home screen > [Add/Edit Box]
2
Changing
Select the box that you want to change > [Detail/Edit]
Change the settings.
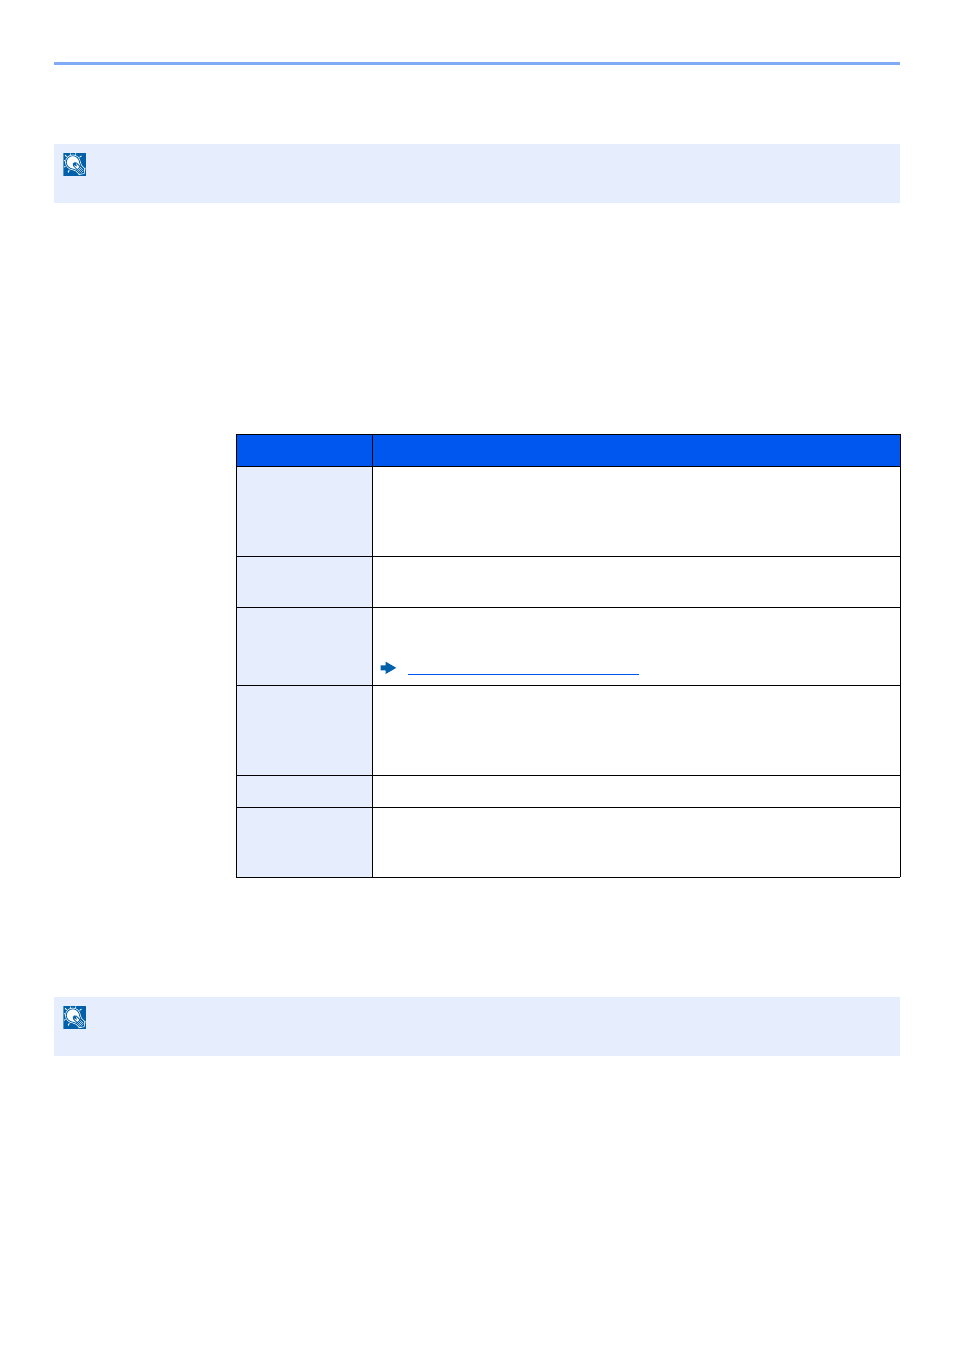
The table below lists the items to be set.
Deleting FAX Box
1
Display the screen.
[FAX Box] on the Home screen > [Add/Edit Box]
2
Deleting
1
Select the box that you want to delete.
NOTE
FAX Boxes can also be changed in the system menu.
Item
Description
Box No.
Enter the box number by selecting [+], [-] or number keys. The box
number can be from 0001 to 1000. A Custom Box should have a unique
number. If you enter 0000, the smallest number available will be
automatically assigned.
Owner
*1
*1 Displayed when the user login administration is enabled.
Set the owner of the box. Select the owner from the user list that
appears.
Box Name
Enter a box name consisting of up to 32 characters. Refer to the
following for details on entering characters.
Character Entry Method (page 12-2)
Box Password
User access to the box can be restricted by specifying a password to
protect the box. Entering a password is not mandatory. Enter the same
password of up to 16 characters in both [Password] and [Confirm
Password].
Permission
*1
Select whether to share the box.
Delete after
Printed
Automatically delete a document from the box once printing is complete.
To delete the document, select [On]. To retain the document, select
[Off].
NOTE
FAX Boxes can also be deleted in the system menu.