When using macos(p. 216) – Canon imageCLASS MF753Cdw Multifunction Wireless Color Laser Printer User Manual
Page 226
3
Click [Yes].
➠
The [Secured Print Details] screen is displayed.
4
Enter the user name and PIN, and click [OK].
➠
The [Printing preferences] screen reappears.
5
Click [OK], and click [Print] or [OK].
➠
The secure data is sent to the machine.
◼
When Using macOS
Required Preparations
●
Enable Secure Print in the settings of the printer registered to the computer. Enabling Secure Print in a
Printer Driver (macOS)(P. 219)
1
Display the printing dialog box, and select the printer driver of the machine.
Printing from a Computer(P. 210)
2
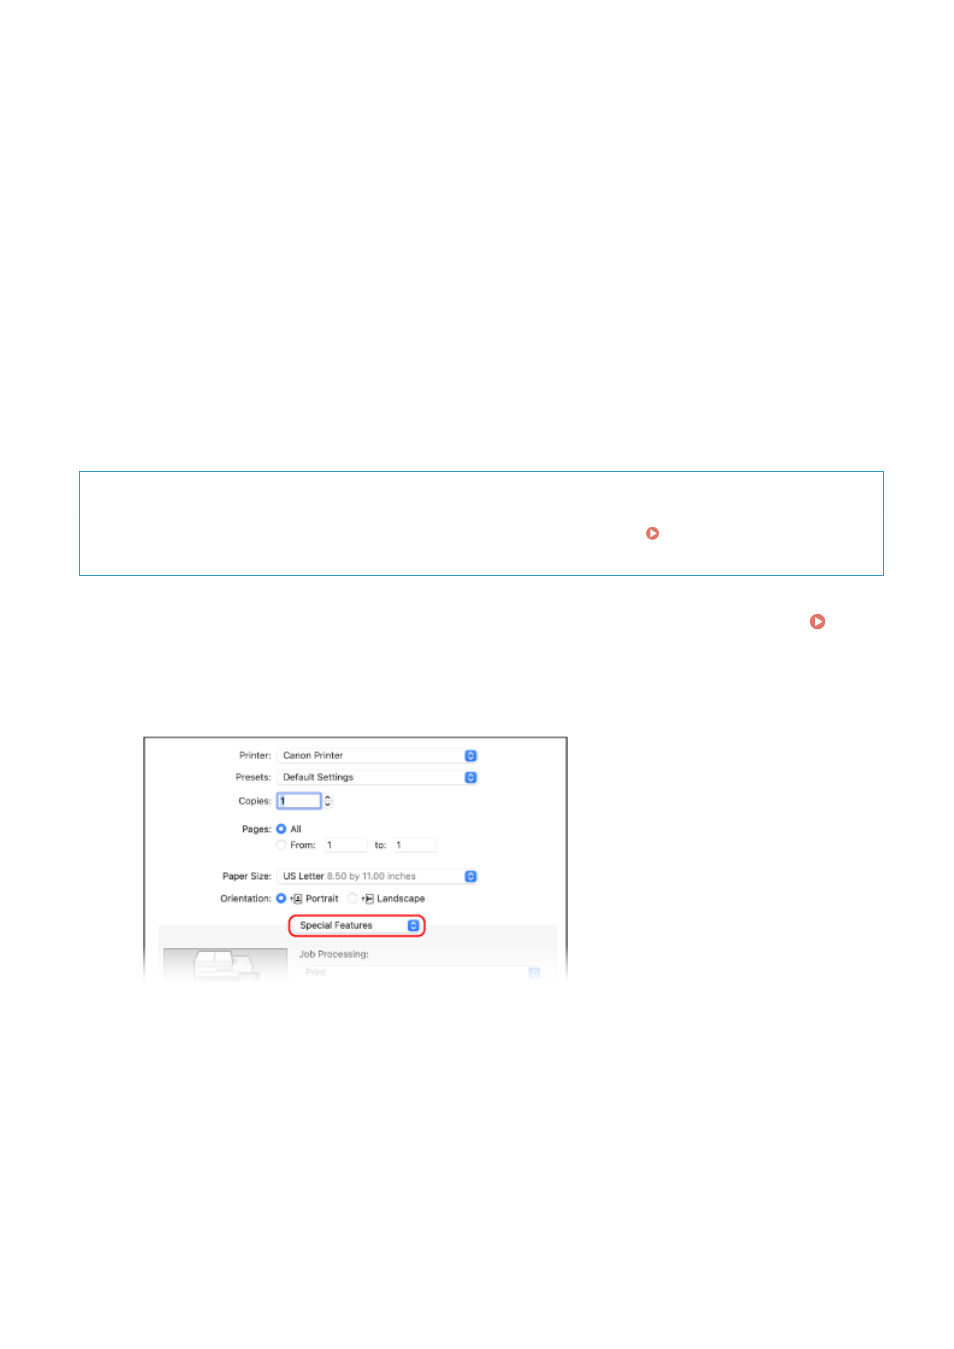
From the print options pop-up menu, select [Special Features].
If print options are not displayed, click [Show Details] in the printing dialog box.
3
In [Job Processing], select [Secured Print].
4
Click [Print].
➠
The [Secured Print] screen is displayed.
5
Enter the document name, user name, and PIN, and click [OK].
Printing
216