Assembly – Ryobi BTS20R-1 User Manual
Page 15
Page 15
ASSEMBLY
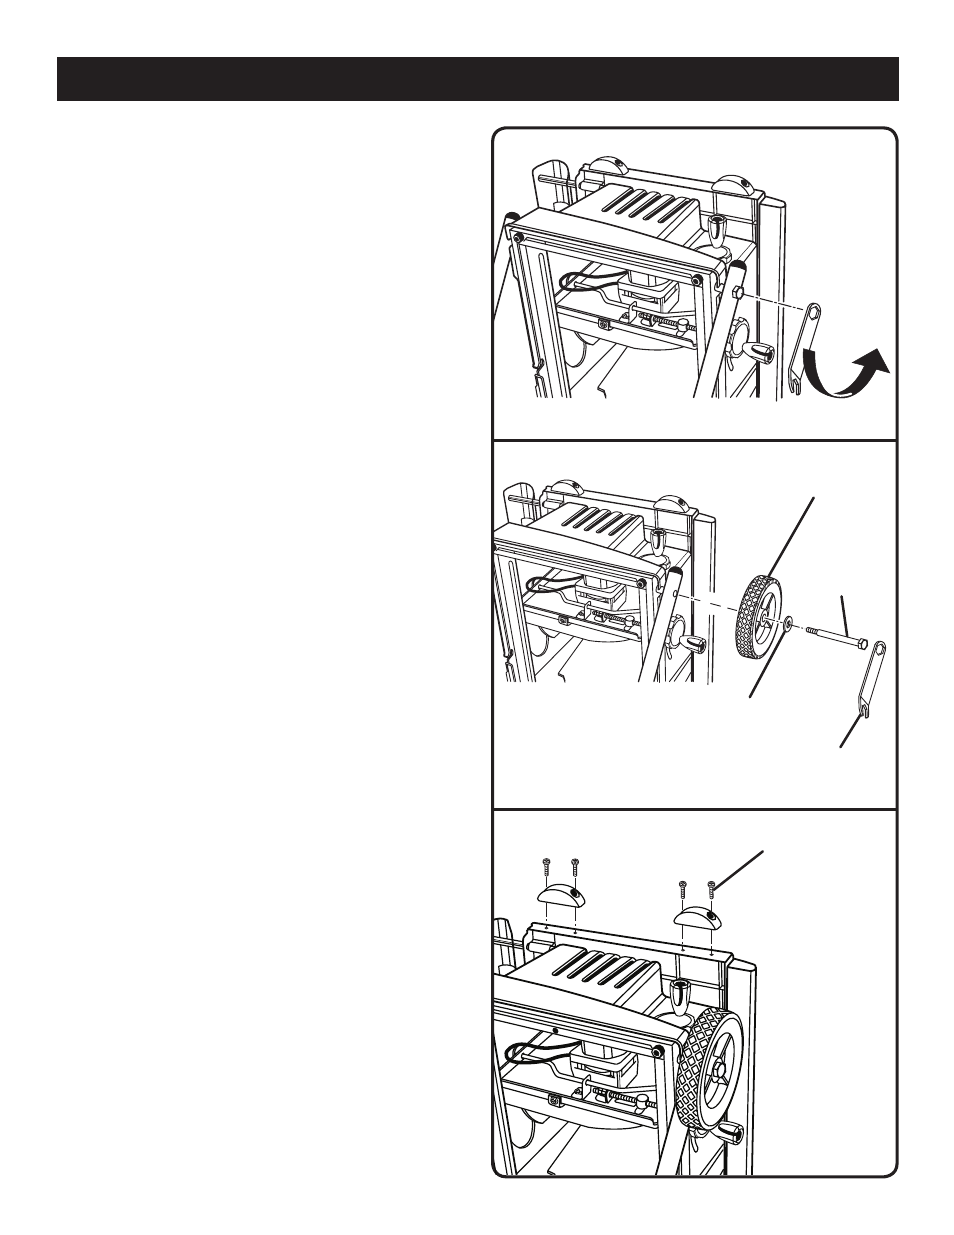
ASSEMBLING WHEELS
See Figures 6 - 7.
Remove the following hardware from the bag:
2 wheels
2 washers
2 shoulder bolts
Place the table saw on end.
Loosen bolts on each side of the table saw by turning
counterclockwise. See Figure 6.
NOTE: To prevent the leg stand from slipping from the
frame, do not remove both bolts at the same time.
Place a wheel and washer on the shoulder bolt in the
following order: washer, wheel.
Insert the shoulder bolt, wheel, and washer combination
into the leg stand and frame. Securely tighten.
NOTE: The short bolts removed from the leg stand should be
kept for future use if wheels are removed. There must always
be bolts in both sides of the axle for safe operation.
ASSEMBLING BUMPERS
See Figure 8.
Place saw table on end as shown in figure 8.
Align the holes in the bumper with the holes in the side
of the saw.
Securely tighten bumpers in place using the screws.
Fig. 6
Fig. 7
WHEEL
WASHER
SHOULDER
BOLT
WRENCH
Fig. 8
SCREW