Lenco SCD-1000 User Manual
Page 3
GB-4
GB-5
MUTE THE UNIT
During playback, press MUTE button to switch off the audio. Press the button again to resume the
audio.
TREBLE/BASS EFFECT ADJUSTING
During playback, press the TONE button on the unit repeatedly and adjust the effect of treble or bass
via pressing VOL+/- button on the unit continuously. The effect of the treble and bass also could be
adjusted by pressing TREBLE+/- button or BASS+/- button directly.
VOLUME LEVEL
During playback, press VOL+/- button to adjust the volume level accordingly.
CHECK THE CURRENT TIME
At TAPE, AUX and FM radio modes, Press DISPLAY button on the remote to check the current time.
SLEEP FUNCTION
Press SLEEP button at power on mode. Each time SLEEP button is pressed, the sleep time changes on
the display. When your desired sleep time shows on the screen, release the SLEEP button. When the
sleep time is expired, the unit will switch off automatically.
CLOCK SETTING
1. At standby mode, press CLOCK button and use HR/MIN/SLEEP button on the unit or press HR
button on the remote to switch between the time modes (12 hours and 24 hours) accordingly. Then
press CLOCK Button to confirm your selection.
2. The hour flashes on the screen. Press HR/MIN/SLEEP button on the unit repeatedly to set the hour
and press CLOCK Button to confirm.
3. The minute flashes on the screen. Set the minute by using HR/MIN/SLEEP button on the unit
repeatedly, confirm your setting by pressing CLOCK Button.
Note: When the hour flashes on the screen, the clock also could be set by pressing HR button and MIN
button on the remote directly. After setting, press CLOCK button to confirm.
TIMER SETTING
1. At standby mode, press TIMER button on the unit or on the remote.
2. The hour flashes on the screen with "T". Adjust the hour by using HR/MIN/SLEEP button on the unit
continuously and press TIMER Button to confirm.
3. The minute flashes on the screen. Set the minute by using HR/MIN/SLEEP button on the unit
continuously. Confirm your setting by pressing TIMER Button. The timer “ON” shows on the screen to
indicate the timer is activated (Press TIMER button again to disable the timer)
Note: When the hour flashes, the time also could be set by pressing HR button and MIN button on the
remote directly. After setting, press TIMER button to confirm
4. Press FUNCTION button on the unit repeatedly or use CD, FM, USB and card buttons on the remote
to set the timer modes among disc, radio, USB and card modes. The unit will be turned on at your
selected mode at the time you set for the timer.
FM RADIO
TUNING THE FM RADIO
1. Press STANDBY button to turn the unit on.
2. Press FUNCTION button on the unit repeatedly or press FM button on the remote to switch the unit to
TUNER(radio) mode.
3. Press TUNE+/- button to fine tune the radio station. Press and hold TUNE+/- button to automatically
tune the radio frequency forward and backward respectively. When an available station is found, the
unit will broadcast it immediately.
4. Press ST/MO button on the remote to switch the radio between FM(MONO) and FM(STEREO).
SAVING FM RADIO STATIONS TO THE UNIT'S MEMORY
1. After tuning the FM radio to the desired stations, press MEM button, a number of a memory cell
flashes on the screen.
2. Press CH+/ CH- button to select the radio memory cell.
3. Press MEM button again to save the current radio station to the selected memory cell.
4. To recall the preset station frequency, press CH+ or CH- button repeatedly.
HANDLING AND MAINTENANCE OF A DISC
Follow the instructions below to handle and maintain your disc in order
that long time and trouble free performance can possibly be obtained:
Ensure not to caress the rain bow side of the disc; handle the disc by
the edge.
Long time exposure to sunshine, high temperatures and humidity will
damage the disc. And keep storage area clean.
Avoid sticking labels on both sides of a disc. Writing with pointed
articles on the disc should be strictly avoided.
Clean the disc wiping the centre and then working out to the edge with
a dry & soft cloth or a disc brush. Avoid any cleansing lotion or
chemical eradicator.
Store them in their cases when they are not to be used.
LOAD A DISC
1. Open the CD door by pressing CD Door Open/Clear area.
2. Load a disc on the disc tray with the label side facing up.
3. Close the CD door.
PLAY A DISC
1. Press the FUNCTION button on the unit repeatedly or press CD button on the remote to switch the
unit to CD mode. "READING" shows on the screen to indicate at CD mode.
2. Follow the instructions above to load a disc.
3. When the disc is read successfully, total number of tracks and the total playtime shows in the LCD
and playback starts from the first track.
4. Press Play/Pause button once to halt music playback, the elapsed time of the current track flashes to
indicate the player in Pause mode; press Stop button to cease music playback, the LCD shows the
total number of the tracks and the total playtime.
5. During playback, press DISPLAY button repeatedly to check the play information of the disc (the
remain of the current track, the elapsed time of the disc and the remain of the disc).
HANDLE DISC ONLY AS SHOWN
CLEAN FROM CENTER TO EDGE
DO NOT STORE NEAR HEAT
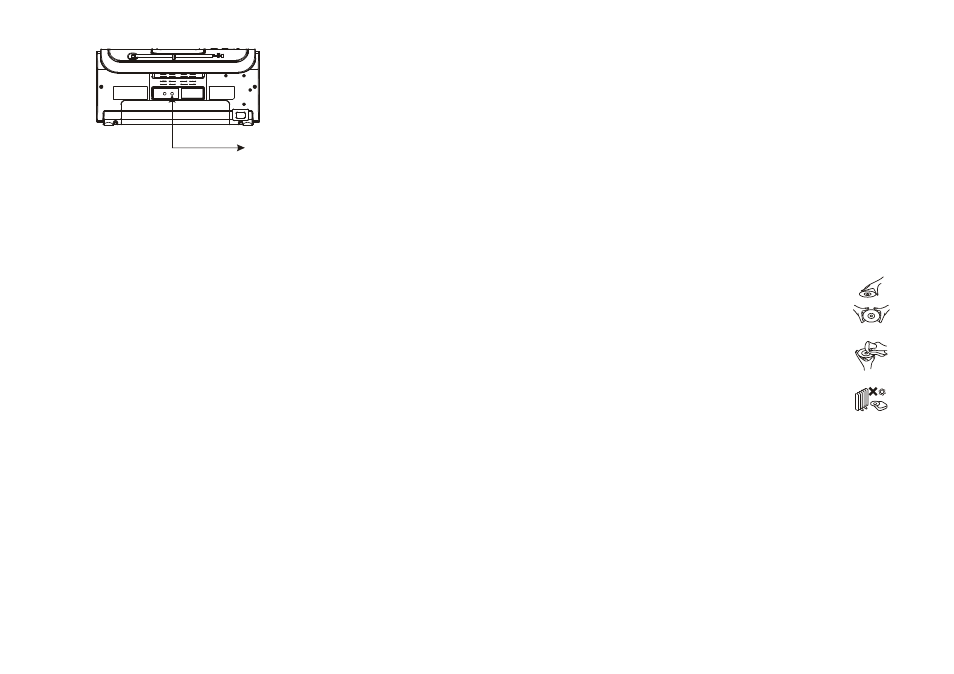
To AUX IN jack
To PHONES jack on MP3 player /
AUDIO OUT jack on audio device