4 step 4, 5 step 5 – KBC Networks VPS Solar Power Kits User Manual
Page 6
VPS Series User Manual
Manual-VPS_Series-Rev1409
Copyright © KBC Networks 2014
Page 6 of 12
www.kbcnetworks.com
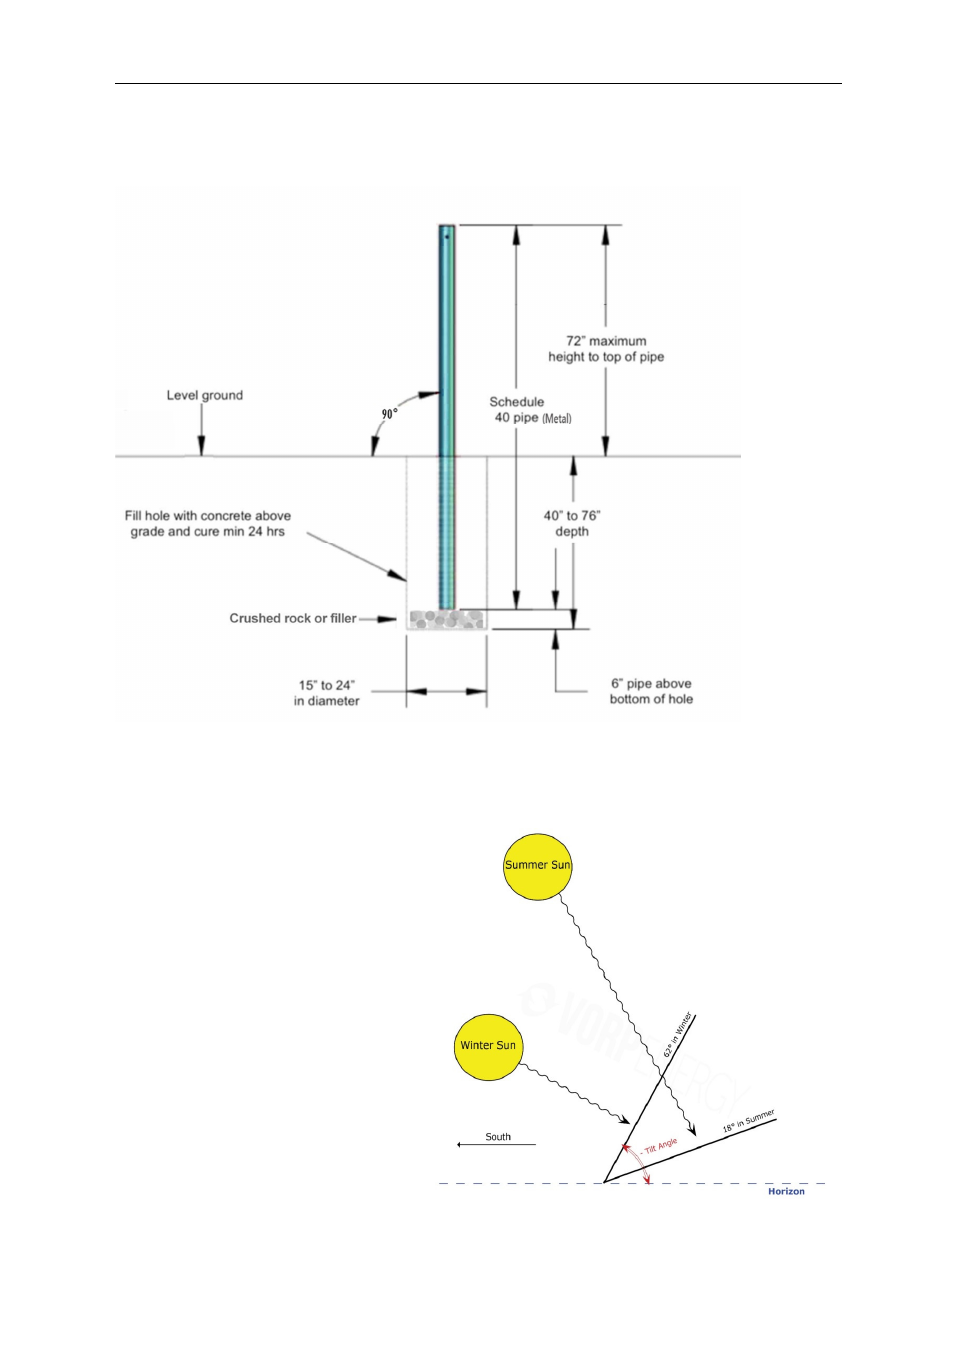
2.4 Step 4:
If you need a pole to mount your equipment on then follow the diagram below. Vorp kits
require a 4-6” schedule 40 Metal pipe (or equivalent) cemented into the ground.
2.5 Step 5:
Assemble the solar panel mount and set the correct tilt angle based on your Latitude.
There is a useful tool to calculate
optimum angle at:
www.vorpenergy.com/design-
calculator.html. If you will be using a
fixed angle all year we recommend
using the optimum angle for winter
sun. Mount the solar panel mount to
the pole using hose clamps provided.
Be sure to mount high enough so the
door of the enclosure clears the solar
panel mount when opened. You can
also mount the panel to a wall with
lag bolts.