Adobe Premiere Pro CS4 User Manual
Page 289
283
USING ADOBE PREMIERE PRO CS4
Effects and transitions
Last updated 11/6/2011
Animating a clip’s position in the Program Monitor
1
Select a clip in a Timeline panel.
2
Do one of the following:
•
Select the Motion effect in the Effect Controls panel.
•
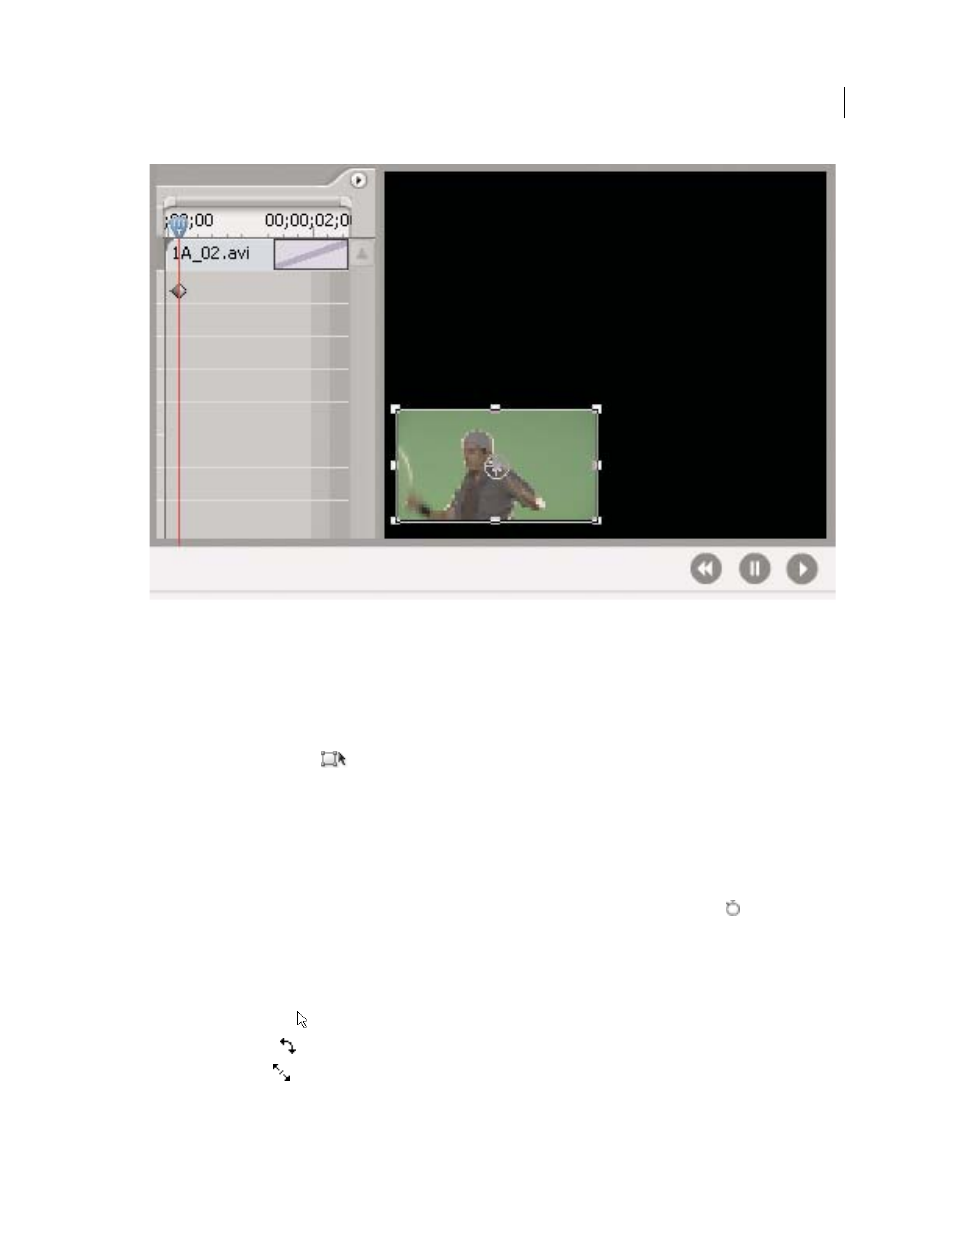
Click the image in the Program Monitor.
•
Click the Transform icon
next to Motion in the Effect Controls panel.
Handles appear around the clip’s perimeter in the Program Monitor.
Note: If you don’t see the clip handles, change the Zoom Level in the Program Monitor to a smaller percentage so that the
gray work area around the video frame appears.
3
Move the current-time indicator to the frame where you want to start the animation—any frame between the clip’s
current In point to its Out point.
4
In the Effect Controls panel, expand the Motion effect and click the Toggle Animation button
next to each
property you want to define at that point in time. A Keyframe icon appears at the current-time indicator for that
property.
5
In the Program Monitor, change the keyframe value by positioning the pointer near any of the clip’s eight square
handles to use any of the following pointer tools:
•
The selection pointer to set the position value.
•
The rotate pointer
to set the rotation value.
•
The scale pointer
to set the scale value.
Note: If clip handles disappear, reselect the Motion effect in the Effect Controls panel.