2 getting started, Unpacking and connecting – Audioscan Verifit User Manual
Page 14
Verifit
®
User's Guide Version 3.12
May 2015
2 Getting Started
This section provides instructions for unpacking the Verifit and connecting various components and associated
items.
Unpacking and connecting
1. Carefully unpack the two parts of the Verifit and check the contents of the shipping box against the enclosed
packing list. Note that some parts may be packed inside the test chamber.
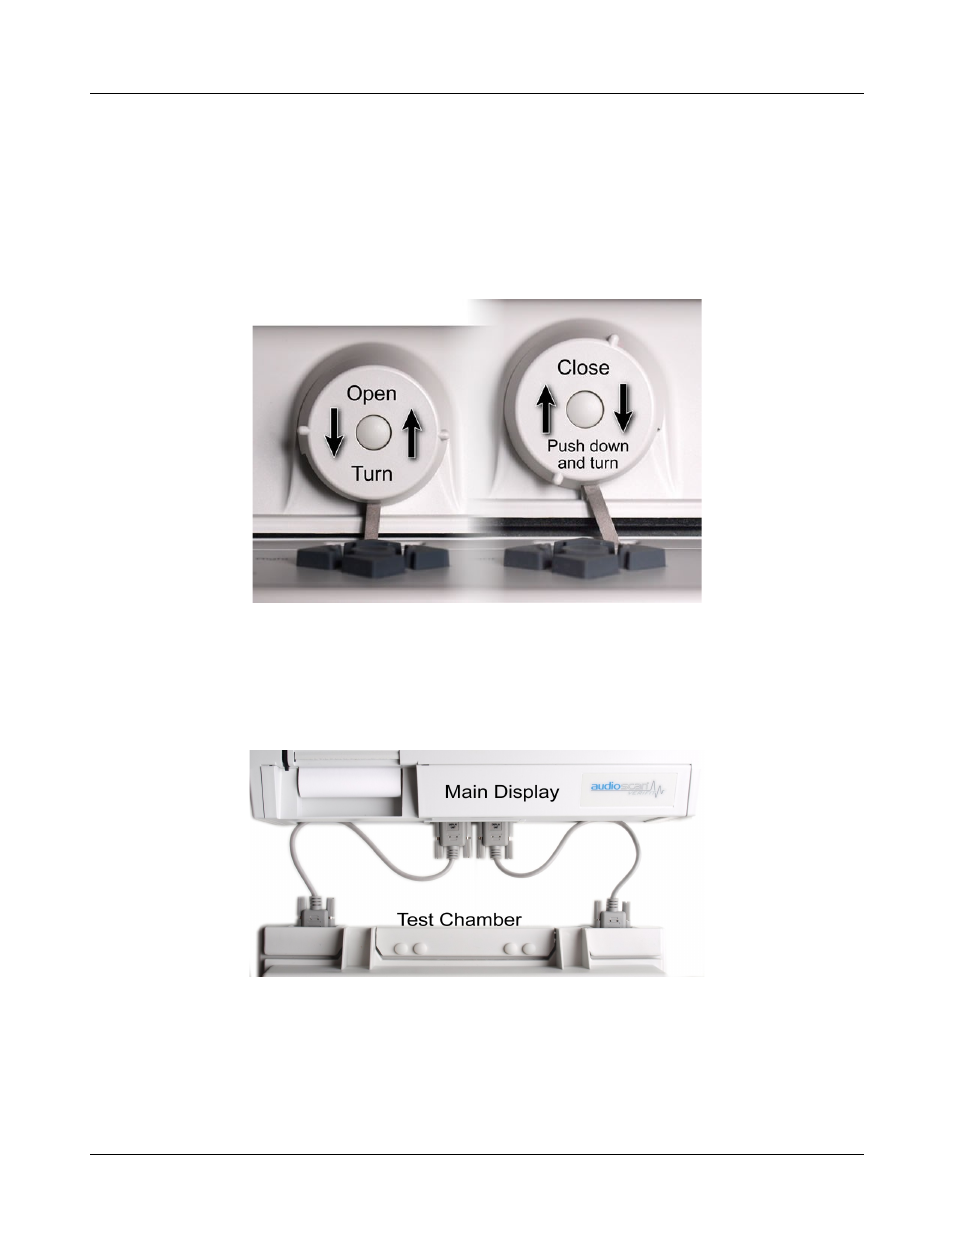
2. Connect the two 15 pin cables from the connectors on the rear of the test chamber to the connectors on the
front of the main display unit as shown. The top side of each connector is labeled to assist you. Take care not
to force the connectors as the pins are easily bent. Both short (as shown) and long cables are provided for
flexibility in locating the two parts of the instrument.
3. Connect the power cord to the socket next to the power switch on the left side of the main display unit. Plug
the other end into a grounded 100 – 240 volt power outlet.
14