Calibration check for probe module – Audioscan Verifit User Manual
Page 65
Verifit
®
User's Guide Version 3.12
May 2015
+/- 5 dB.
6. To change the calibration interval, highlight & <PICK> [Daily] or [Weekly].
Press <Left/Right> and repeat the process for the other probe module.
Calibration check for probe module
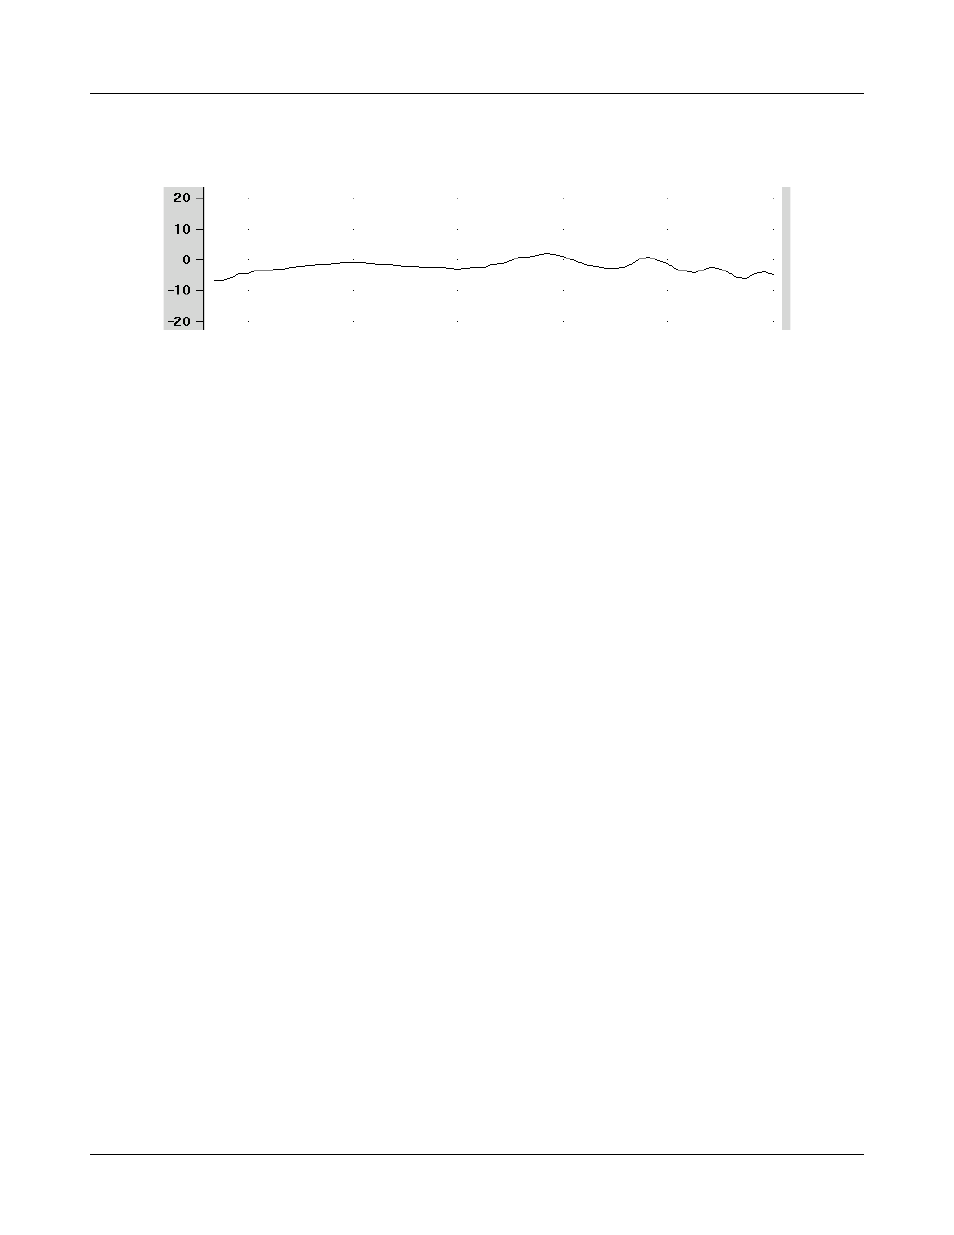
The calibration curve for the probe module is a comparison of the response of the probe microphone (with tube)
to the response of the on-ear reference microphone. Any change in the curve indicates a change in one of these
microphones (or the probe tube). See Calibration of on-ear probe microphone. As part of a regular calibration
schedule, or to investigate changing calibration curves, the on-ear reference microphone may be checked against
a high quality sound level meter.
1. Press <Tests>, then highlight and <PICK> [On-ear measures], then highlight and <PICK> [Manual control].
2. Highlight & <PICK> [Level], then highlight & <PICK> 70 from the drop-down list.
3. Highlight and <PICK> [Frequency], then highlight and <PICK> 2000 Hz from the drop-down list.
4. Highlight, then <PICK> [Start test] (which changes to [Stop test]).
5. Hold the probe module about 18 in. (0.5 m) in front of the sound-field speaker.
6. Hold the microphone of a calibrated sound level meter next to the on-ear reference microphone as shown.
Set the sound level meter to C weighting and slow.
7. The sound level meter should read 70 ±2 dB.
8. Repeat with the frequency at 250 Hz.
9. To stop the measurement, highlight and <PICK> [Stop test].
65