Beurer GL 42 (mg/dL) User Manual
Page 14
14
Beurer GL42 mg/dL
4. i
nitial
use
and
basic
settinGs
4.1 Removing the battery insulation strips, replacing the battery
Note
• Remove the insulation strip before initial use.
1
Remove the battery compartment lid on the underside of the device.
2
If you are replacing the battery, reset the date and time as required (“Making and changing
basic settings” on page 14).
3
Insert a new battery of type CR 2032 3 V. Make sure that the battery is inserted with the correct
polarity, according to the label. See the graphic in the battery compartment.
4
Close the battery compartment lid again carefully.
Note
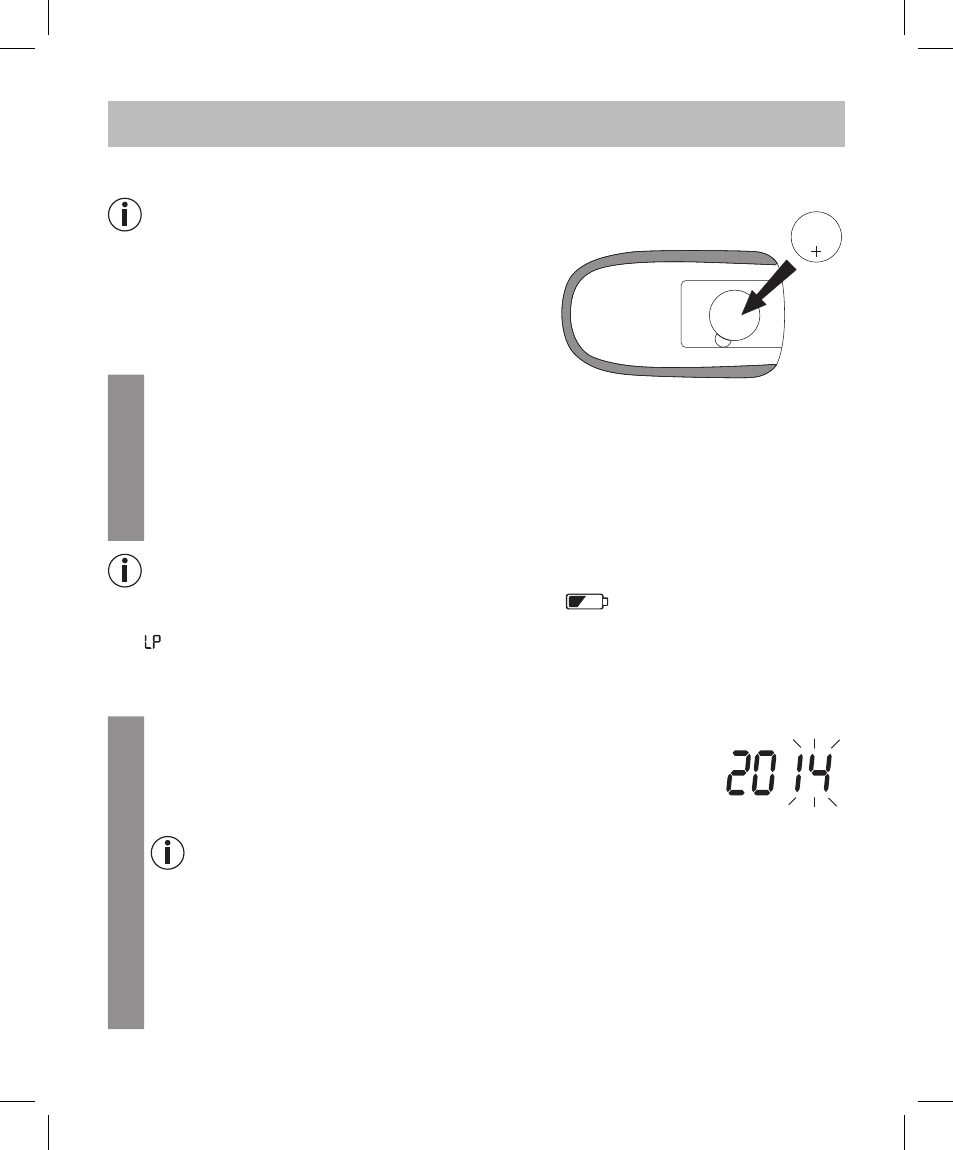
• The batteries are almost empty if the replace battery symbol
appears. Replace the battery as
soon as possible.
• If “ ” appears on the display, the battery power level is so low that no more measurements can be
taken.
4.2 Making and changing basic settings
1
Remove the battery and then reinsert it. Alternatively, press the “+” button
[2] and the On/Off button for a minimum of five seconds.
An acoustic signal sounds.
The year display flashes.
2
Setting the date and time
Note
• You must set the date and time. Otherwise, you will not be able to save your measured values
correctly with a date and time to retrieve them later.
• The time is displayed in the 24-hour format.
Set the year (calendar to 2099) by pressing the “+” or “–” [2] button. Confirm by pressing the
On/Off button [5].
The day display flashes.
Proceed as described above for the month, day, hour and minute.
CR 2032 H
3V