Installation procedure, Installation sequence – Blu Bathworks BT8001 User Manual
Page 4
3
1 866 907 0122 blubathworks.com
2015-02
Installation Procedure
Before you start:
•
Ensure that the floor is level and the strength of the floor is sufficient where the bathtub will be positioned.
•
Clean the space around where the bathtub will be positioned to avoid damage to the bathtub during installation.
•
The waste-overflow fitting is supplied with the product, however other accessories like the tail piece and adaptors are not included
and must be purchased separately from your local supplier.
•
The bathtub must be carried in the upside-down position. Do not lift or support the bathtub by the panels.
•
Raise the bathtub up to 3½" with 4x4 pieces of lumber so you can have access from the bottom of the bathtub.
•
The basic installation of plumbing pipes (drain & water supply) must be performed by a qualified plumber.
•
The waste-overflow fitting comes pre-installed with the bathtub from the factory. The waste pipe/p-trap connection
must be made directly to waste/drain outlet located underneath the bottom of the tub.
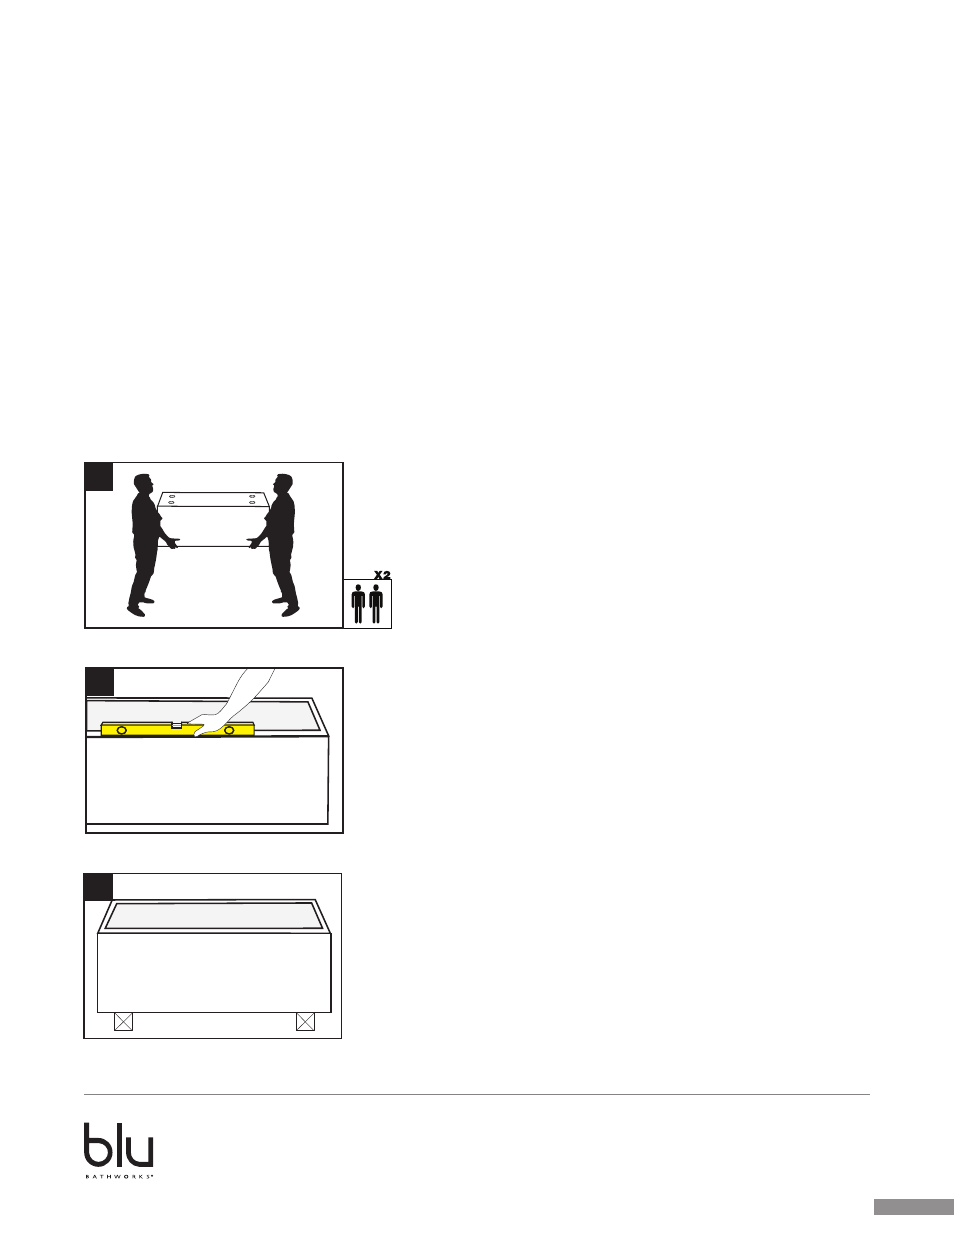
Installation Sequence
•
The acrylic bathtub must be carried in an upside-down position.
It must never be carried by its acrylic panels. Two persons required.
2
1
•
The bathtub is leveled via a water level at the intended
local installation area.
3
•
Raise the bathtub up to 3½" with 4x4 peices of lumber so you can
have access from the bottom of the bathtub.