Electric starting, Stopping the engine, Engaging the trimmer head – DR Power Premier 6.5fpt Kohler User Manual
Page 11: Stopping the cords from spinning
CONTACT US AT www.DRpower.com 11
If the engine fails to start after TEN (10) seconds of continuous cranking, turn the key to the off position and allow the starter
motor to cool. Check the cause of hard starting; See Chapter 5 - Troubleshooting.
Electric Starting
Note: Use the following steps with Electric-Starting models only.
1. Push the Throttle Control Lever on the right side of the Handlebar (Figure 8)
all the way forward (Rabbit or Choke position depending upon model).
2. For Briggs and Stratton 675 Engines only, push the Primer Bulb in and
completely release it, lifting your finger and letting it pop back to its original
position. Repeat three to four times.
Note: “Priming” or “Choking” the Engine is usually not necessary when restarting a
warm Engine. In cool weather, you may need to repeat the priming
operation.
3. Turn the Key (Figure 9) to the START position until the Engine starts, then
release. The Key will snap back to the RUN position and the Engine will
continue to run.
Note: Do not engage the Bail Bar (Trimmer Head Control) until after the Engine
has started.
4. Once the Engine is started, move the Throttle Lever to the RUN or IDLE position.
Note: Kohler and Subaru Engines have a throttle detent in the RUN position.
Stopping the Engine
1. Move the Throttle Control Lever (Figure 8 on page 10) all the way back past the TURTLE (Slow) position to the STOP position.
Note: If you have an Electric-Starting model, please note that the Key does not stop the Engine. You must follow these instructions to
stop the Engine for both Electric and Manual-Starting models.
2. Remove the Key for safety. The Key has a pressure lock that prevents it from vibrating loose during operation. To remove the
Key, push it in and then quickly and firmly pull it out. If the Key becomes difficult to remove, apply SAE 30 Oil into the Keyhole.
Engaging the Trimmer Head
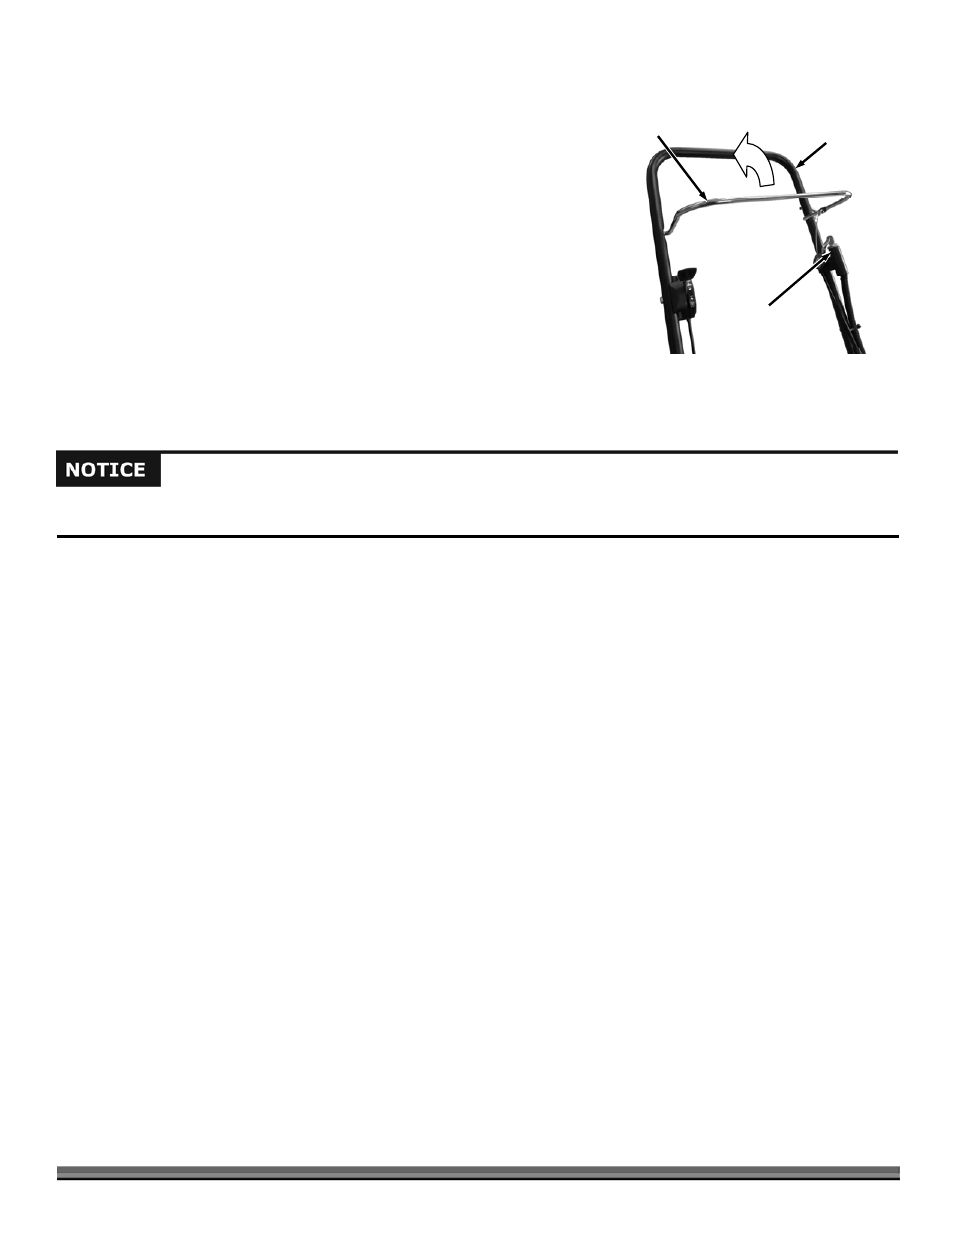
1. Bring the Bail Bar toward you and grip it together with the Handlebar (Figure 9). Keep holding the Bail Bar to the Handlebar.
The Cutting Cords will rotate and will continue to rotate until you release the Bail Bar.
Note: Before using your Trimmer for the first time or after you have installed a new Belt, engage the Bail Bar 10 times and hold it for 3
seconds each time. This is required to wear in the Belt to ensure the best grip for trimming.
Stopping the Cords from Spinning
1. Release the Bail Bar from the Handlebar. The Trimmer Head will stop spinning while the Engine continues to run.
Bail Bar
Figure 9
Handlebar
Key Switch