Chapter 3: operating the dr, Treechopper, Before you begin – DR Power TreeChopper User Manual
Page 16: Operation
16
DR
®
TreeChopper™
To avoid injury to yourself as well as others, you must read, understand and follow the warnings listed in “Chapter 1 General
Safety Rules” before operating an ATV equipped with your TreeChopper.
Chapter 3: Operating the DR
®
TreeChopper™
It may be helpful to better familiarize yourself with the features of your TreeChopper by reviewing Figure 1 in Chapter 2 before
beginning the steps outlined in this chapter.
Before You Begin
The TreeChopper can safely cut trees up to four inches in diameter and very close to ground level which is necessary to lessen
the possibility of re-growth.
Before operating check the area where the TreeChopper will be used. If rocks or other debris will hinder access to the tree to be
cut check for other angles of approach or move the rocks and debris. Keep people, livestock and pets out of the cutting area.
Always start out cutting small trees, less than 2" in diameter to familiarize yourself with the necessary actions, speed and
techniques to cutting trees with the TreeChopper. Once you have become comfortable with cutting smaller trees, you can move
on to larger trees.
Learn how to properly operate your ATV prior to using the TreeChopper.
Do not attempt to cut Trees with trunks larger than a 4 inch diameter.
Always make sure your ATV is in Four Wheel Drive and in Low Gear prior to cutting a Tree.
Operation
1.
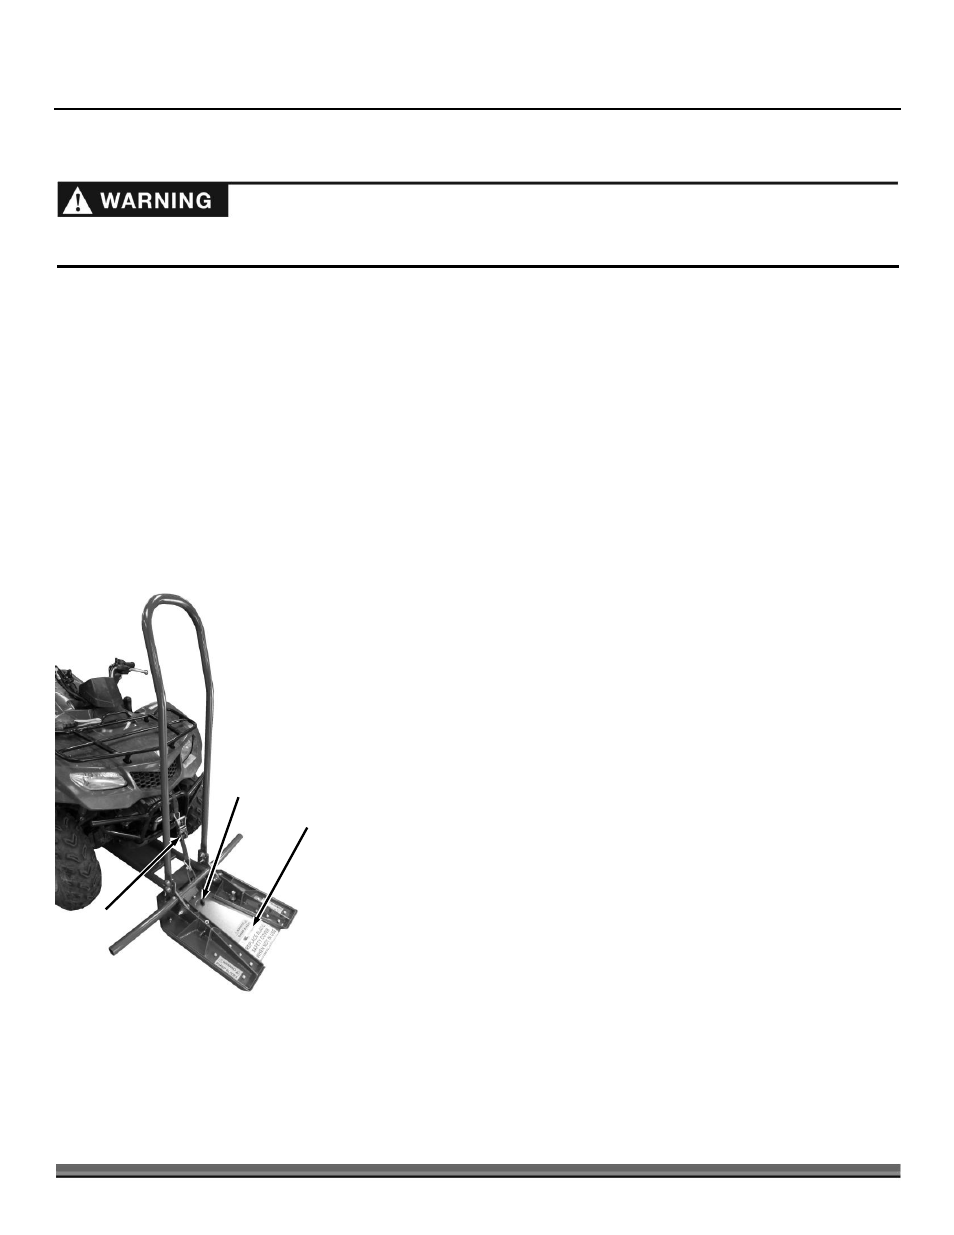
The TreeChopper can be raised and lowered by attaching a lifting device
(winch, ratchet strap, chain) and using one of the hooks on the chassis
(Figure 18). This allows for quicker travel to and from the cutting areas while
the TreeChopper is in the raised position. Remember, the TreeChopper must
be on the ground and properly adjusted prior to cutting.
2.
Before beginning to cut, turn off your ATV and set the TreeChopper on the
ground, making sure the winch line or other lifting device is loose. The
TreeChopper will float along the terrain. This allows for the TreeChopper to
cut close to the ground.
3.
Remove the blade guard and visually inspect the unit. Make sure bolts are
tight and the circular blades are not obstructed.
4.
When first learning how to operate the TreeChopper and becoming
comfortable with its use, select small trees 2 inches in diameter or less. It is
important to get experience and establish a comfort level by cutting smaller
trees first.
5.
Always make sure that the TreeChopper is lined up so that the trunk of the
tree is center to the cutting blades. To be sure the TreeChopper is centered,
slowly drive into the tree to "bump" it to check that the tree can clear the
front blades (indicating that the tree is less than 4" in diameter) and that the
tree is against the rotating Circular Blades. Once the tree trunk is centered
and you have cleared the area of debris you are ready to cut.
Note: If the tree is unable to pass by the Front Blades, the tree may be larger than
4" in diameter at the trunk. This is an indication that you will not be able to cut the
tree, or that there is a hidden obstacle, such as a rock, stump, or other object that
Blade Guard
Figure 18
Thumbscrew
Lifting Device