Flowserve Valtek StarPac 1 Intelligent Control Systems User Manual
Page 13
41-13
Flowserve Corporation, Valtek Control Products, Tel. USA 801 489 8611
Pressure Sensor Replacement
Standard StarPac pressure sensors are installed
directly into the control valve body. Before they can be
removed, the process line must be depressurized and
drained of all fluids and the valve decontaminated.
To replace a pressure sensor, refer to Figure 10 and
proceed as follows.
WARNING: The process line must be depressurized
and drained of process fluid, and decontaminated
prior to working on the internal valve components.
Failure to do so may cause serious injury to
personnel.
WARNING: If optional pressure sensor extensions
are included, the sensor will be located in a sensor
housing located in the tubing line and not in the
sensor housing located on the valve body. This
section of the tubing contains process fluid and
must be drained and decontaminated before the
sensor is removed. The procedure for sensor
removal and replacement will be similar to that
outlined below.
(Refer to alternate sensor information when this type of
sensor is included with system.)
1. Depressurize and decontaminate the line and valve.
Loosen the tubing nuts on the conduit leading to the
pressure sensor, if applicable.
2. Loosen the sensor nut.
3. Gently pull the conduit and sensor nut approxi-
mately
1
/
2
to
3
/
4
-inch from the sensor. Release the
locking sleeve of the Lemo™ connector by moving
the collar away from the sensor (use needle nose
pliers). Remove the connector from the sensor and
swing the sensor conduit out of the way.
4. Unscrew the sensor from the sensor boss.
5. Remove the sensor O-ring or gasket and replace
with a new one. Make sure the environmental
O-ring seal is in good condition and in place on the
new sensor.
6. Install the new sensor into the sensor port making
sure the O-ring or gasket remains properly in place
while tightening the sensor. Tighten the sensor
until it seats metal-to-metal at the gasket section of
the sensor port, assuring the proper compression
of the process O-ring or gasket seal.
7. Align the red dots on the sensor and connector, and
reconnect the Lemo connector. Fully seat the
connector until the locking sleeve latches. Replace
the sensor nut and tighten.
8. Pressurize the valve body to make sure the sen-
sors are properly seated before attaching the sen-
sor conduit and tightening.
9. Reattach the conduit lines and securely tighten the
fittings.
Temperature Sensor Replacement
(Model NT)
The StarPac temperature sensor (middle sensor on the
valve body) does not penetrate the wall of the control
valve; therefore, replacement does not require that the
process line be drained.
To replace a StarPac temperature sensor, refer to Figure
14 and proceed as follows:
1. Disconnect the power and air supply to the unit.
2. Remove the large StarPac electronics assembly
cover.
WARNING: Never remove the StarPac's elec-
tronics assembly covers if explosive atmo-
spheres are present.
3. Remove the plastic shroud by unscrewing the two
assembly screws.
4. Unplug the temperature wires from the computer
board and undo the thermocouple wire.
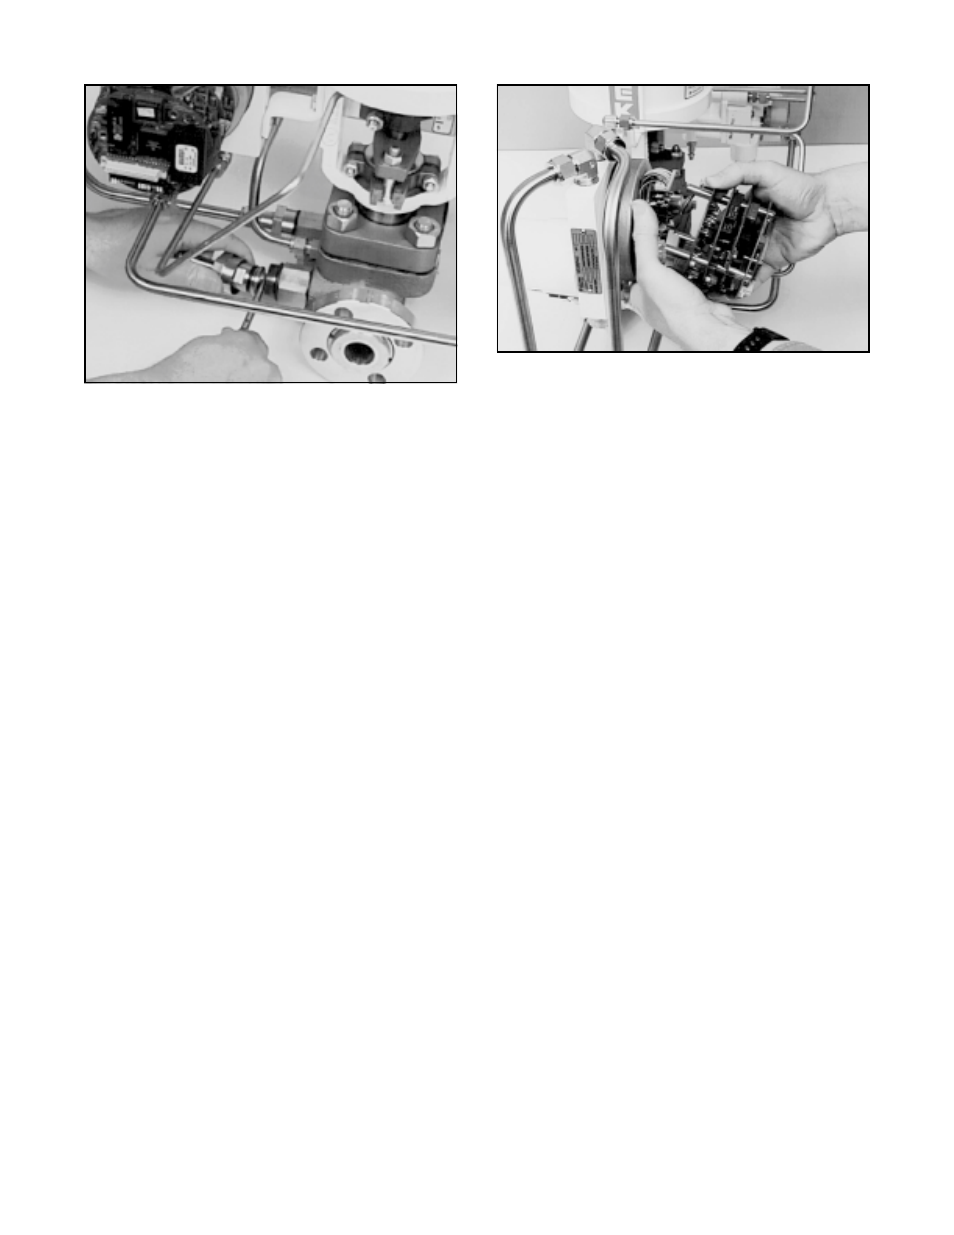
Figure 11: Disconnecting Lemo Connector
Figure 12: Board Removal