Installation and wiring – GAI-Tronics 1931888-3011 Page/Party to Coupler User Manual
Page 2
Pub. 42004-245B
Model 1931888-3011 Page/Party
®
to Radio Coupler
Page:
2 of 10
\\s_eng\gtcproddocs\standard ioms - current release\42004 instr. manuals\42004-245b.doc
03/08
Installation and Wiring
Punch or drill a hole in the left side or left bottom of the coupler and install a conduit fitting. This entry is
for system cable from the Page/Party
®
or Call/Talk system to the coupler. Sealed threaded hubs, such as
Myers Scru-Tite (1.25-inch) are recommended.
Since the Model 1931888-3011 coupler must be connected to a GAI-Tronics 6-Channel Radio, mount the
coupler and radio in a place where the antenna for the radio may be appropriately positioned. Refer to the
GAI-Tronics 4512 and 4514 Series 6-Channel Radio manual, Pub. 42004-387, for antenna placement
information.
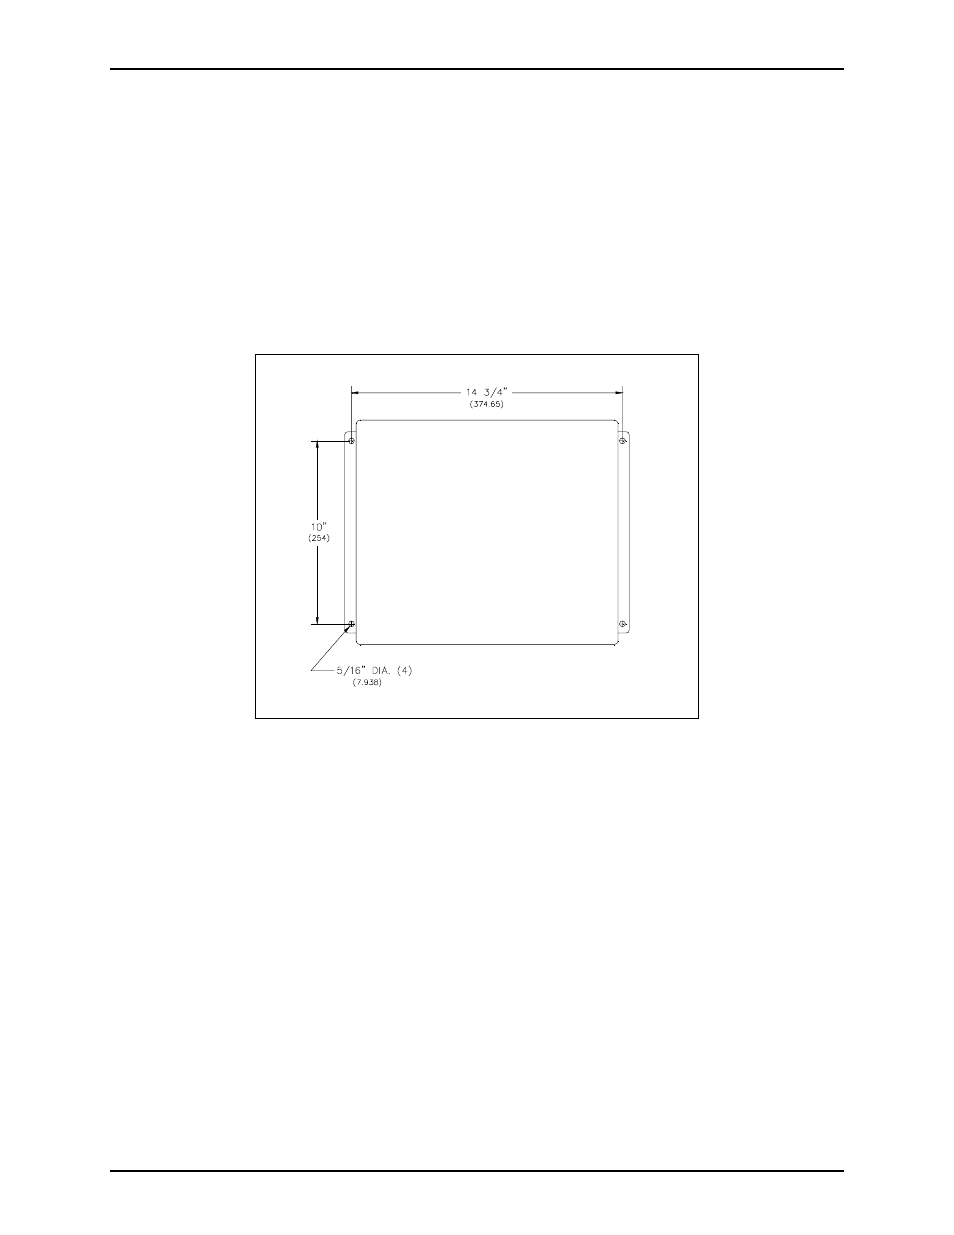
The coupler should be wall-mounted using the four 5/16-inch (7.938 mm) mounting holes. See Figure 2
for dimensions.
Figure 2. Mounting Details
Use GAI-Tronics 60038-101 system cable to connect the closest Page/Party
®
or Call/Talk station to the
coupler:
1. Connect the 120 V ac power conductors, black, white, and green with yellow, from the Page/Party
®
or
Call/Talk station to TB-1, TB-2, and TB-5 respectively in the coupler.
2. Use the red with blue and blue with red twisted pair to connect the page line L1 and L2 in the station to
TB-3 and TB-4 respectively.
3. Use the red and tan with red twisted pair to connect party line 5 (or designated party line) L1 and L2
from the station to TB-7 and TB-8 respectively.
N
OTE
: Party line 5 is used here for explanation purposes.
4. TB-6 and TB-9 through TB-14 are factory connections.
Figure 3 and Figure 4 show the terminal blocks in the Page/Party
®
and Call/Talk stations, respectively, as
well as the 14-lug terminal block in the coupler. Cables with three-prong and four-prong military style MS
connectors are included with the coupler. These cables connect from the bottom of the coupler to the top of
the radio.