Installation – GAI-Tronics 12504-007, 12504-008 RigCom Harness Assembly User Manual
Page 2
Pub. 42003-146
M
ODELS
12504-007
AND
12504-008
R
IGCOM
H
ARNESS
R
EPLACEMENT
K
IT
Page:
2 of 3
\\s_eng\gtcproddocs\standard ioms - current release\42003 kit manuals\42003-146.doc
12/94
Installation
Removing the Old Harness Assembly
WARNING
Shut down the power to the unit.
1. Remove the front cover, and carefully unplug the harness from the printed circuit board. Discard the
old bolts.
2. Using the appropriate Allen wrench, loosen the set screws of the knob on the on/off volume switch,
remove and discard them (on all models).
3. For Model MS3985, MS3986, and MS3988 only: Using the two spade screwdrivers, pry the push-to-
call button out of shaft, and discard it.
4. On the inside of the front cover, using the appropriate open-end wrench, loosen the hex nut(s) holding
the bracket in place.
5. Pull the entire bracket/harness/switch/connector assembly straight out from the front cover, and discard
it.
Installing the New Harness Assembly
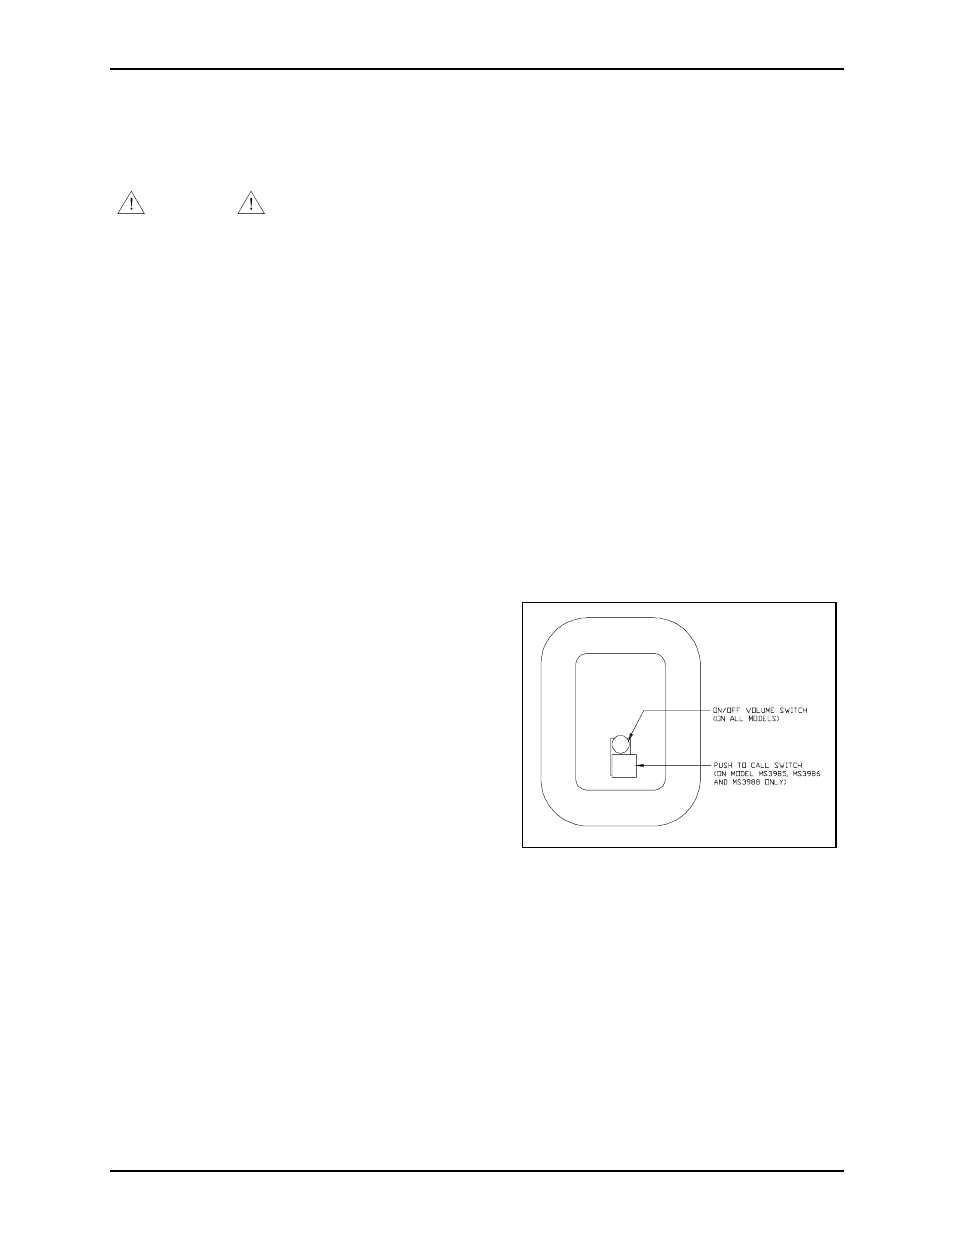
1. Push the entire bracket/harness/switch/connector
assembly straight into the front cover. See Figure 1
for orientation.
2. Tighten the hex nut(s) to the bushing(s) in the front
cover using the
5
/
8
-inch open-end wrench. See
Figure 2.
3. Attach and tighten the knob onto the on/off volume
switch.
4. For Model MS3985, MS3986, and MS3988 only:
Push the button into the shaft of the push-to-call
switch until the button hits the shaft.
Figure 1. Inside Front Cover