innovaphone Gateways User Manual
Installation guide for innovaphone gateways
Errors and omissions excepted. All information, technical specifications and delivery times may be subject to change.
How-to-get-started_gateways_en.doc, issue: 09/2010, Copyright © 2010 innovaphone® AG
innovaphone
®
AG
Böblinger Straße 76 71065 Sindelfingen
Tel +49 7031 7 30 09-0 Fax +49 70 31 7 30 09-99
www.innovaphone.com
E-mail: [email protected]
Installation guide for innovaphone gateways
Set-up
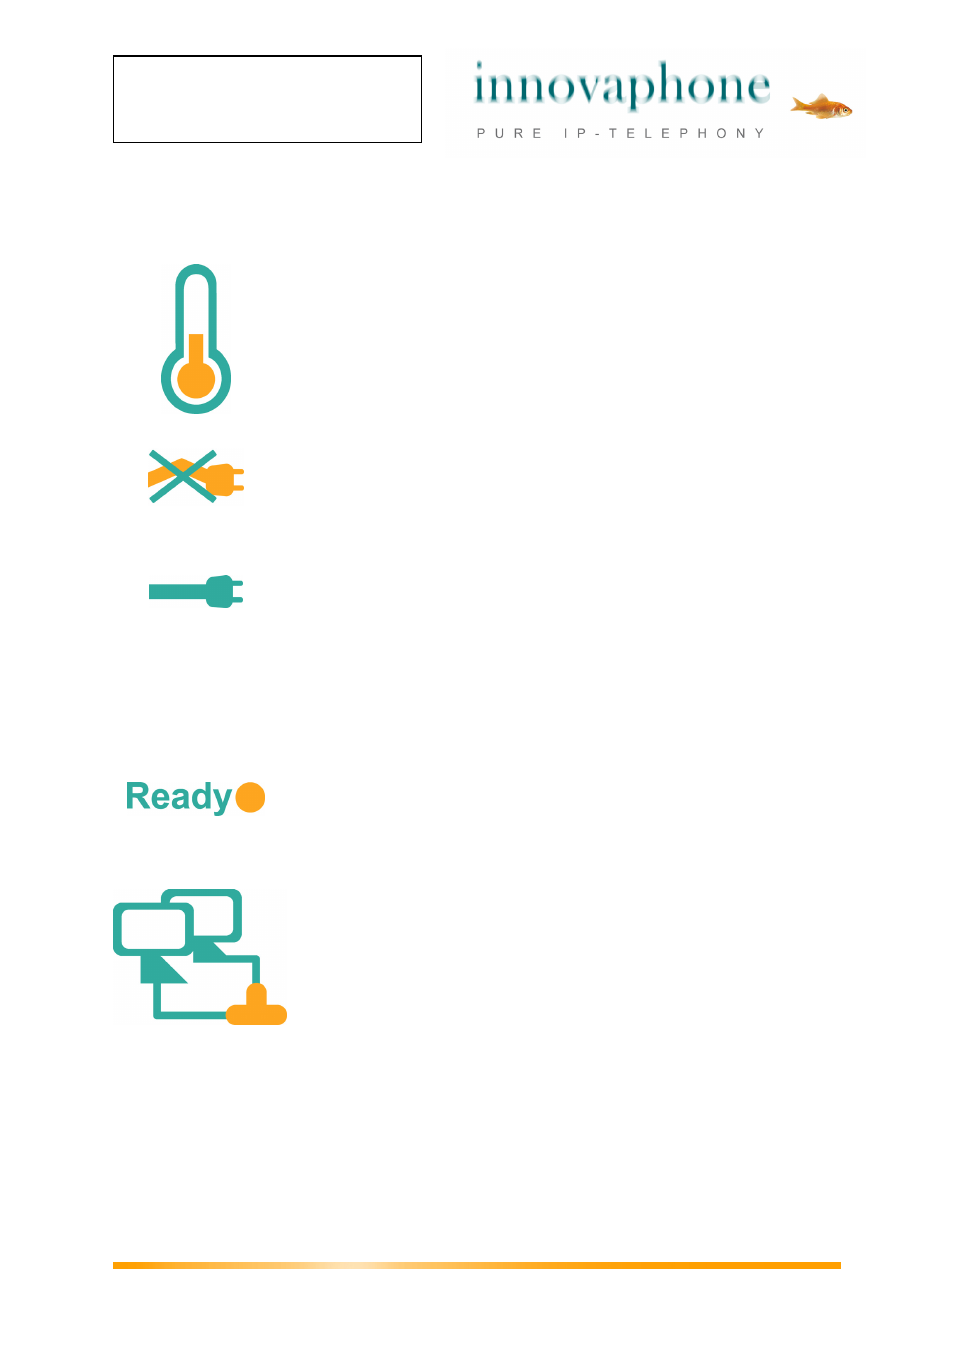
When installing the device, please ensure it has sufficient ventilation, especially when
the device is installed in a closed cabinet. Devices can be stacked on one another. A
special frame for 19” racks is available for mounting 2 devices in one height unit.
The device is only designed for use in dry rooms. Operating temperature is between
0 °C and 40 °C with relative humidity of 10 % to 90 % (non-condensing). If the
device comes from environments beyond this range, please wait until the device has
adapted to the new environment before using.
Reduce the risk of accidents by laying the connecting cables carefully. Take care not
to bend, pull or put too much mechanical strain on all connecting cables.
Power supply
The power supply may, depending on the device type, have an internal or external
mains adapter. All innovaphone gateways can also use Power over Ethernet (PoE)
according to IEEE 802.3af, to get their electricity over the network. All types of
electrical power can be connected simultaneously and can replace each another if
one power source fails.
When used with the mains adapter, the device is designed for an AC network with
100V-240 V and 50 Hz. Never attempt to connect the device to other mains supplies.
Use only the mains adapter and power cable which have been supplied with the
gateway. Other mains adapters and power cables could damage the device.
The device is switched on as soon as it is connected to the power supply and the
LED labelled Ready is illuminated. The device cannot be operated if the network fails.
However the device maintains its settings.
Configuration
Use the Ethernet cable to connect the device to your network. Device configuration
takes place over a web browser using the device’s IP address.
The gateway has its factory default settings the first time you switch it on. It tries to
configure the IP parameters over DHCP. Ask your network administrator whether
your network has a DHCP server. If the device cannot find a DHCP server in the
network, it can be reached via the IP address 192.168.0.1.
The IP address is necessary for configuration using the web browser. You can
determine which IP address has been assigned over DHCP with the help of the MAC
address. Your gateway’s MAC address can be found on the sticker at the back of the
device. Ask your network administrator to name the IP address assigned to this MAC
address.