Chapter 9, Connecting to microscope, Chapter 9 connecting to microscope – Lumens Technology PS650 User Manual
Page 37
English -36
Chapter 9 Connecting to Microscope
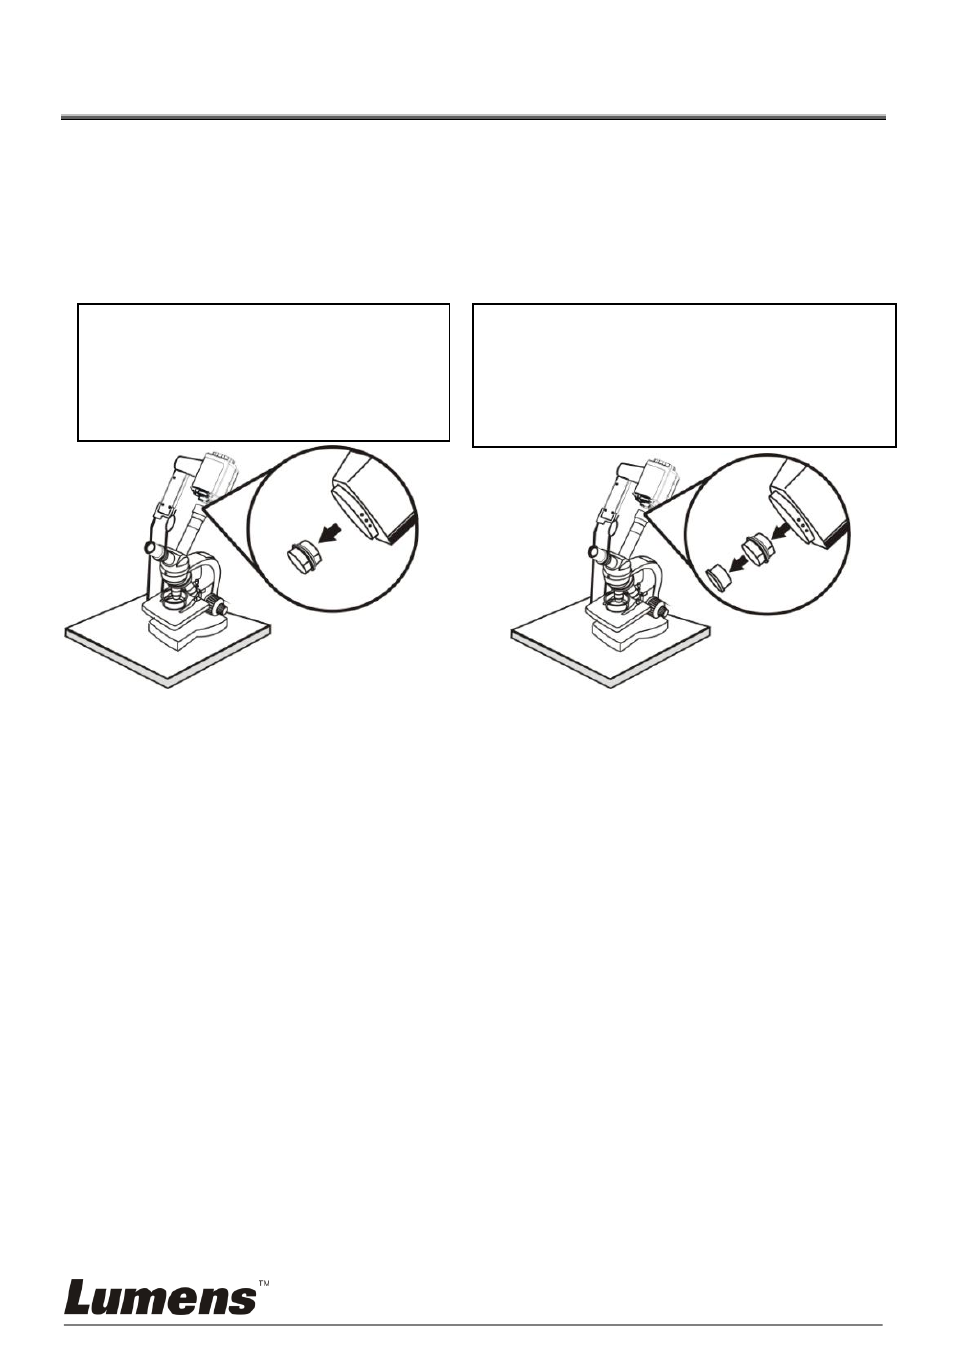
1. Mount the microscope adapter (optional) onto the microscope.
<Note>: Please choose an appropriate microscope adapter. Microscope adapter
accessories are applicable to eyepieces of Ø 28mm, Ø 31mm, Ø 33mm, and
Ø 34mm.
2. The lens of PS650 connects with the microscope adapter.
3. Select the [Microscope] mode
3.1 If you use the remote control or the control panel:
3.1.1 Press [MENU] to enter the setting menu.
3.1.2 Press [] or [] to the [Display].
3.1.3 Press [] to select [Mode].
3.1.4 Press [] or [] to select [Microscope].
4. If the image is not clear
4.1 Please adjust the focus of microscope.
4.2 Please press the remote control [AF] button to active the auto focus.
5. Zoom In/Out
5.1 Press [ZOOM+] on the remote control or control panel to zoom in images.
5.2 Press [ZOOM-] on the remote control or control panel to zoom out images.
<Note>: Please reset to normal mode after using the microscope, otherwise, you are
unable to use zoom in/out function.
1. Press [MENU] on the remote control or control panel to enter the setting menu.
2. Press [] or [] to the [Display].
3. Press [] to select [Mode].
4. Press [] or [] to the [Normal].
If the eyepiece is Ø 33mm or Ø 34mm,
only one Lumens microscope
adapter is needed.
If the eyepiece is Ø 28mm or Ø 31mm, you
need two microscope adapters. (1. The
Lumens microscope adapter. 2. The
microscope adapter suitable for the
eyepiece size Ø 28mm or Ø 31mm).