Lights – Maytag MSB26C6MDM User Manual
Page 18
18
4. There is no need for routine condenser cleaning in normal
home operating environments. If the environment is
particularly greasy or dusty, or there is significant pet traffic in
the home, the condenser should be cleaned every 2 to
3 months to ensure maximum efficiency.
If you need to clean the condenser:
Remove the base grille. See the “Door Removal”
instructions, either in the User Instructions or the
Installation Instructions and Owner’s Manual, or in the
separate instruction sheet provided with your refrigerator.
Use a vacuum cleaner with a soft brush to clean the grille,
the open areas behind the grille and the front surface area
of the condenser.
Replace the base grille when finished.
5. Plug in refrigerator or reconnect power.
Lights
IMPORTANT: The light bulbs in both the refrigerator and freezer
compartments of your new refrigerator may use LED technology.
If the lights do not illuminate when the refrigerator and/or freezer
door is opened, call for assistance or service. In the U.S.A., call
1-800-253-1301. In Canada, call 1-800-807-6777.
Light Styles:
The dispenser lights are mini LEDs that cannot be changed.
The interior lights vary by model.
Some models have mini LEDs that cannot be changed.
Some models have full-size LED bulbs that can be
changed. To order replacement LED bulbs, call
1-800-253-1301 (U.S.A.) or 1-800-807-6777 (Canada).
NOTE: Some LED replacement bulbs are not
recommended for wet/damp environments. The
refrigerator and freezer compartments are considered to
be wet/damp environments. If using a brand of LED bulb
other than the recommended Whirlpool LED bulb, read
and follow all instructions on the replacement bulb’s
packaging before installing it.
Some models have incandescent 40-watt bulbs that can
be changed.
Whirlpool
Part Number
W10574850A
(2.0 watts)
Whirlpool
Part Number
W10565137A
(3.6 watts)
To Change a Light Bulb:
1. Unplug refrigerator or disconnect power.
2. Remove the light shield, as explained in the following
sections.
NOTE: To clean the light shield, wash it with warm water and
liquid detergent. Before reinstalling, thoroughly rinse and dry
the shield.
3. Replace the burned-out light bulb, as explained in the
following sections.
4. Reinstall the light shield, as explained in the following
sections.
5. Plug in refrigerator or reconnect power.
Refrigerator Compartment - Upper Lights
Light Shield Removal:
Slide the light shield toward the rear of the refrigerator and
remove it from the light housing.
Replacement Bulb:
If the burned-out light is a full-size LED bulb, replace it with
Whirlpool part number W10574850A (a 2.0 watt LED bulb).
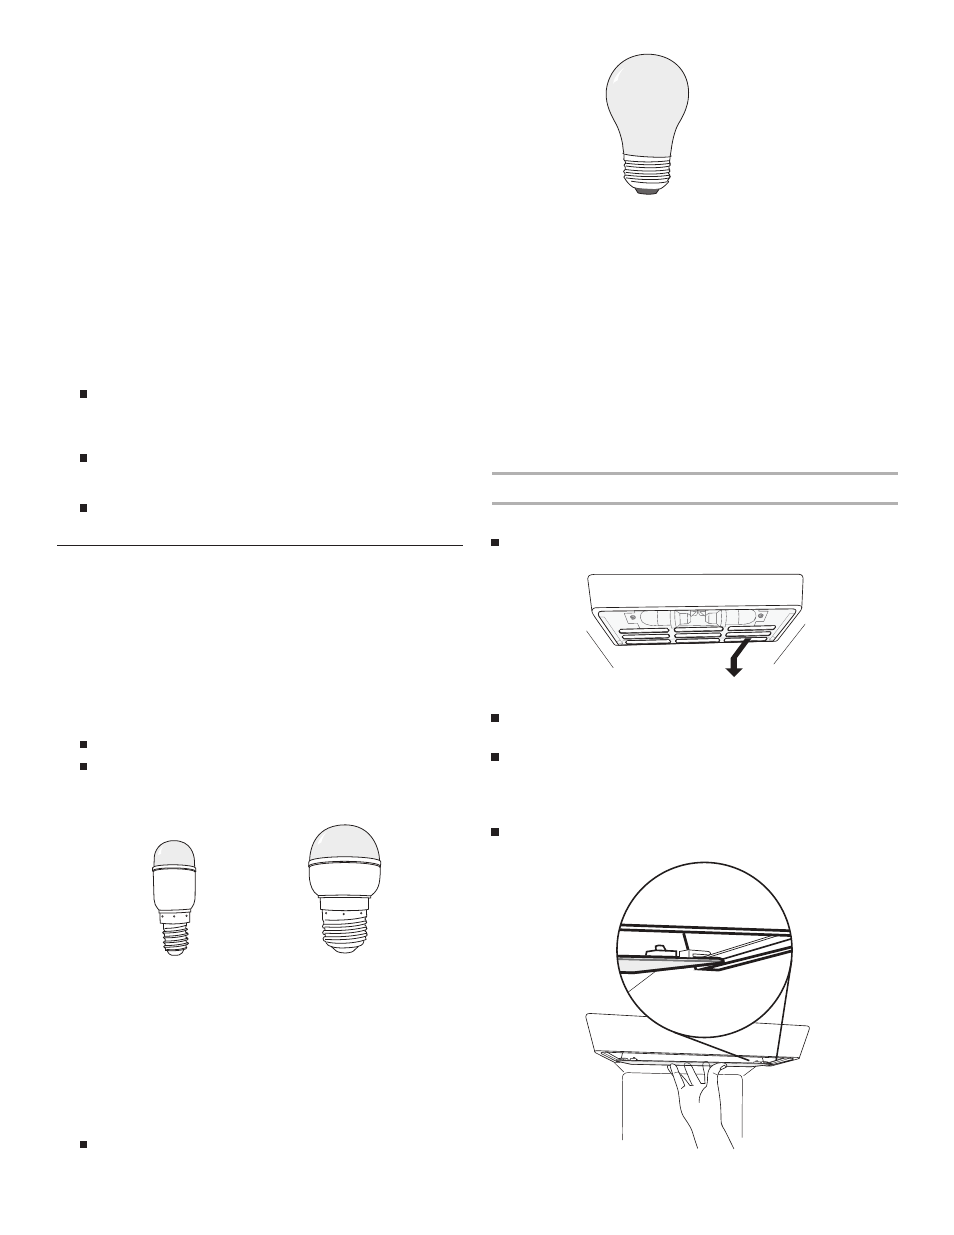
If the burned-out light is an incandescent bulb, replace it with
an incandescent appliance bulb of the same size, shape and
wattage (40-watt maximum).
Light Shield Reinstallation:
Align the light shield in the grooves at the bottom edge of the
light housing, then slide it forward until it snaps into place.
To Clean Your Refrigerator:
NOTE: Do not use abrasive or harsh cleaners such as window
sprays, scouring cleansers, flammable fluids, cleaning waxes,
concentrated detergents, bleaches or cleansers containing
petroleum products on plastic parts, interior and door liners or
gaskets. Do not use paper towels, scouring pads, or other harsh
cleaning tools.
1. Unplug refrigerator or disconnect power.
2. Hand wash, rinse, and dry removable parts and interior
surfaces thoroughly. Use a clean sponge or soft cloth and a
mild detergent in warm water.
3. Wash stainless steel and painted metal exteriors with a clean
sponge or soft cloth and a mild detergent in warm water.
NOTE: Not all replacement bulbs will fit your refrigerator.
Do not use an incandescent bulb in excess of 40 watts.