Door features, Door rails, Door bins – Maytag MRT519SZDM User Manual
Page 16: Utility compartment, Ice maker
16
DOOR FEATURES
Your model may have some or all of these features.
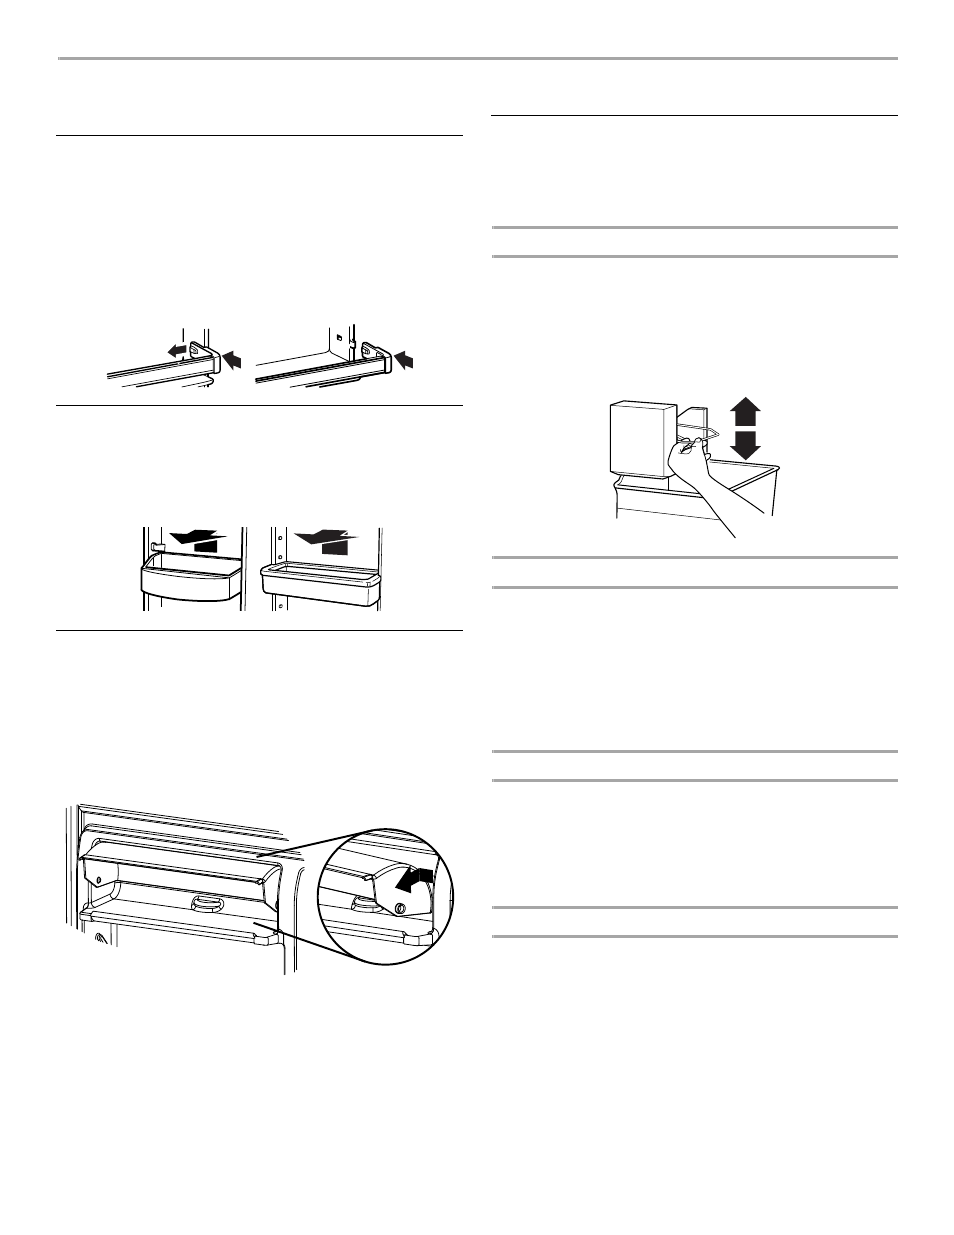
Door Rails
The door rails may be removed for easier cleaning.
To remove and replace the rails:
1. Depending on your model, remove the rails by pushing in
slightly on the front of the bracket while pulling out on the
inside tab. Repeat these steps for the other end.
2. Replace the rails by aligning the ends of the brackets with the
buttons on the sides of the door liner. Firmly snap bracket
and assembly onto the tabs above the shelf as shown.
Door Bins
To remove and replace the bins:
1. Remove the bin by lifting it and pulling it straight out.
2. Replace the bin by sliding it in above the desired support and
pushing it down until it stops.
Utility Compartment
The utility compartment may be removed for easier cleaning.
To remove and replace the utility compartment:
1. Remove the utility compartment by squeezing against one
side while raising the utility compartment up and pulling it
straight out.
2. Replace the utility compartment by positioning one side in
the lock and sliding in the opposite side until it stops.
Ice Maker
IMPORTANT: For models with a water filter, after connecting the
refrigerator to a water source or replacing the water filter, fill and
discard three full containers of ice to prepare the water filter for
use.
Turning the Ice Maker On/Off
To turn ON the ice maker, simply lower the wire shutoff arm.
To manually turn OFF the ice maker, lift the wire shutoff arm to the
OFF (arm up) position and listen for the click.
NOTE: Your ice maker has an automatic shutoff. As ice is made,
the ice cubes will fill the ice storage bin and the ice cubes will
raise the wire shutoff arm to the OFF (arm up) position. Do not
force the wire shutoff arm up or down.
Ice Storage Bin
1. Wash the ice storage bin with mild soap and warm water.
2. Slide the ice storage bin under the ice maker, and push it
toward the back as far as it will go.
3. Lower the arm on the ice maker to the ON position.
NOTE: It usually takes approximately 24 hours for the ice
maker to begin producing ice. You may notice the ice has an
“off-taste.” If so, discard the first three batches of ice
produced. After that the “off-taste” should be gone.
Ice Production Rate
■
The ice maker should produce approximately 8 to 12 batches
of ice in a 24-hour period. Allow 3 days to completely fill the
ice container.
■
To increase ice production, lower the freezer and refrigerator
temperature. See “Using the Control(s).” Wait 24 hours
between adjustments.
Remember
■
The quality of your ice will be only as good as the quality of
the water supplied to your ice maker. Avoid connecting the
ice maker to a softened water supply. Water softener
chemicals (such as salt) can damage parts of the ice maker
and lead to poor quality ice. If a softened water supply cannot
be avoided, make sure the water softener is operating
properly and is well maintained.
■
Do not use anything sharp to break up the ice in the bin. This
can cause damage to the ice storage bin and the dispenser
mechanism.
■
Do not store anything on top of or in the ice maker or ice
storage bin.