Osburn OB02401 User Manual
Page 20
20
Back view of faceplate
Figure 2.9d
Lift the insert into the fireplace. Square the insert to the face of the fireplace by adjusting the
leveling legs on the sides at the rear of the insert. Check that the throat connector is in line.
If there is space to push the connector down from above, do so. Reach in through the insert and
pull the throat connector down into place. If you are securing the connector to the flue collar with
the screw, do that now.
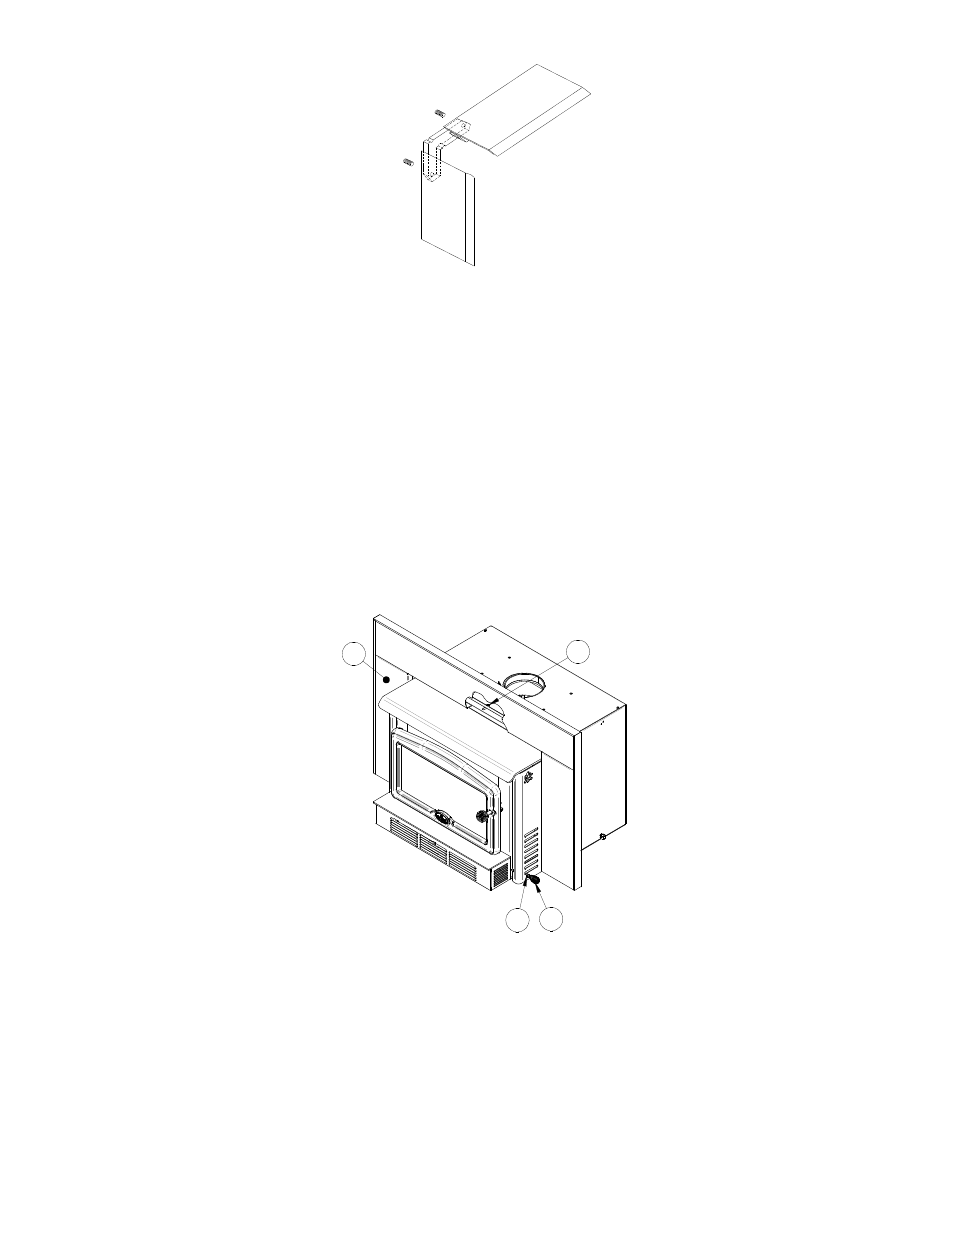
Push the air control (A) in, all the way. Slide the adjustable faceplate sleeve back into its original
location until the faceplate fits tightly against the fireplace facing. See Figure 8. One 7/16"
(11mm) open end wrench should be used to turn the nut (B), located above the cook top in the
centre, up so that it securely fastens the adjustable faceplate sleeve to the top air jacket. Take
the air control slider spring handle (C) from the firebox and turn it onto the 1/4" diameter (6mm)
air control rod (A).
A
C
B
D
Figure 2.9e
Lift the insert into the fireplace. Square the insert to the face of the fireplace by adjusting the
leveling legs on the sides at the rear of the insert. Check that the throat connector is in line.
If there is space to push the connector down from above, do so. Reach in through the insert
and pull the throat connector down into place. If you are securing the connector to the flue
collar with a screw, do that now.