Note about recording standby, Recording menu structure, Manually adjusting the input level – Teac DR-40 User Manual
Page 13: Using the level control function
TASCAM DR-40
13
e
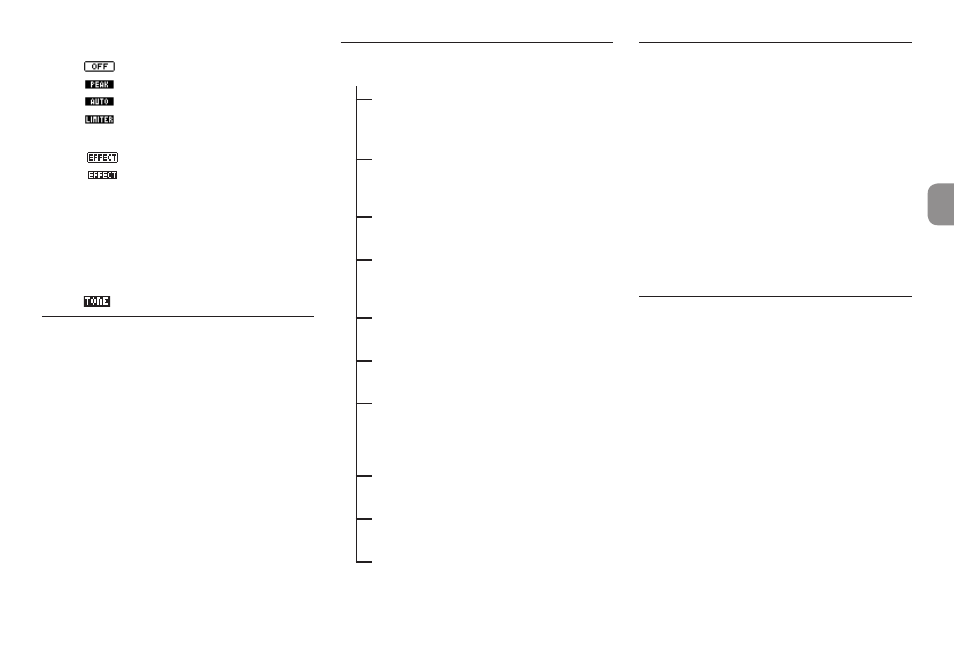
Level control function status
: Level control off
: Peak reduction on
: Automatic level control on
: Limiter on
r
Effect on/off status
: Built-in effect off
: Built-in effect on
t
Peak value in decibels (dB)
This shows the peak input level value digitally.
y
Auto tone function status
This icon shows whether the auto tone function
is on.
Blank : Auto tone off
: Auto tone on
Note about recording standby
This unit has a recording standby function like that of
a professional recorder. In recording standby mode,
you can adjust the input level, for example, and then
start recording quickly.
When in recording standby, the REC indicator blinks
and the recording screen appears.
Recording menu structure
REC SETTING
FORMAT
Set the file format
WAV: 16/24-bit
MP3: 32–320kbps
SAMPLE
Set the sampling frequency
44.1kHz, 48kHz, 96kHz
(96kHz for WAV only)
TYPE
Set to mono or stereo
MONO, STEREO
TRACK INC Set the automatic track incre-
mentation time
OFF, 5min, 10min, 15min,
30min, 60min
LOW CUT
Set the low-cut filter
OFF, 40Hz, 80Hz, 120Hz
PRE REC
Set the pre-recording function
ON, OFF
AUTO REC
Set the auto-recording function
MODE: OFF, REC, MARK
LEVEL: −6dB, −12dB, −24dB,
−48dB
AUTO TONE Set the auto tone function
OFF, HEAD, HEAD+TAIL
TONE SECS Set the length of the auto tone
0.5sec, 1sec, 2sec, 3sec
TONE VOL
Set the volume of the auto tone
−12dB, −18dB, −24dB,
−30dB, −36dB
Manually adjusting the input
level
1. Press the RECORD [0] button to enter
recording standby.
2. Use the INPUT LEVEL + and − buttons to
adjust the input level. Meters that show the
input level settings appear at the bottom of the
display.
If the input is too high, the PEAK indicator on the
right above the display lights just before recorded
sound would distort.
The level meters have a
b
mark as a guide at −12dB.
Set the recording level so that level changes occur
near this mark without causing the PEAK indicator
to light red.
Using the Level Control Function
You can set the level control function for recording
with a microphone input.
1. Press the RECORD [0] button to enter
recording standby.
2. Press the QUICK button to open the quick
menu.
3. Select (highlight)
LEVEL CTRL
and press the
ENTER/MARK button to open the settings
screen.
4. Select one of the following functions, and press
the ENTER/MARK button to enable it and
return to the recording screen.
8
PEAK REDUCTION
This function reduces the input volume automati-
cally to a suitable level when input signals are too
loud. The recording level can be raised manually
when desired. This function is useful when recording
music that has volume changes that affect the sound